
How to set up the Wishlist view?
Wishlist view controls what customers see when they open their wishlist — whether it’s a slide-out drawer or a full page, where the wishlist counter sits in your store, and which surfaces show the wis
Wishlist view controls what customers see when they open their wishlist — whether it’s a slide-out drawer or a full page, where the wishlist counter sits in your store, and which surfaces show the wishlist heart.
Before you start
The wishlist renders on your storefront through Sledge, so make sure of the following first:
- Sledge Core is enabled on your theme. Sledge Core is the app embed that loads Sledge on your storefront — without it, nothing you configure here reaches your customers. You enable it during onboarding (Enable in theme), or any time via Online Store → Themes → Customize → App embeds → Sledge Core.
- Wishlist is turned on. Open Sledge → Tools → Wishlist and check the Wishlist switch at the top — it activates the whole wishlist experience on your storefront.
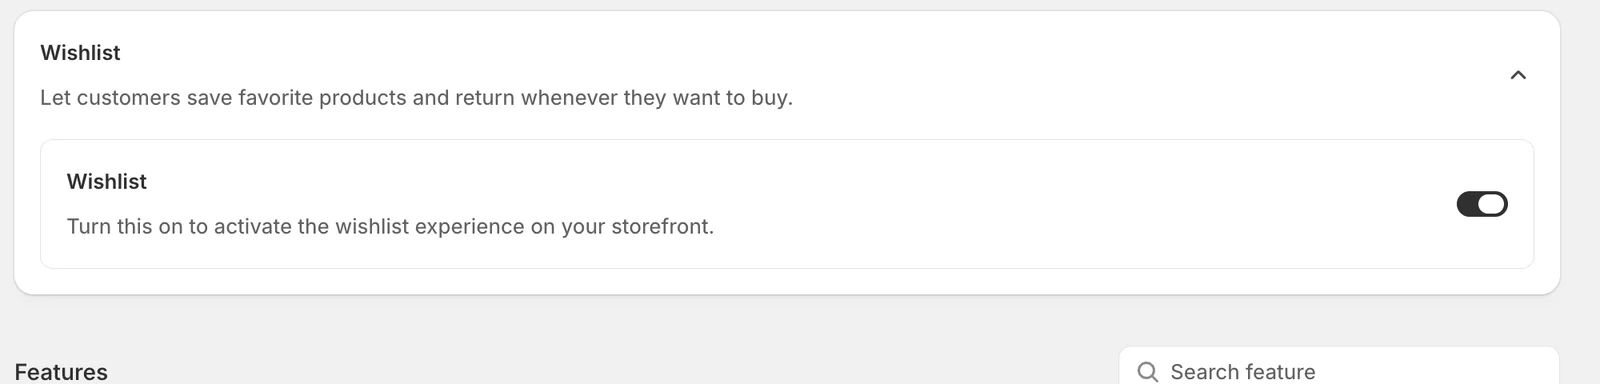
Open Wishlist view
Go to Sledge → Tools → Wishlist, and under Features click Wishlist view.
Wishlist experience
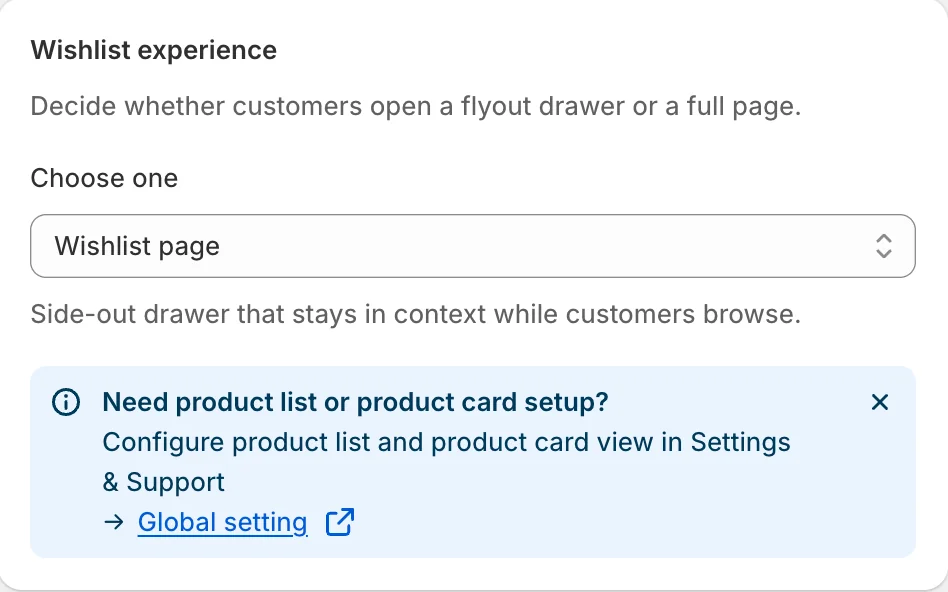
Choose one decides how the wishlist opens: Wishlist page (a full page at /apps/sledge/wishlist , the current choice) or the flyout drawer — a side-out panel that stays in context while customers browse. Note the info banner: the product list and product card styling used here are configured in Settings & Support → Global setting, not on this page.
Counter position
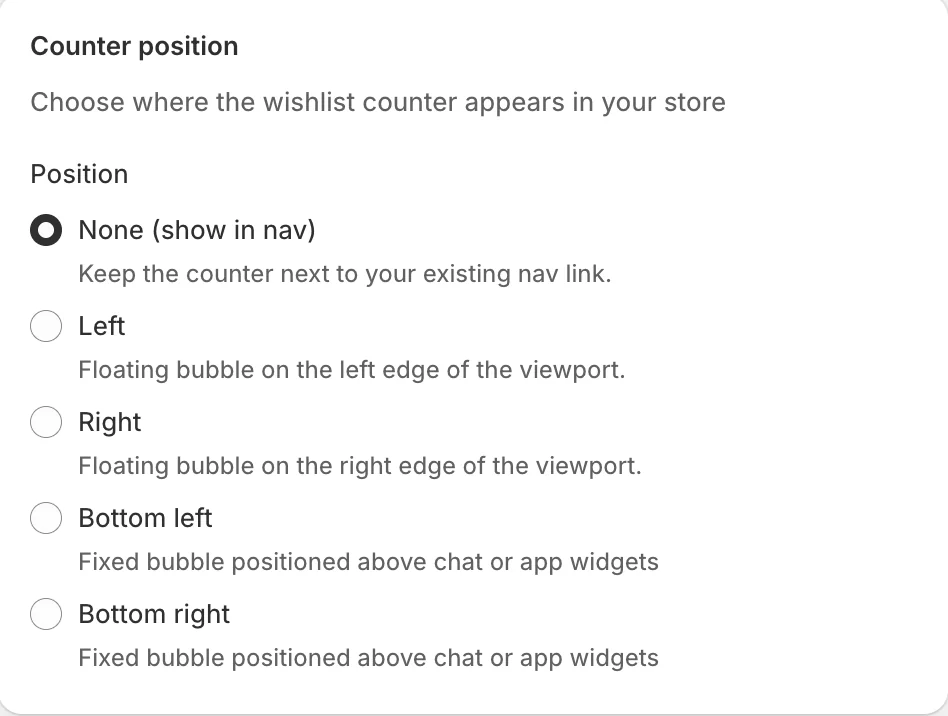
Where the wishlist counter (the saved-items number) appears:
- None (show in nav) — no floating bubble; the counter sits next to your existing nav link (the current choice — see the heart badge in the storefront header below).
- Left / Right — a floating bubble on that edge of the viewport.
- Bottom left / Bottom right — a fixed bubble positioned above chat or app widgets.
Surfaces
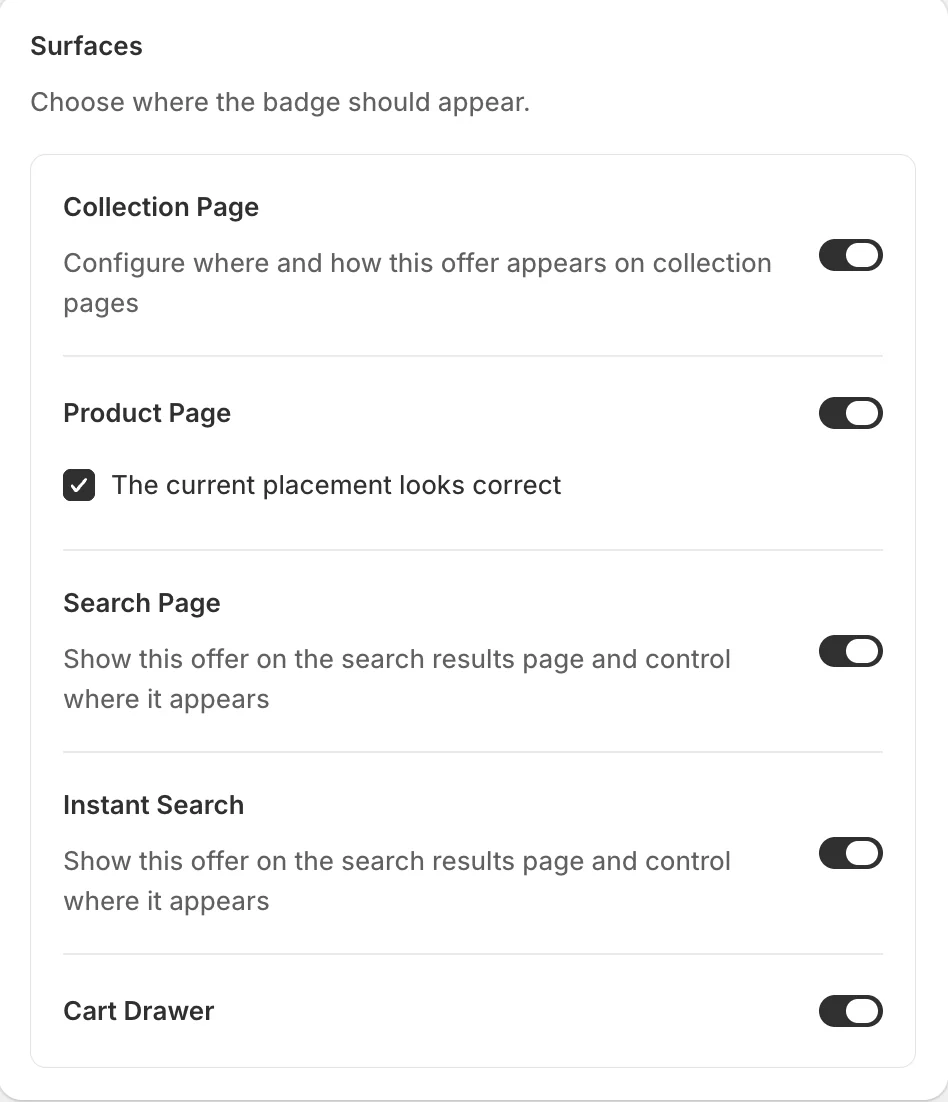
Which surfaces show the wishlist heart on product cards: Collection Page, Product Page (with a placement confirmation), Search Page, Instant Search, and Cart Drawer — each with its own switch.
Status and Preview
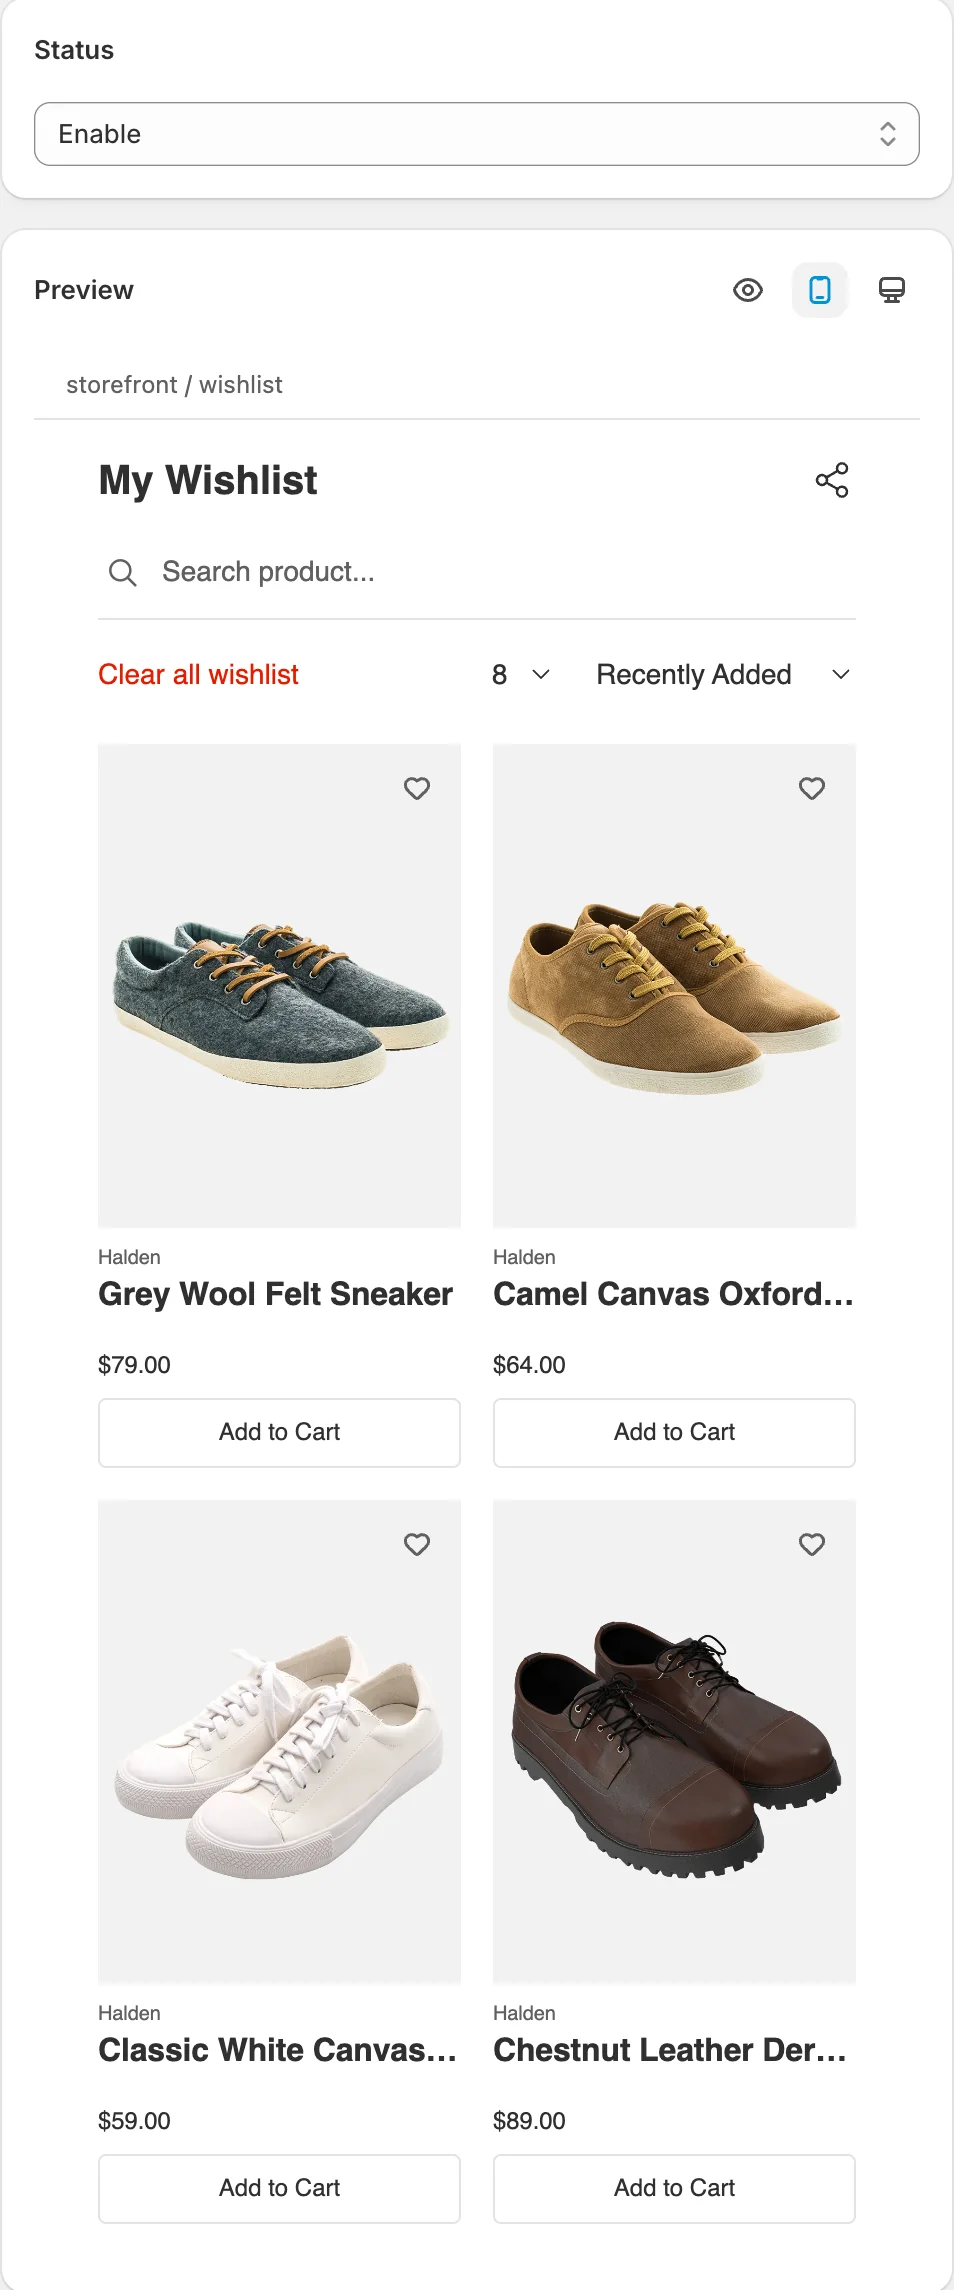
Status turns the view on; the Preview renders the wishlist page as the storefront library draws it — heading, product search, Clear all wishlist, the per-page selector, and the sort control, filled with saved products.
Result
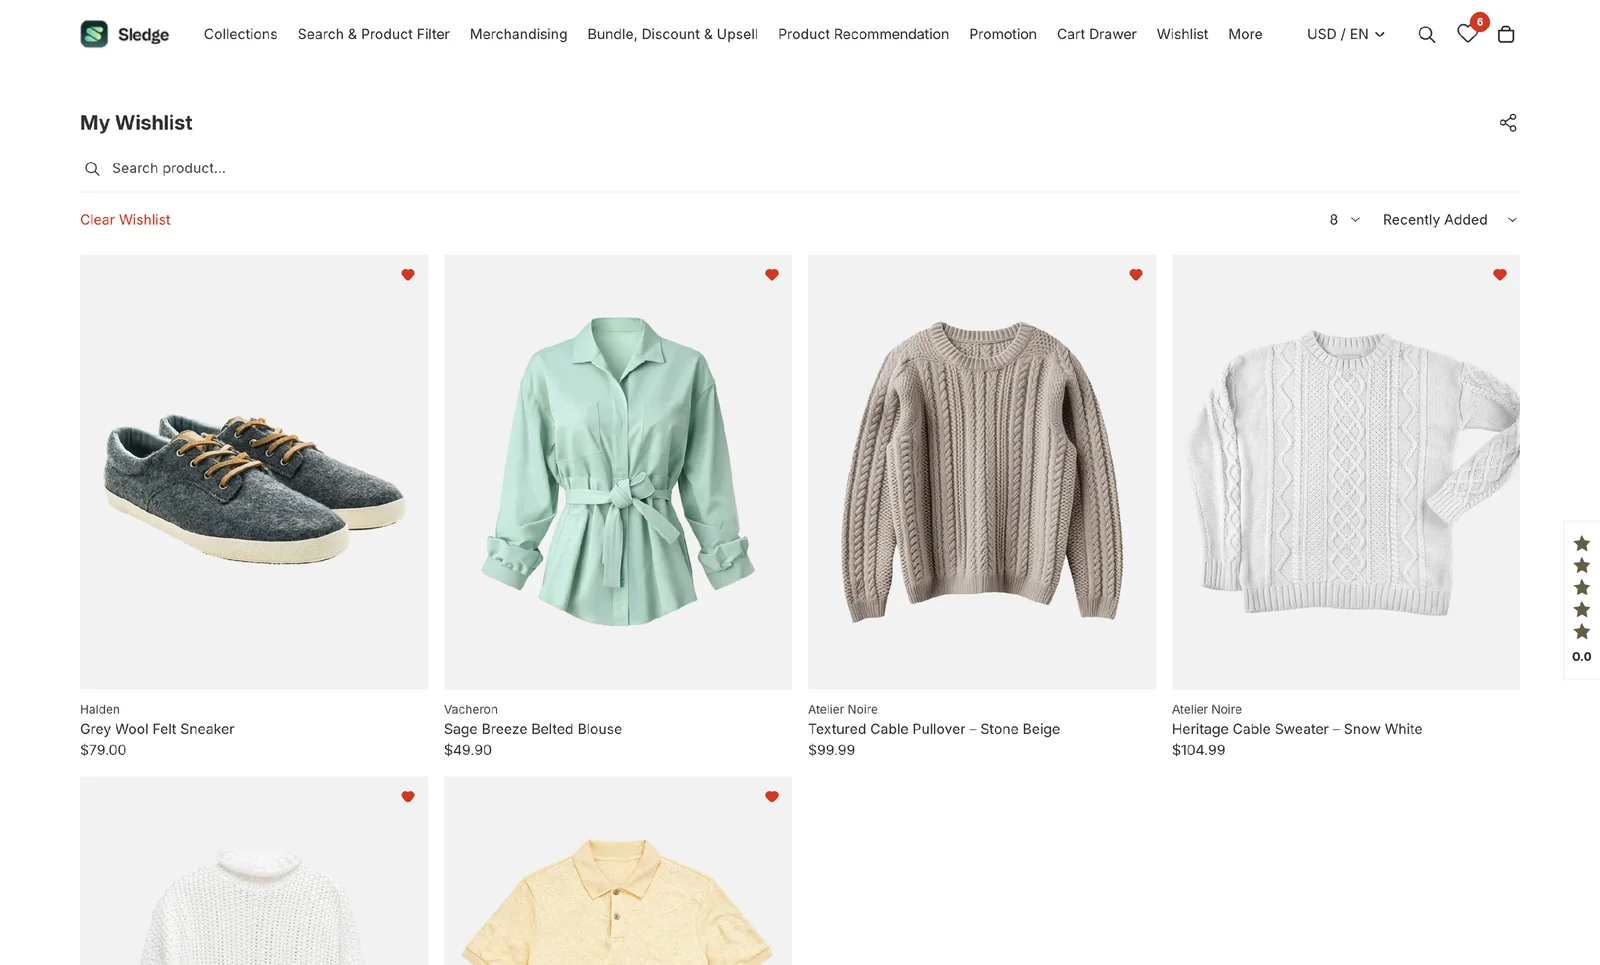
On the storefront, customers open their wishlist from the heart in your navigation (the counter shows their saved count) and land on the wishlist page — their saved products with hearts to un-save, search, sorting, and a Clear Wishlist action:
Not showing up? Give the change a minute to sync, then reload the page. Also confirm the feature’s Status is Enable, and that Sledge Core and the Wishlist switch are on as described above.
Related
Last updated on