
How do I set up Color Swatches?
A color swatch turns a plain text colour value — “Sage”, “Butter Yellow” — into a colour chip customers can scan at a glance in the filter sidebar. Instead of reading a list of colour names, customers
A color swatch turns a plain text colour value — “Sage”, “Butter Yellow” — into a colour chip customers can scan at a glance in the filter sidebar. Instead of reading a list of colour names, customers see the actual colours and click the one they want.
Before you start
Color swatches render inside the Sledge product filter on your storefront, so make sure of the following first:
- Sledge Core is enabled on your theme. Sledge Core is the app embed that loads Sledge on your storefront — without it, nothing Sledge does reaches your customers. You enable it during onboarding (Enable in theme), or any time via Online Store → Themes → Customize → App embeds → Sledge Core.
- The Collections page surface is turned on. Open Sledge → Tools → Product Filter and check the Collections page switch at the top — this is what puts the filter (and your swatches) on your collection pages.
- A Filter Group shows the colour filter. Swatches decorate an existing filter item — you need a Filter Group whose filter item uses the same source you pick below (for example a “Color” item with source Options Color). If the sources don’t match, the filter shows plain text values instead of chips.

Open Color Swatch
Go to Sledge → Tools → Product Filter, and under Features click Color Swatch.

The Color Swatch page
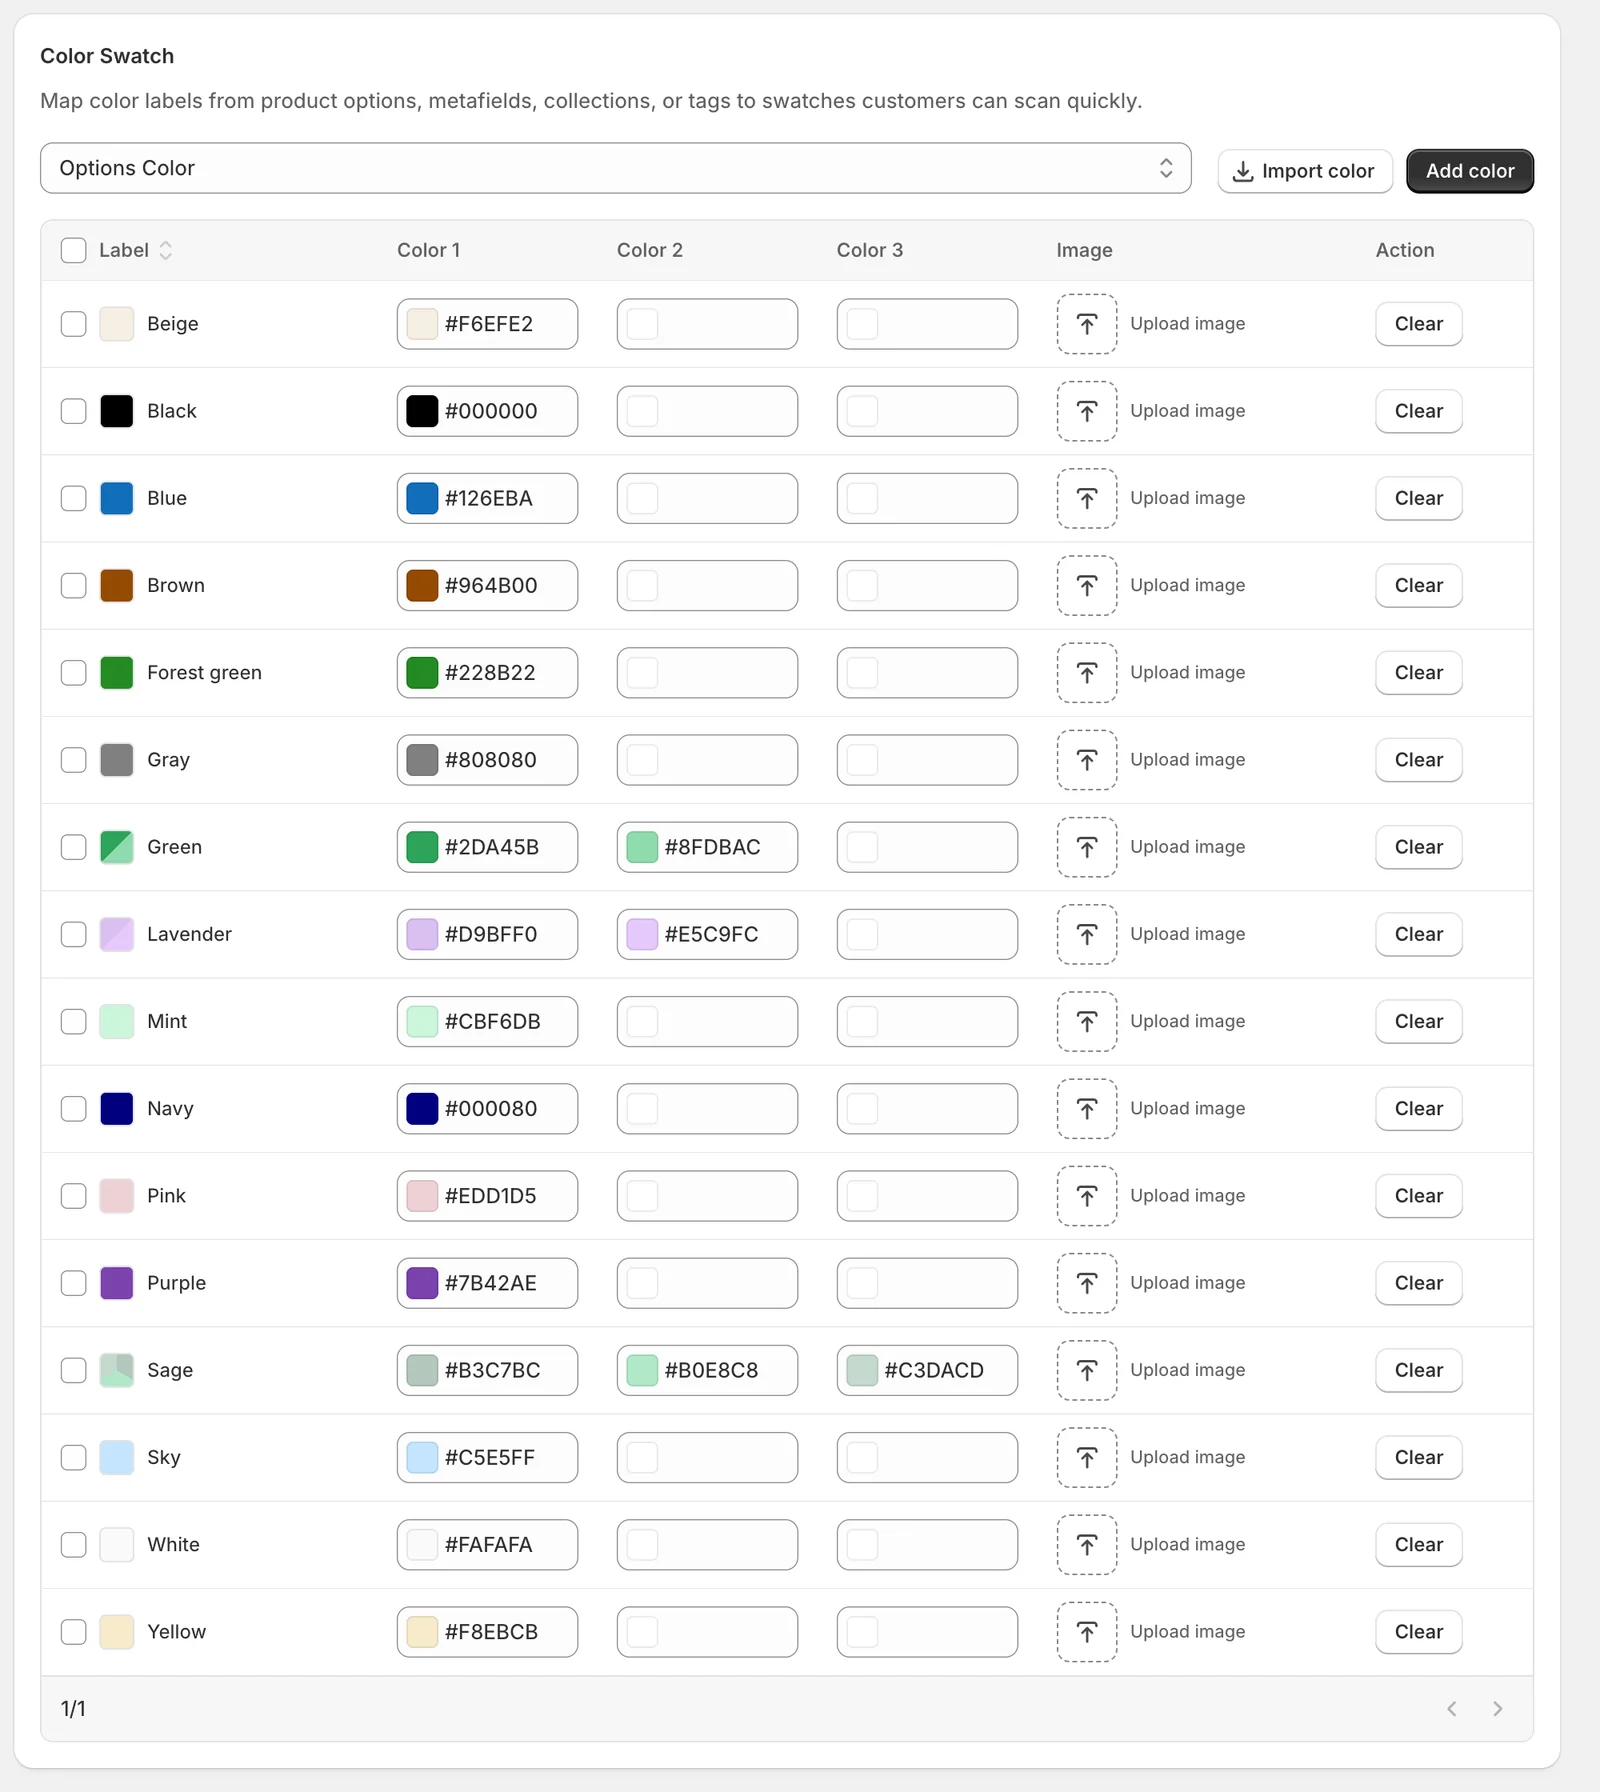
Color source
The select at the top decides where your colour values come from. In the example it’s set to Options Color — the product option named “Color” — so every value of that option (Beige, Black, Blue, …) gets a row in the table. You can also map values from metafields, tags, collections, vendors, product types, and more. Remember: this source must match the source used by the colour filter item in your Filter Group.
The mapping table — one row per colour value
Each row maps one label to what customers will see:
- Label — the raw value from your source, with a live preview chip next to it. Sortable via the arrows in the header.
- Color 1 / Color 2 / Color 3 — up to three hex colours per label. One colour gives a solid chip; two or three give a split chip — useful for multi-tone colours (in the example, Sage uses three green tones and Lavender two purples). Click a field and pick or type the hex; changes save automatically.
- Image — instead of hex colours, upload a small image to use as the swatch (for example a fabric texture or pattern). Upload image opens the file picker; a Remove link appears once an image is set.
- Action → Clear — empties the row’s colours and image so you can start over. To delete rows entirely, select them with the checkboxes and use the Delete bulk action.
There is no Save button on this page — every change is saved as soon as you make it.
Add a colour manually
Values from your source appear automatically, but you can also click Add color for a value that doesn’t exist yet (for example one you’re about to introduce). Fill the Label and up to three colours, then click Add.
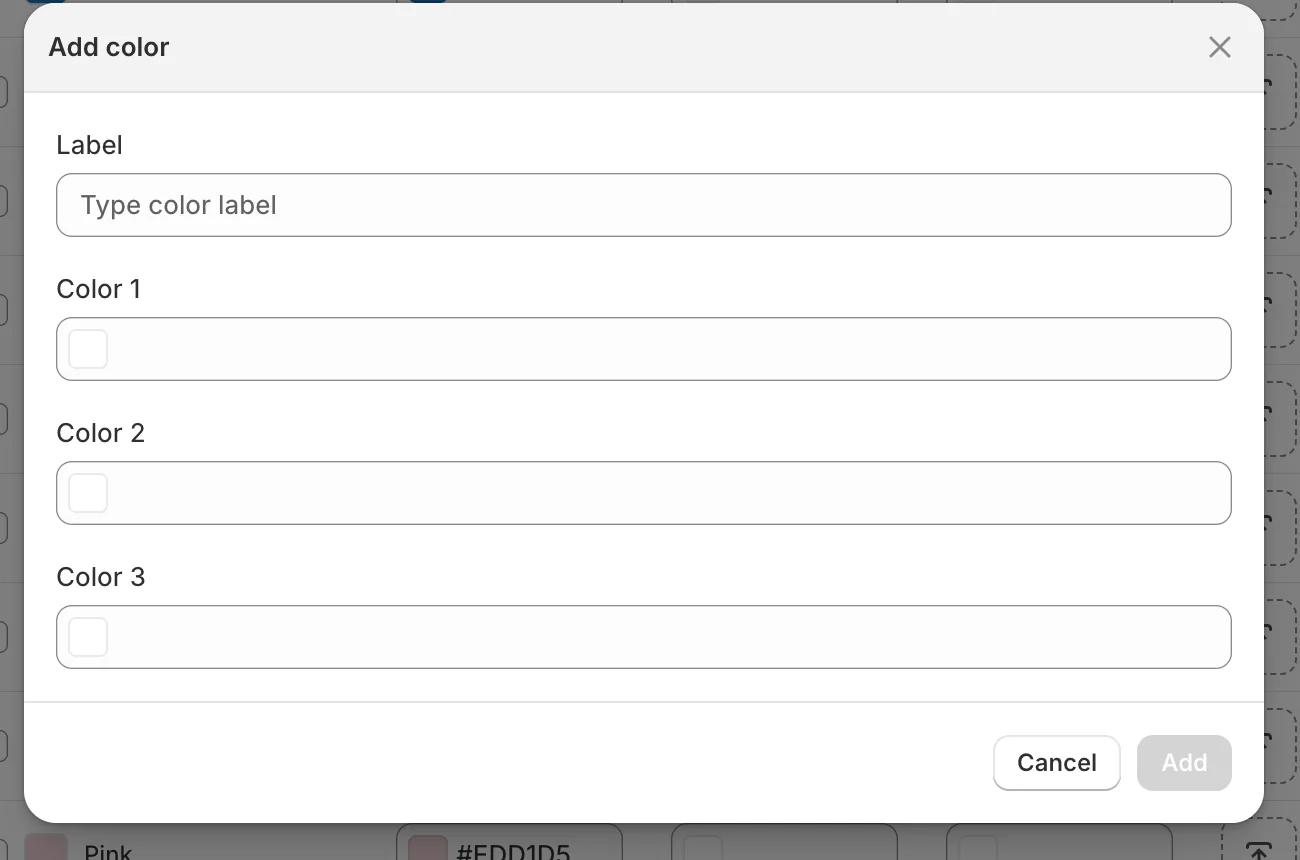
Import colours in bulk
Click Import color to upload a CSV of mappings in one go — click Download sample CSV in the modal for the exact format. Handy for large catalogs or for copying a mapping between stores.
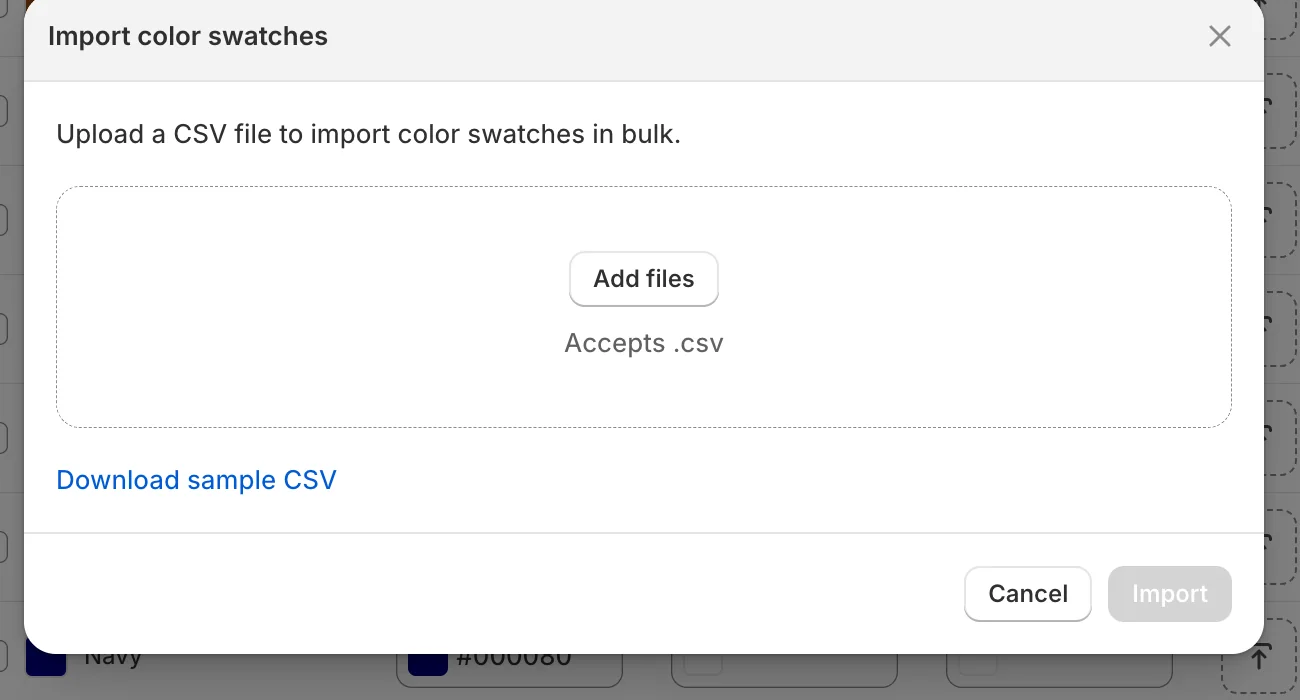
Result
On your collection pages, the colour filter now renders as chips — including the split chips for multi-tone values like Sage and Lavender. Customers click a chip to filter, exactly like ticking a checkbox:
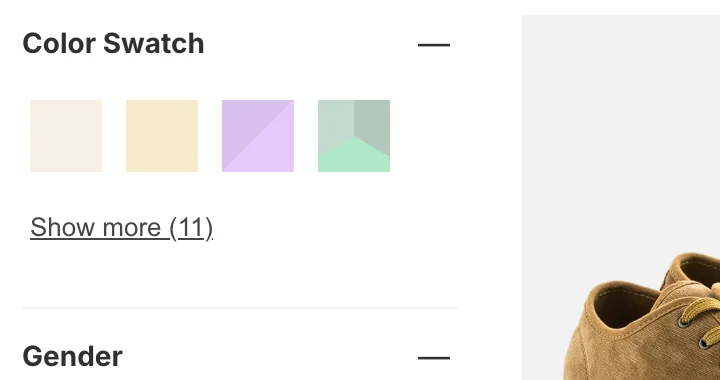
Not showing up? Confirm the swatch source here matches the Source of the colour filter item in your Filter Group, give the change a minute to sync, and check that Sledge Core and the Collections page switch are on as described above.
Related
Last updated on
How do I merge duplicate filter values?
Merge Value combines several filter values into one clean label. Catalogs accumulate near-duplicates — “Navy” and “navy blue”, or a run of granular sizes like 28, 30, 32 — and every one of them become
How do I set up Image Swatches?
An image swatch replaces a plain text filter value with a small image — a brand logo instead of a vendor name, a pattern instead of a fabric label. Customers recognise the image faster than they read