
How do I create a Thank You Page offer?
A Thank You Page offer appears after checkout, on the order-confirmation page, proposing one more product at a discount.
A Thank You Page offer appears after checkout, on the order-confirmation page, proposing one more product at a discount.
The customer has already paid, so their payment details and trust are established — the friction that stops most upsells is simply gone. It also can’t hurt the original order: whatever happens here, the sale you already made is safe.
This type behaves unlike the others in three ways. It has no product eligibility, because it isn’t tied to what was bought. It has no Design section — the offer inherits Shopify’s post-purchase styling, so there are no colours to set. And it needs the thank-you-page surface switched on in your Checkout settings, which is why the page opens with Activate thank you page surface.
Before you start — Sledge must be active on your theme. Decide what the offer is and what it costs you before you build it. The example throughout this guide is Thank you demo store, offering a Cloud White Everyday Tee and other basics.
Step 1 — Name it and choose where it applies
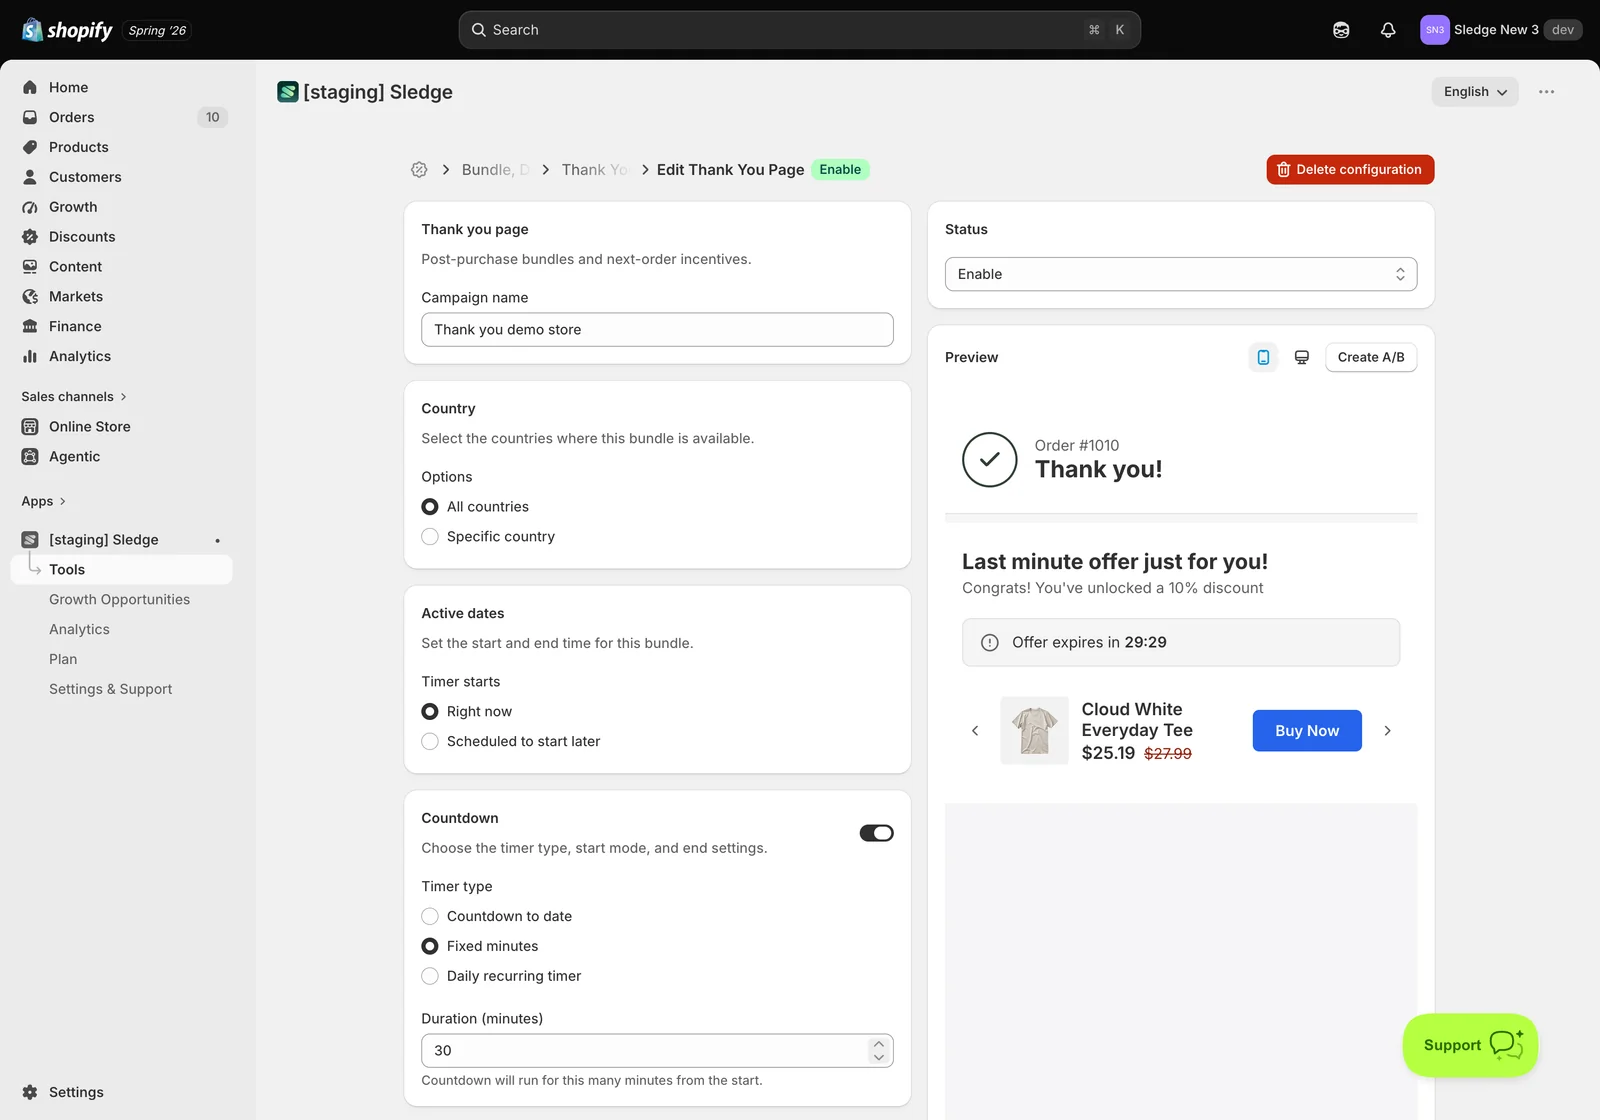
- Go to Tools → Bundle, Discount & Upsell → Thank You Page and open the bundle you want to edit, or create a new one.
- Bundle name — customer-facing, so write it as a shopper would read it.
- There is no product eligibility here either — the offer shows after any order. Use Activate thank you page surface at the top to switch the surface on, then set Country and Active dates if you want to limit when it runs.
Step 2 — Build the offer
The Offer section is where this bundle type does its real work.
The Offer card holds the products you want to propose after checkout:
- Upsell offers — add a card per product, each with its own discount. The example lists several tees.
- Bundle label, description and button text — the pitch. Keep it short; this is a page people are skimming.
- Layout — Slider or grid.
Lead with your strongest single offer. Only the first upsell is shown to a given customer, so ordering matters more here than elsewhere.
Under Surfaces, switch on where the offer should render. The thank-you page is set through your Checkout settings rather than the usual surface list.
A note on design
Unlike every other bundle type, the Thank You Page offer has no Design card. Shopify controls the styling of the post-purchase page, so the offer inherits it automatically and there is nothing for you to configure. If you were looking for colour settings, that’s why they aren’t there.
Step 4 — Save and publish
- Check the Preview, then click Save.
- Set Status to Enable. A saved bundle that is still disabled won’t appear for anyone.
Result
Done. The offer now appears after checkout, on the order-confirmation page customers see once they’ve paid. Because it only exists post-purchase, you can’t open it from your storefront to check — place a test order, or use the Preview panel in the settings to see how it reads.
Not showing up?
- Status must be Enable, and the relevant surface switched on.
- Confirm the thank-you-page surface is activated in your Checkout settings; without it the offer has no place to render.
- Every product involved must be active and in stock — an unavailable product takes the offer down with it.
- If you set Active dates, confirm today falls inside the window.
- Storefront changes take about a minute to sync.
Related
Last updated on
How do I create a Subscription offer?
Subscription offers customers a repeating delivery at a better price than buying once.
How to Set Up A/B Testing for Add-ons?
A/B testing lets you run two versions of the same Add-ons at once and split live traffic between them, so the winner is decided by what customers actually do rather than by opinion.