
How to set up filter product?
Filter is an allowlist: it restricts a collection or search page to only the products you approve, and everything else disappears. It’s the mirror image of Hide — instead of naming what to remove, you
Filter is an allowlist: it restricts a collection or search page to only the products you approve, and everything else disappears. It’s the mirror image of Hide — instead of naming what to remove, you name what’s allowed to stay. Use it to build a tightly curated edit (a campaign landing page, a seasonal capsule) without creating a new Shopify collection.
Filter lives inside a merchandising rule (a “Strategy”). One rule can carry several actions at once.
Before you start — Sledge must be active on your theme, and the collection or search page you want to curate should already be working.
Create the rule
-
Go to Tools → Merchandising → Strategy and click Add Strategies (or open an existing rule).
-
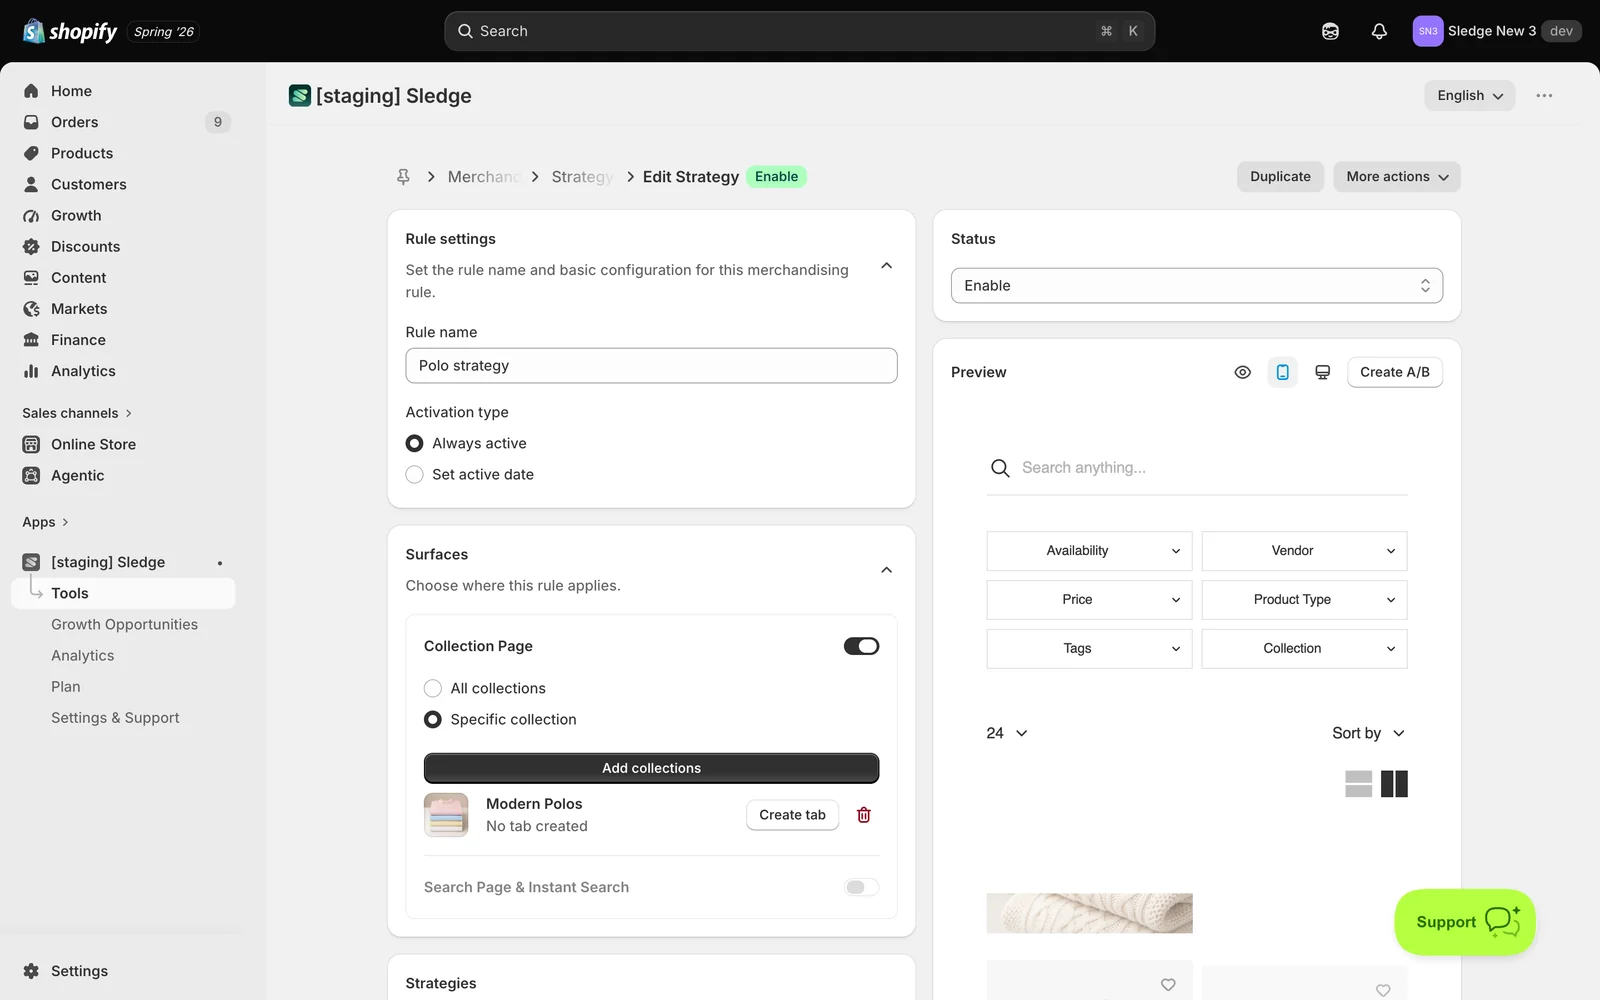
Under Rule settings, enter a Rule name and choose an Activation type — Always active or Set active date.
-
Under Surfaces, enable Collection Page (All collections or Specific collection) and/or Search Page & Instant Search (All searches or Specific keywords). At least one surface is required.
Set up Filter
-
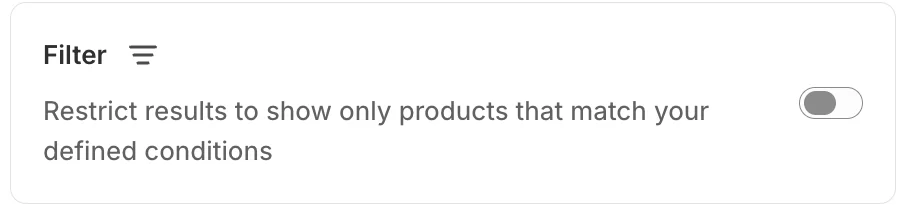
Scroll to Strategies and turn on Filter — “Restrict results to show only products that match your defined conditions”.
-
Choose how to define the allowlist:
- By Product Items — pick the products that are allowed to show (up to 5). Use Add more filter for extra rows.
- By Attributes and Metrics — describe them with condition groups instead (for example, only products with a given Tag, or only those On sale). Every rule in a group must match; add another group for an alternative set.
-
Click Save and set Status to Enable.
Handle with care — Filter is the most aggressive action. Anything outside your allowlist vanishes from that page, so result counts can collapse hard. If you only want to remove a few items, use Hide instead; if you only want to change the order, use Boost or Demote.
Result
Done. That collection or search page now shows only the products on your allowlist — the result count matches the size of your list, and nothing else appears.
To check it on your storefront, open the collection and confirm the result count equals the number of products you allowed, and that only those cards are in the grid.
Not showing up? Check the rule’s Status is Enable and the collection is listed under Surfaces. If the page looks empty, your allowlist is probably too narrow — the allowed products must also genuinely belong to that collection. Storefront changes can take about a minute to sync.
Related
Last updated on
How to set up demote product?
Demote pushes products to the very bottom of a collection or search results without removing them. Use it for clearance leftovers, low-margin lines, or items you must keep listed but don’t want compet
How to set up hide product?
Hide removes products from a collection or search results completely — they simply aren’t there, and the result count drops. Use it for items you don’t want surfaced while browsing (discontinued lines