Rating Widget
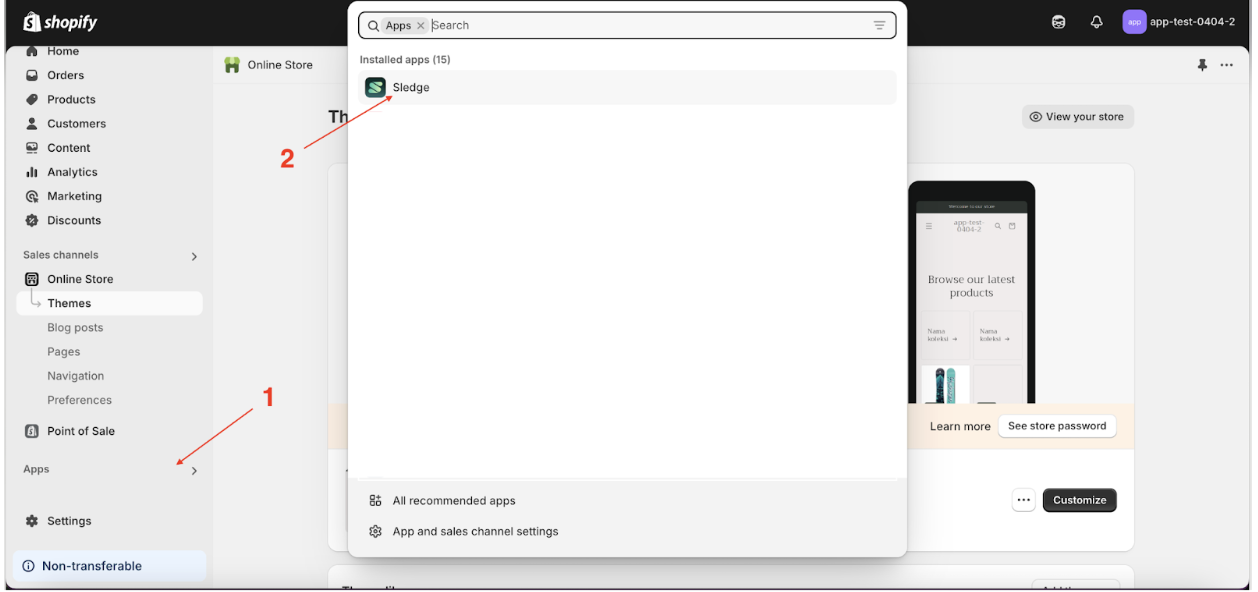
- Go to the Apps Sledge.
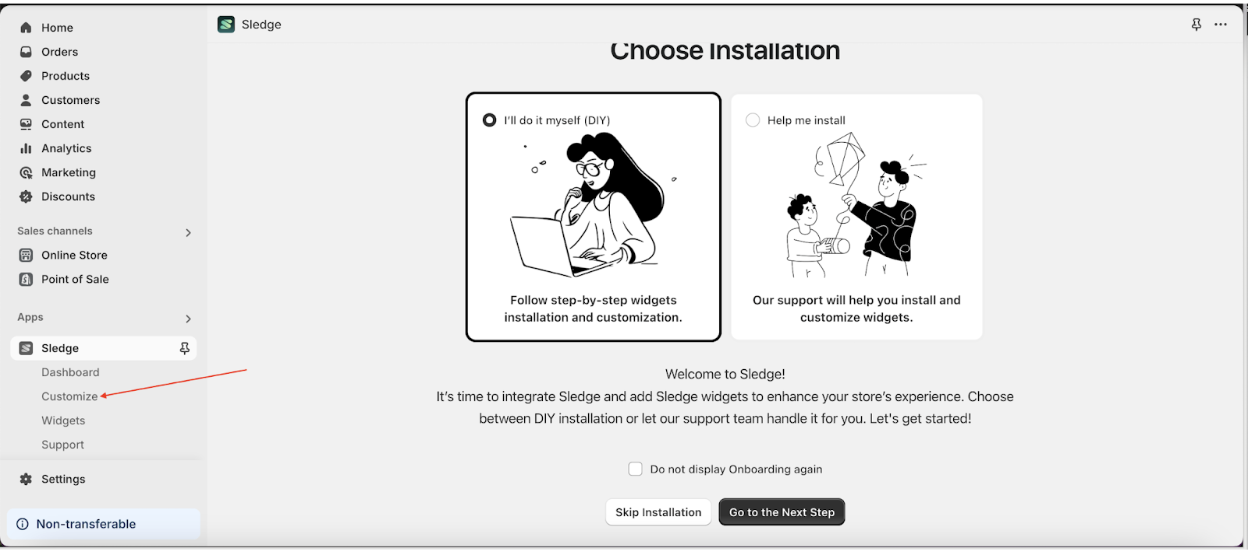
- Select the Customizer menu.
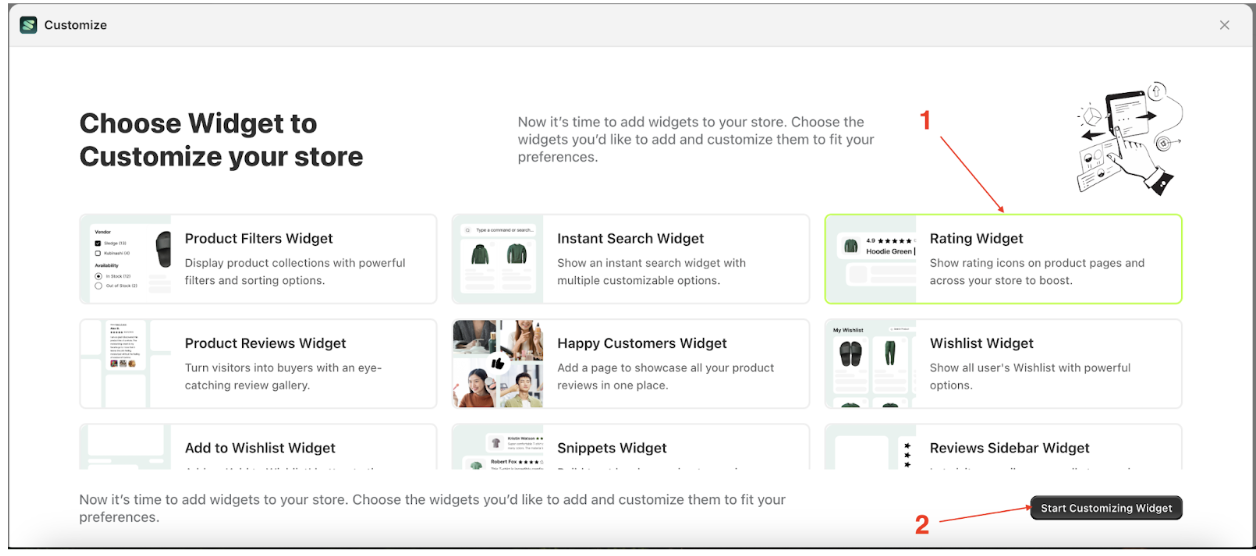
- Choose rating widget and click the Start Customizing Widget button.
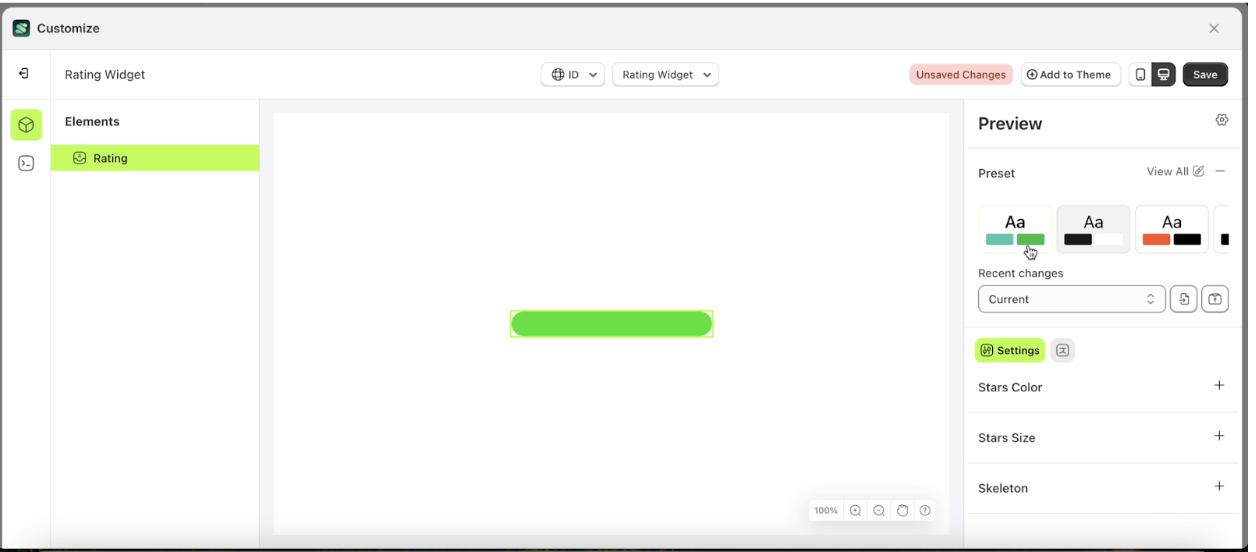
Stars Color
Available settings:
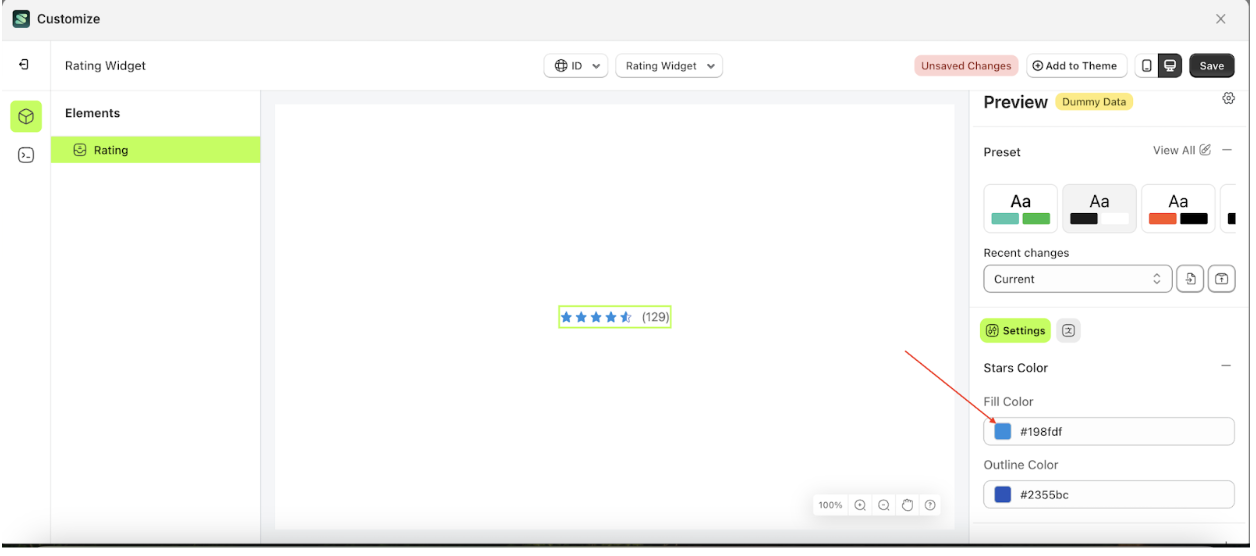
Fill Color
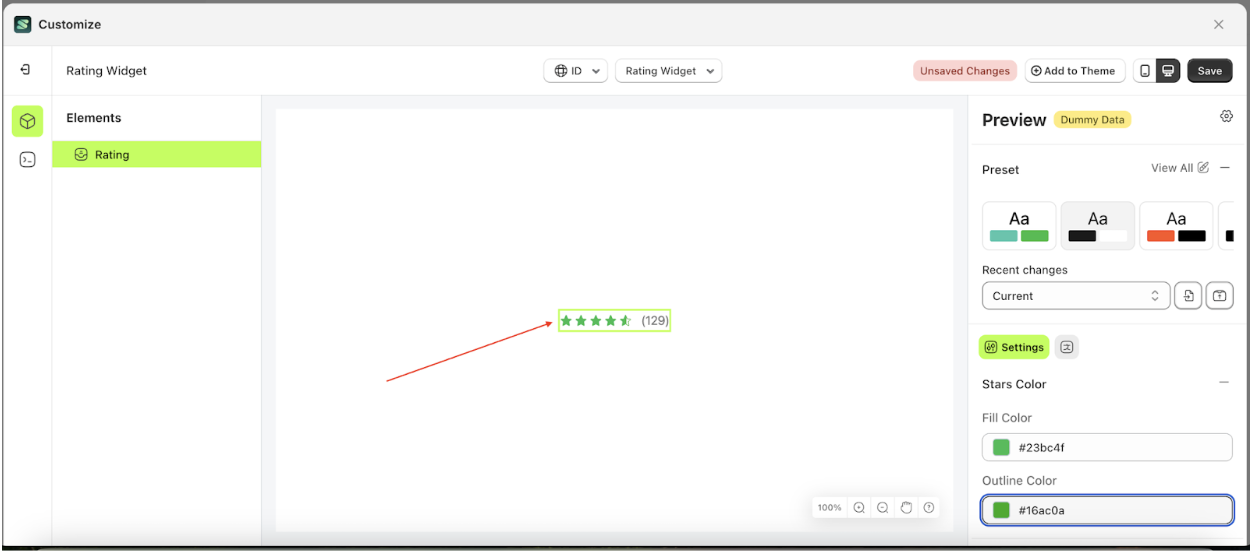
This feature is designed to manage the inner color of the stars.
Follow the steps below:
- Select the Rating element on the right, then click the Settings tab and click the icon marked with a red arrow.
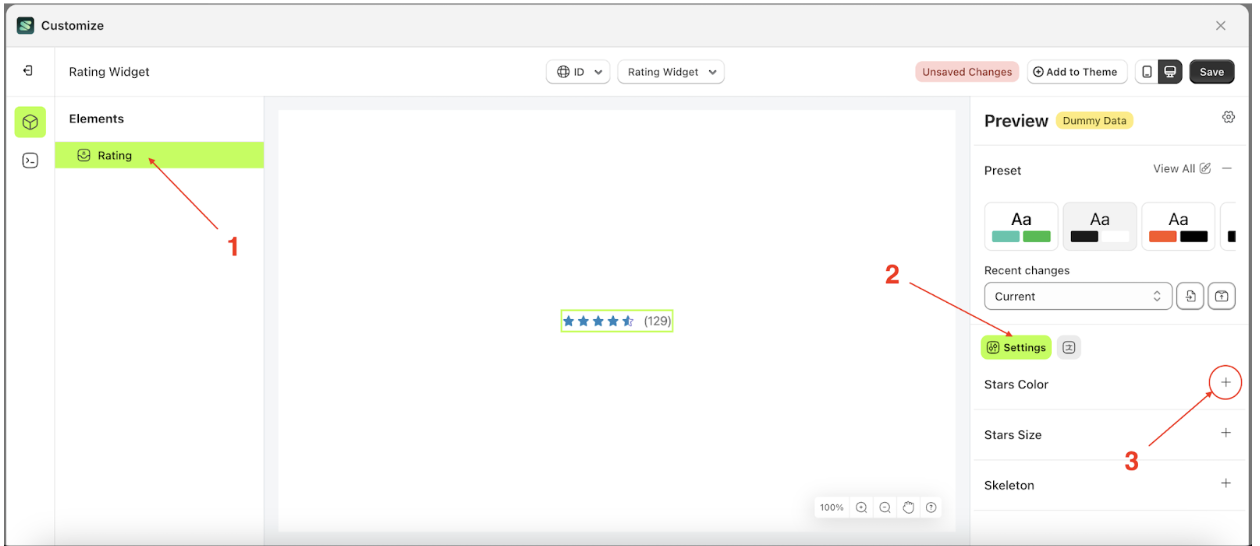
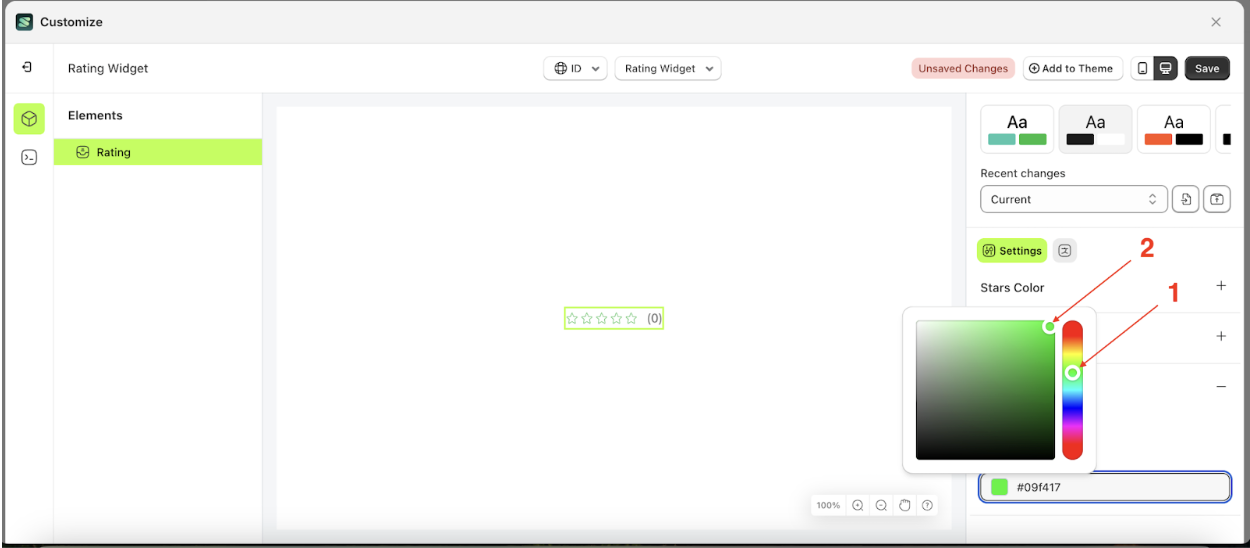
- Click the Color Palette on the right side, which is also marked with a red arrow.
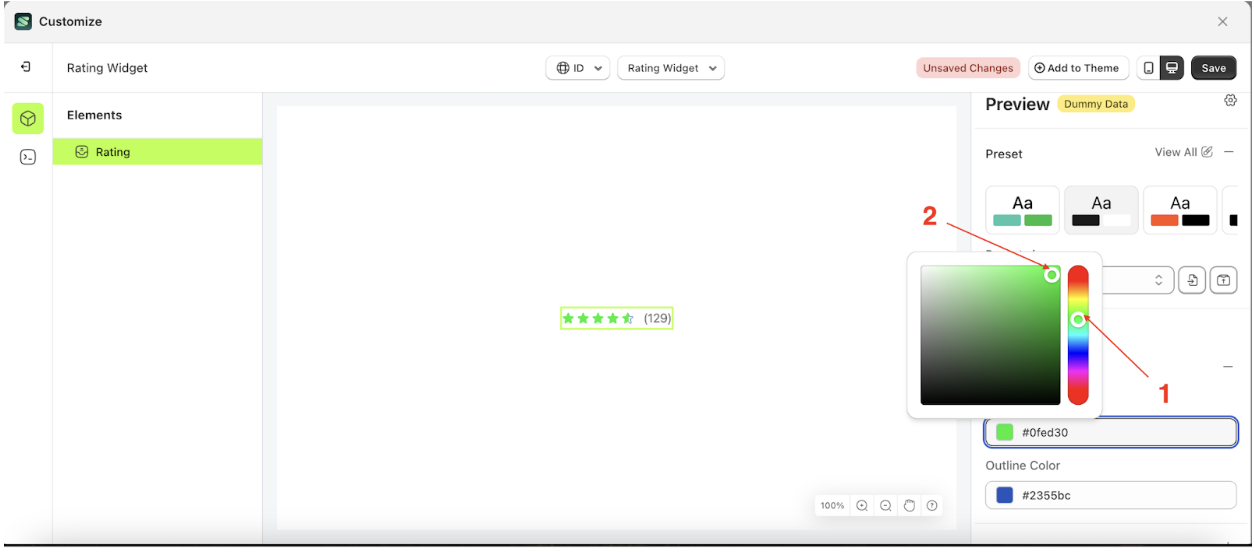
- The Color Palette will appear. Click the right side of the palette where the red arrow and number 1 are indicated, then click the right side again where the red arrow and number 2 are marked.
- To set the star color, select the Fill Color option. For the outer edges of the stars, use the Outline Color setting.
- Stars will change with selected color
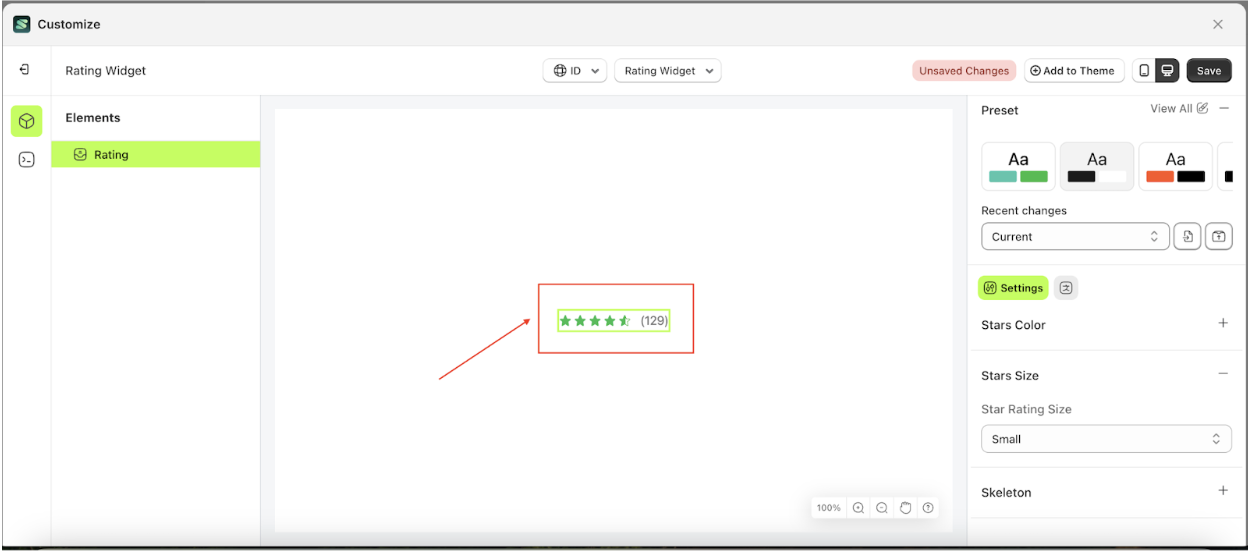
- Example : Before Stars change settings
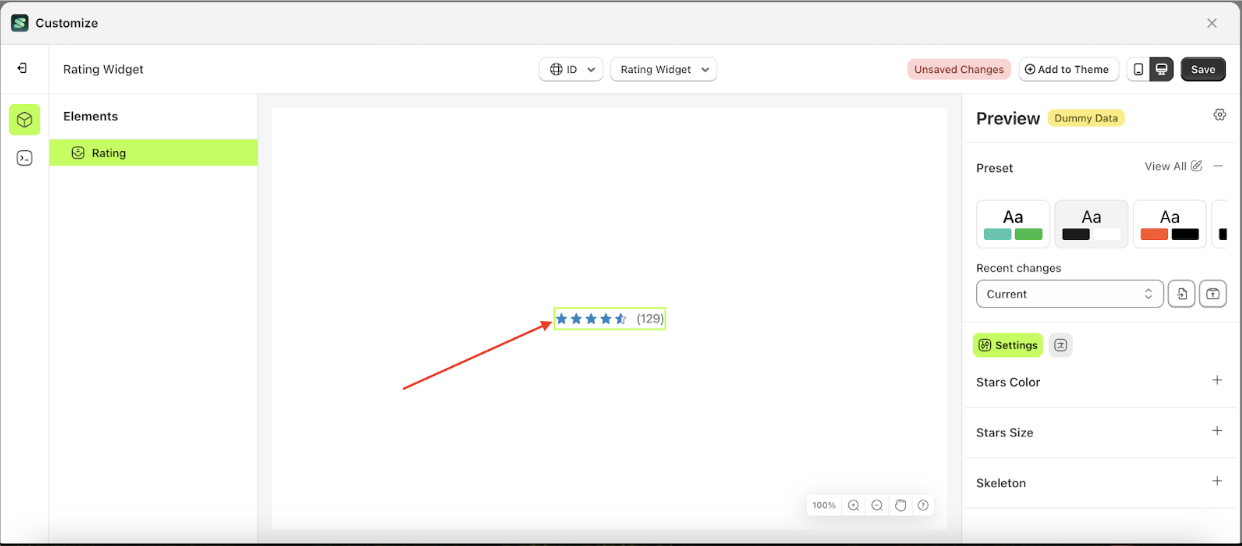
- Example : After Stars change settings
Stars Size
Available settings:
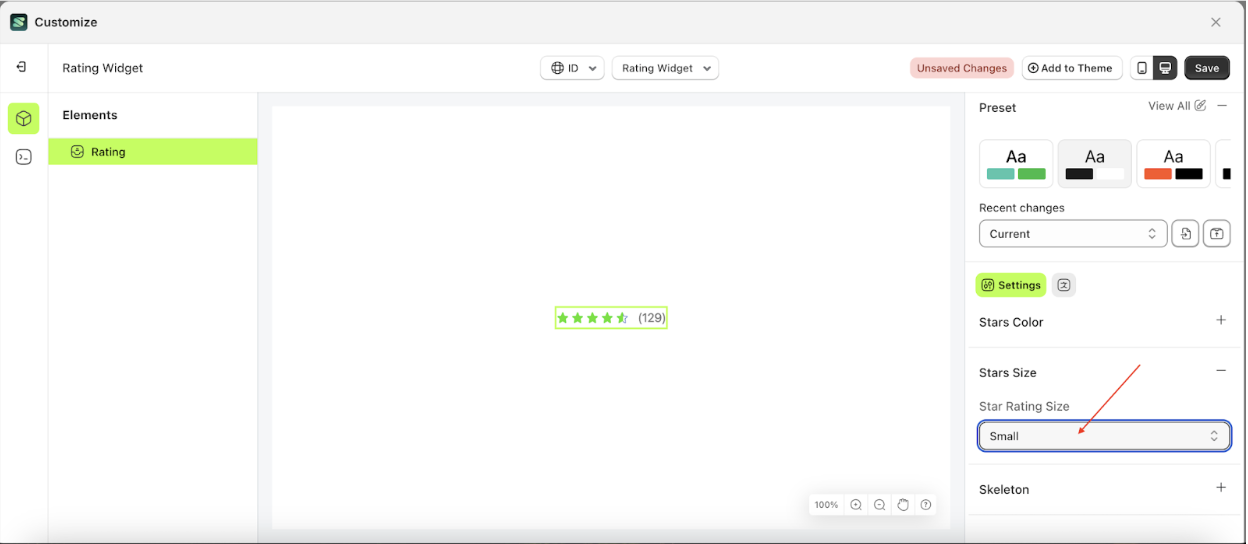
Stars Size
This feature is designed to adjust the size of the star elements.
Follow the steps below:
- Select the Rating element on the right, then click the Settings tab and click the icon marked with a red arrow.
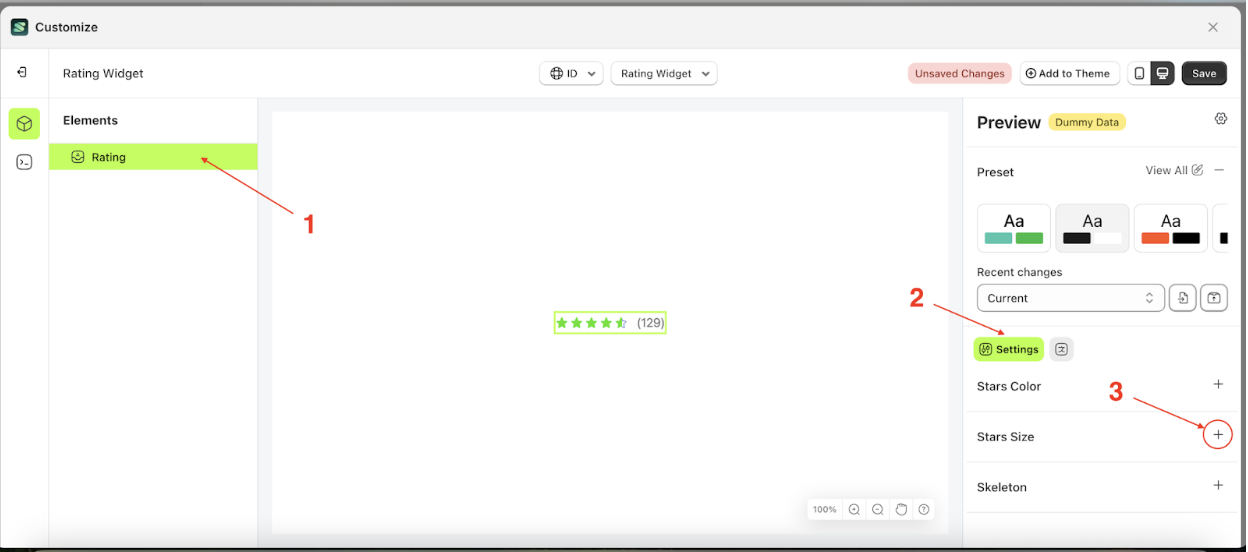
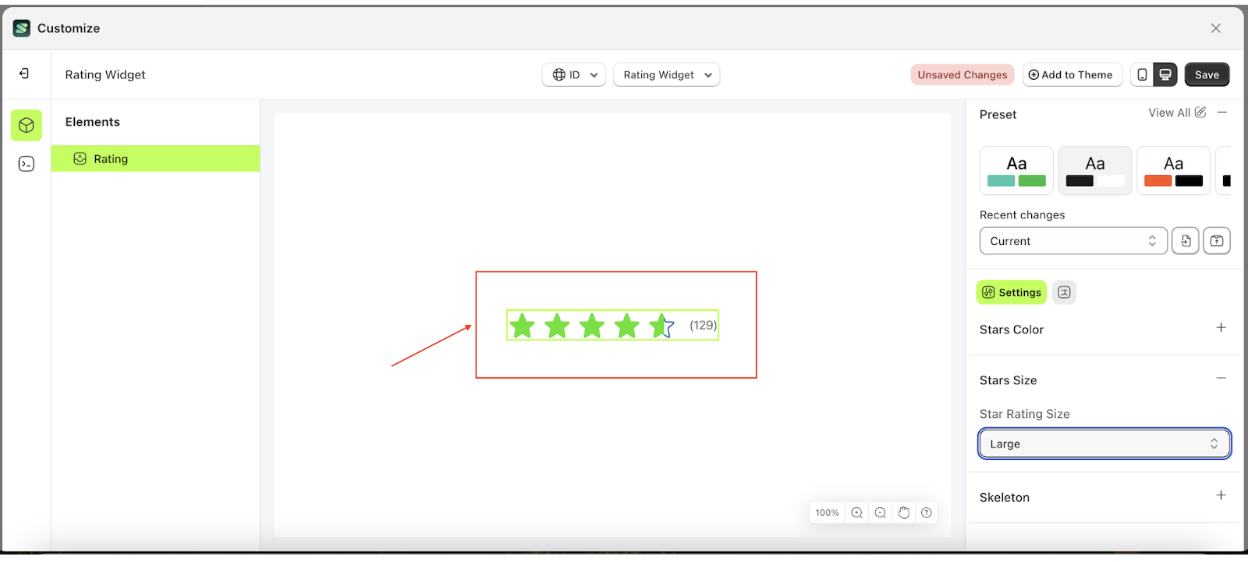
- Click on the area marked with a red arrow to display the list.
- Select the size you want to use—for example, we will choose the Large size.
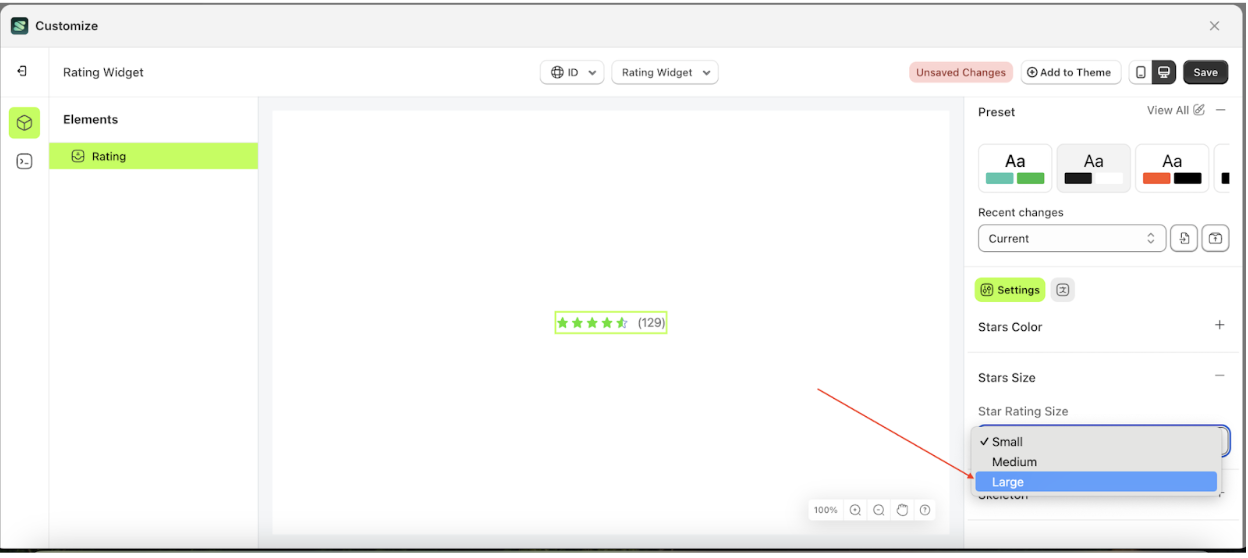
- The star size will adjust according to your selection.
- Example : Before Stars change settings
- Example : After Stars change settings
Skeleton
Available settings:
Main Color
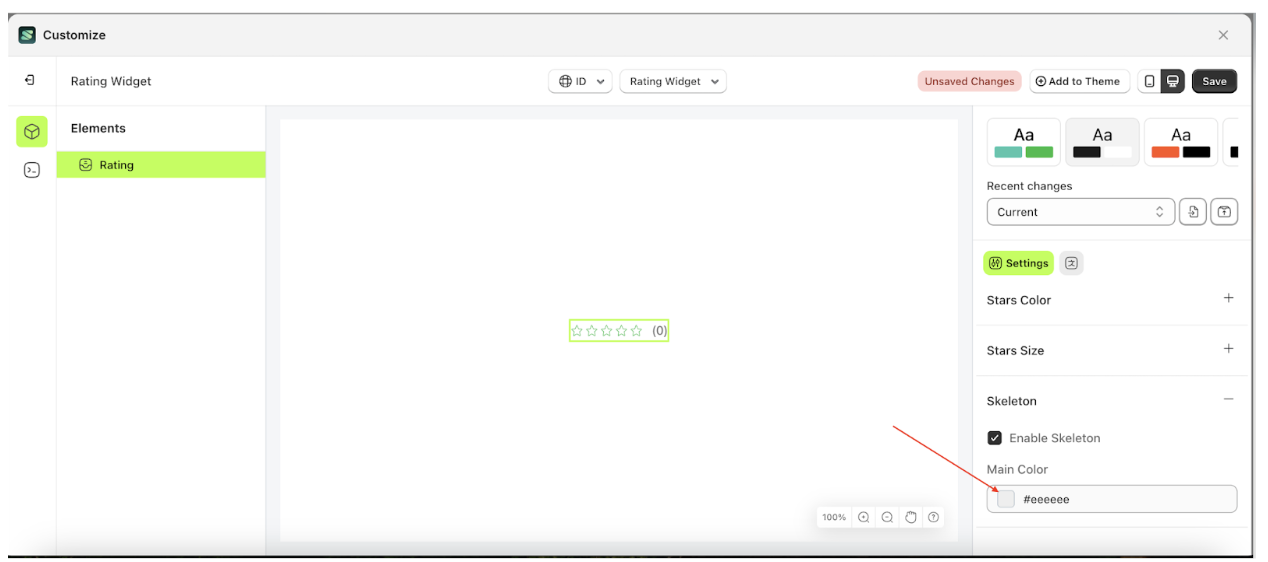
Main Color is a setting that manages the color of the skeleton. However, you must first activate the Enable Skeleton feature.
Follow the steps below:
- Select the Rating element on the right, then click the Settings tab and click the icon marked with a red arrow.
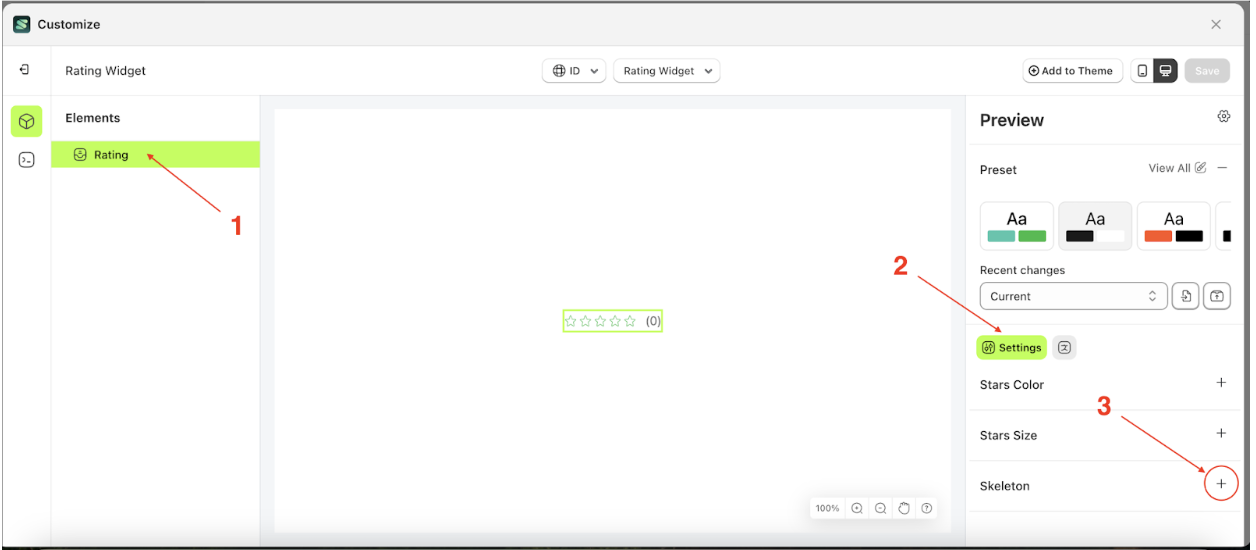
- Enable the Enable Skeleton checkbox.
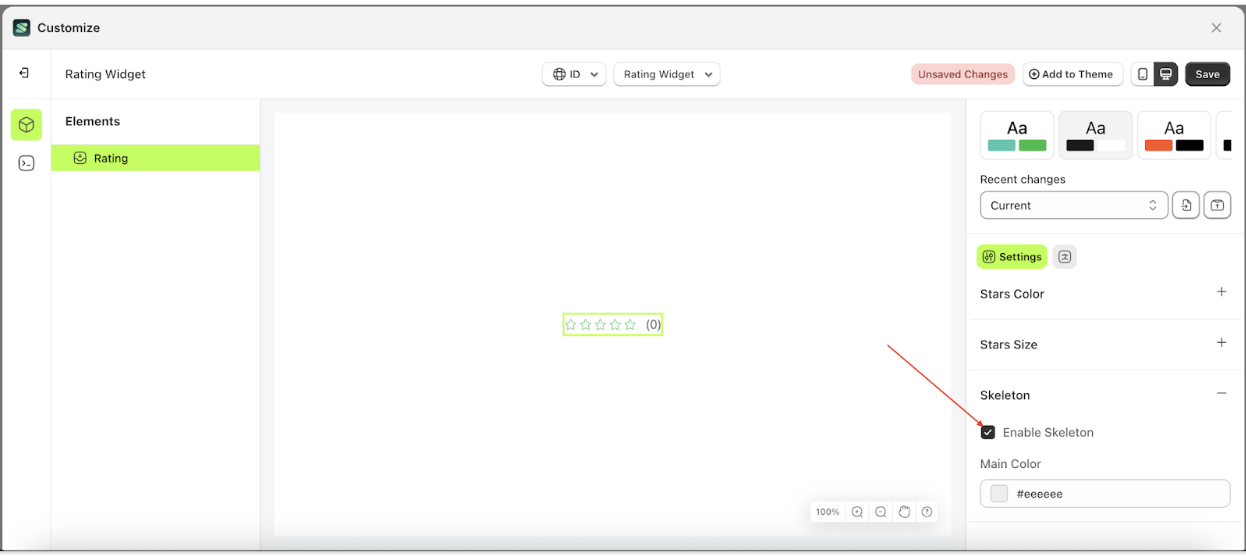
- Click the Color Palette on the right side, which is also marked with a red arrow.
- The Color Palette will appear. Click the right side of the palette where the red arrow and number 1 are indicated, then click the right side again where the red arrow and number 2 are marked.
- Then, click the Save button on the right.
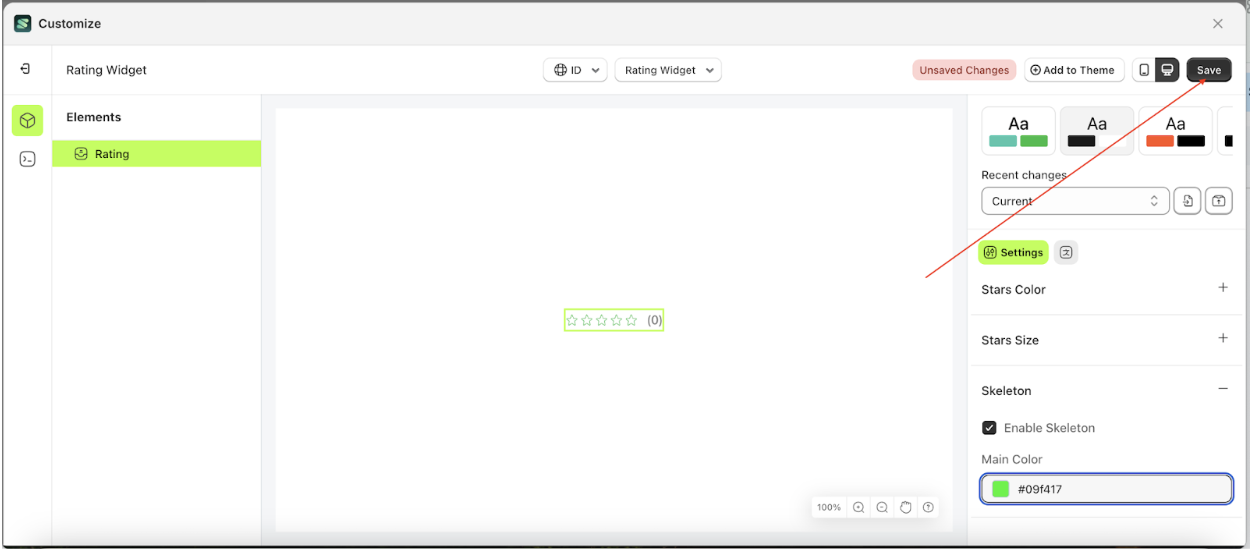
- Skeleton will change with selected color.
- Example : Before Stars change settings
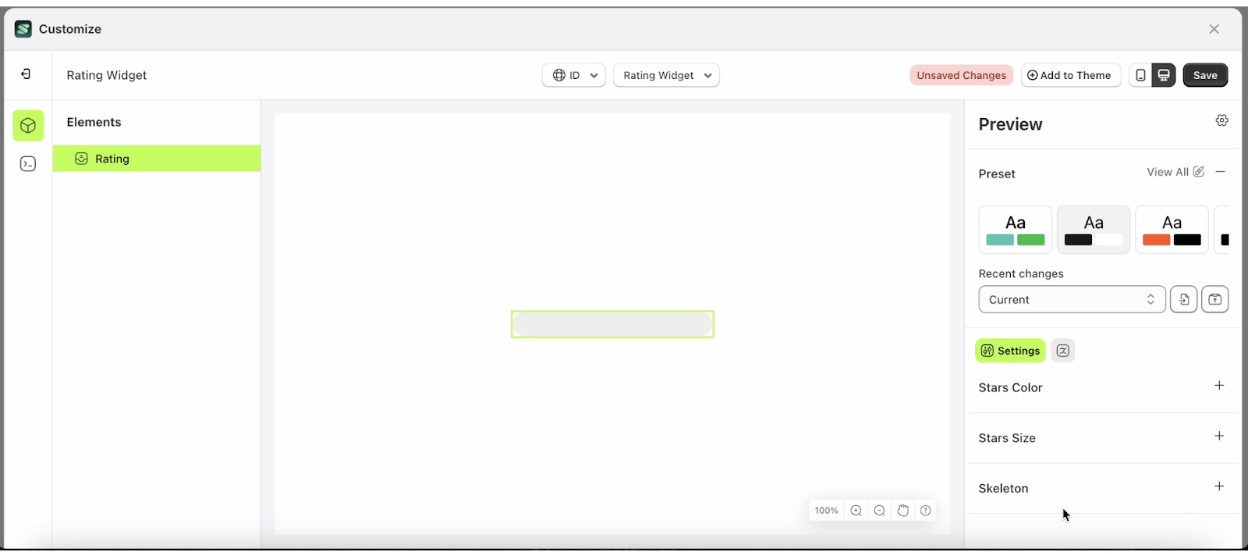
- Example : After Stars change settings