Start using Sledge and Liquid
Prior using all Sledge's widgets, follow the steps below to start integrating Sledge into your Shopify theme.
Quickstart
Setup Sledge Core
First, follow the steps below:
- Go to your Shopify Admin Panel
- On sidebar, go to menu:
Sales channels › Online Store › Themes
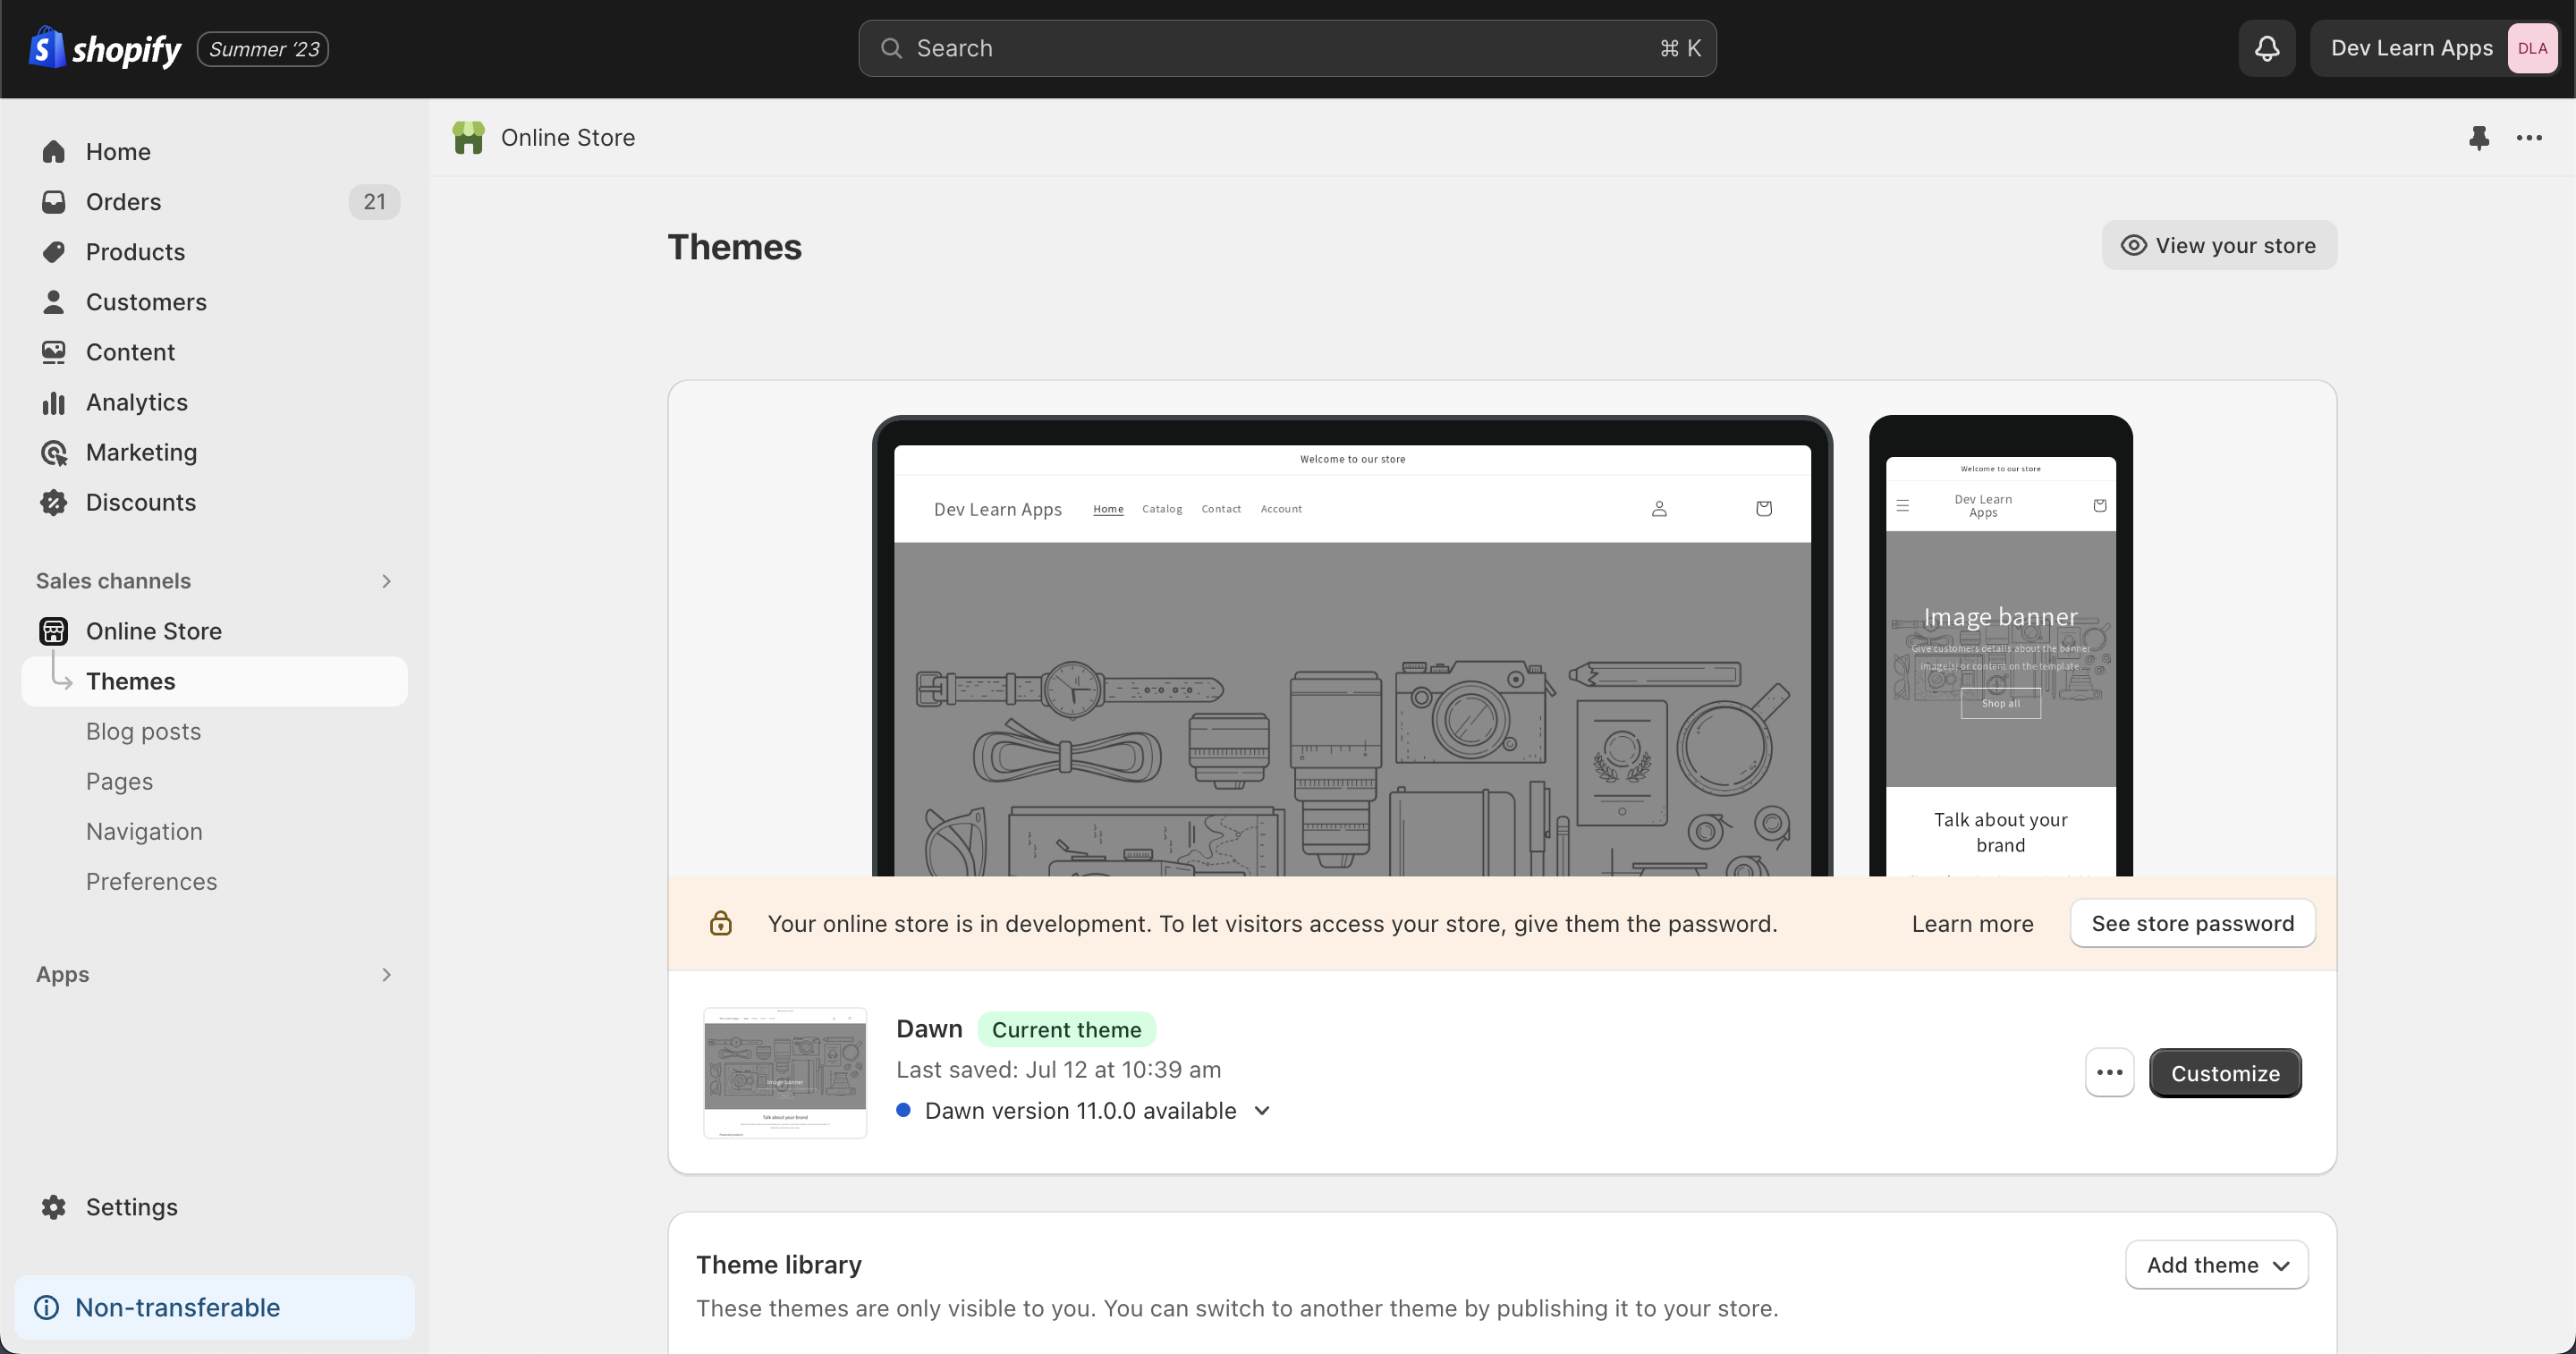
- On
current theme, click more button and click "Edit code"

- Find and open
layout/theme.liquid.
- theme.liquid
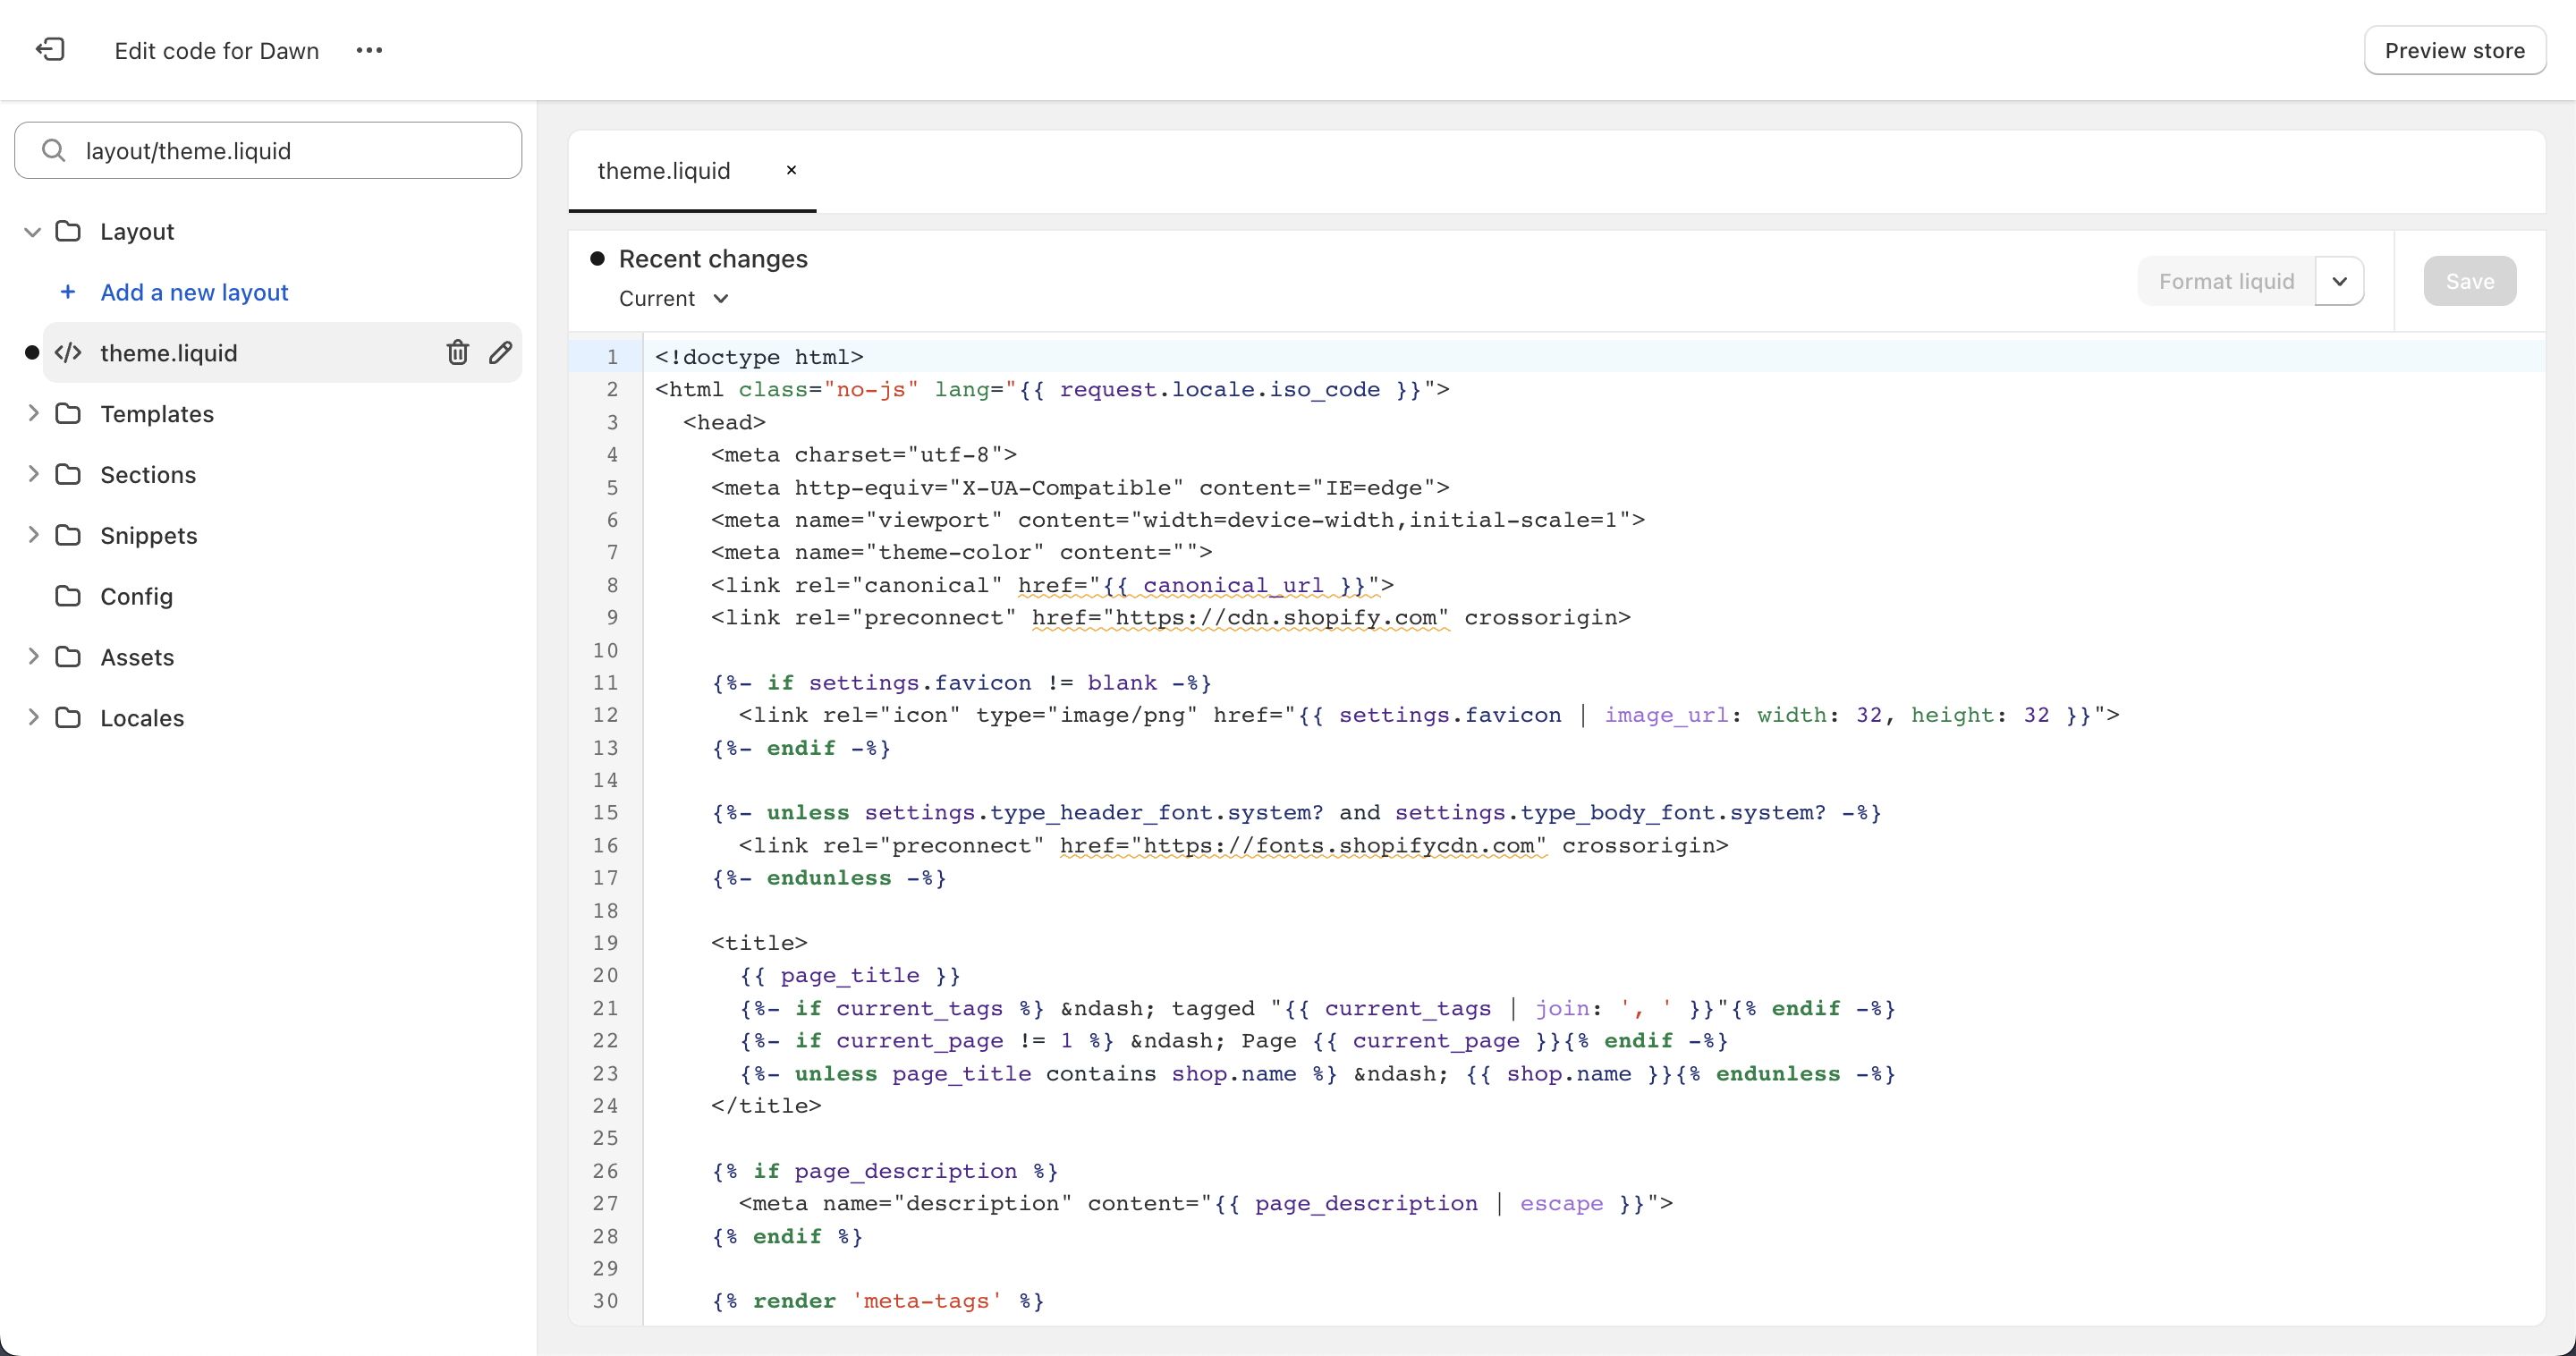
You can paste code below inside <head> tag on your project.
{% comment %}
  Start automatic get user data, do not change this code
{% endcomment %}

{% assign user_id = "" %}
{% assign user_email = "" %}
{% assign user_fullname = "" %}
{% if customer %}
  {% assign user_id = customer.id %}
  {% assign user_email = customer.email %}
  {% assign user_fullname = customer.name %}
  {% if customer.name == null or customer.name == "" %}{% assign user_fullname = customer.email | split: "@" | first %}{% endif %}
{% endif %}

{% comment %}
  End automatic get user data, do not change this code
{% endcomment %}

<link rel="stylesheet" href="https://cdn.jsdelivr.net/npm/@sledge-app/js@latest/dist/style.css" />

<script
    type="module"
    id="sledge-embed-script"
    src="https://cdn.jsdelivr.net/npm/@sledge-app/js@latest/dist/sledge.min.js"
></script>

<script>
    var sledge = sledge || {};
    sledge.config = {
      userId: "{{ user_id }}",
      userEmail: "{{ user_email }}",
      userFullname: "{{ user_fullname }}",
      domain: "{{ shop.permanent_domain }}",
    };
</script>
sledge.config Parameters
Let's look on list of all available parameters:
| Parameter | Type | Description |
|---|---|---|
| userId | string | Fill with your own user logined data, |
| userEmail | string | Fill with your own user logined data, |
| userFullname | string | Fill with your own user logined data, |
| domain | string (required) | Fill with your shop's |
Implement widget
We're going to try implement product filters widget so,
Create a new file named sledge-instant-search-product-filter-widget.liquid inside snippets folder.
- sledge-instant-search-product-filter-widget.liquid
<div
  data-component="instant-search-product-filter-widget"
  data-query-keyword="q"
  data-collection-id="{{ collection.id }}"
  data-collection-name="{{ collection.title }}"
></div>
instant-search-product-filter-widget Parameters
Let's look on list of all available parameters:
| Parameter | Type | Description |
|---|---|---|
| data-query-keyword | string | Fill up your unique |
| data-collection-id | number (required) | Fill with your own collection id, |
| data-collection-name | number (required) | Fill with your own collection name, |
Render Product Filter Widget
In collection.liquid, render your sledge-instant-search-product-filter-widget.liquid snippets and use it to render ProductFilterWidget
- collection.liquid
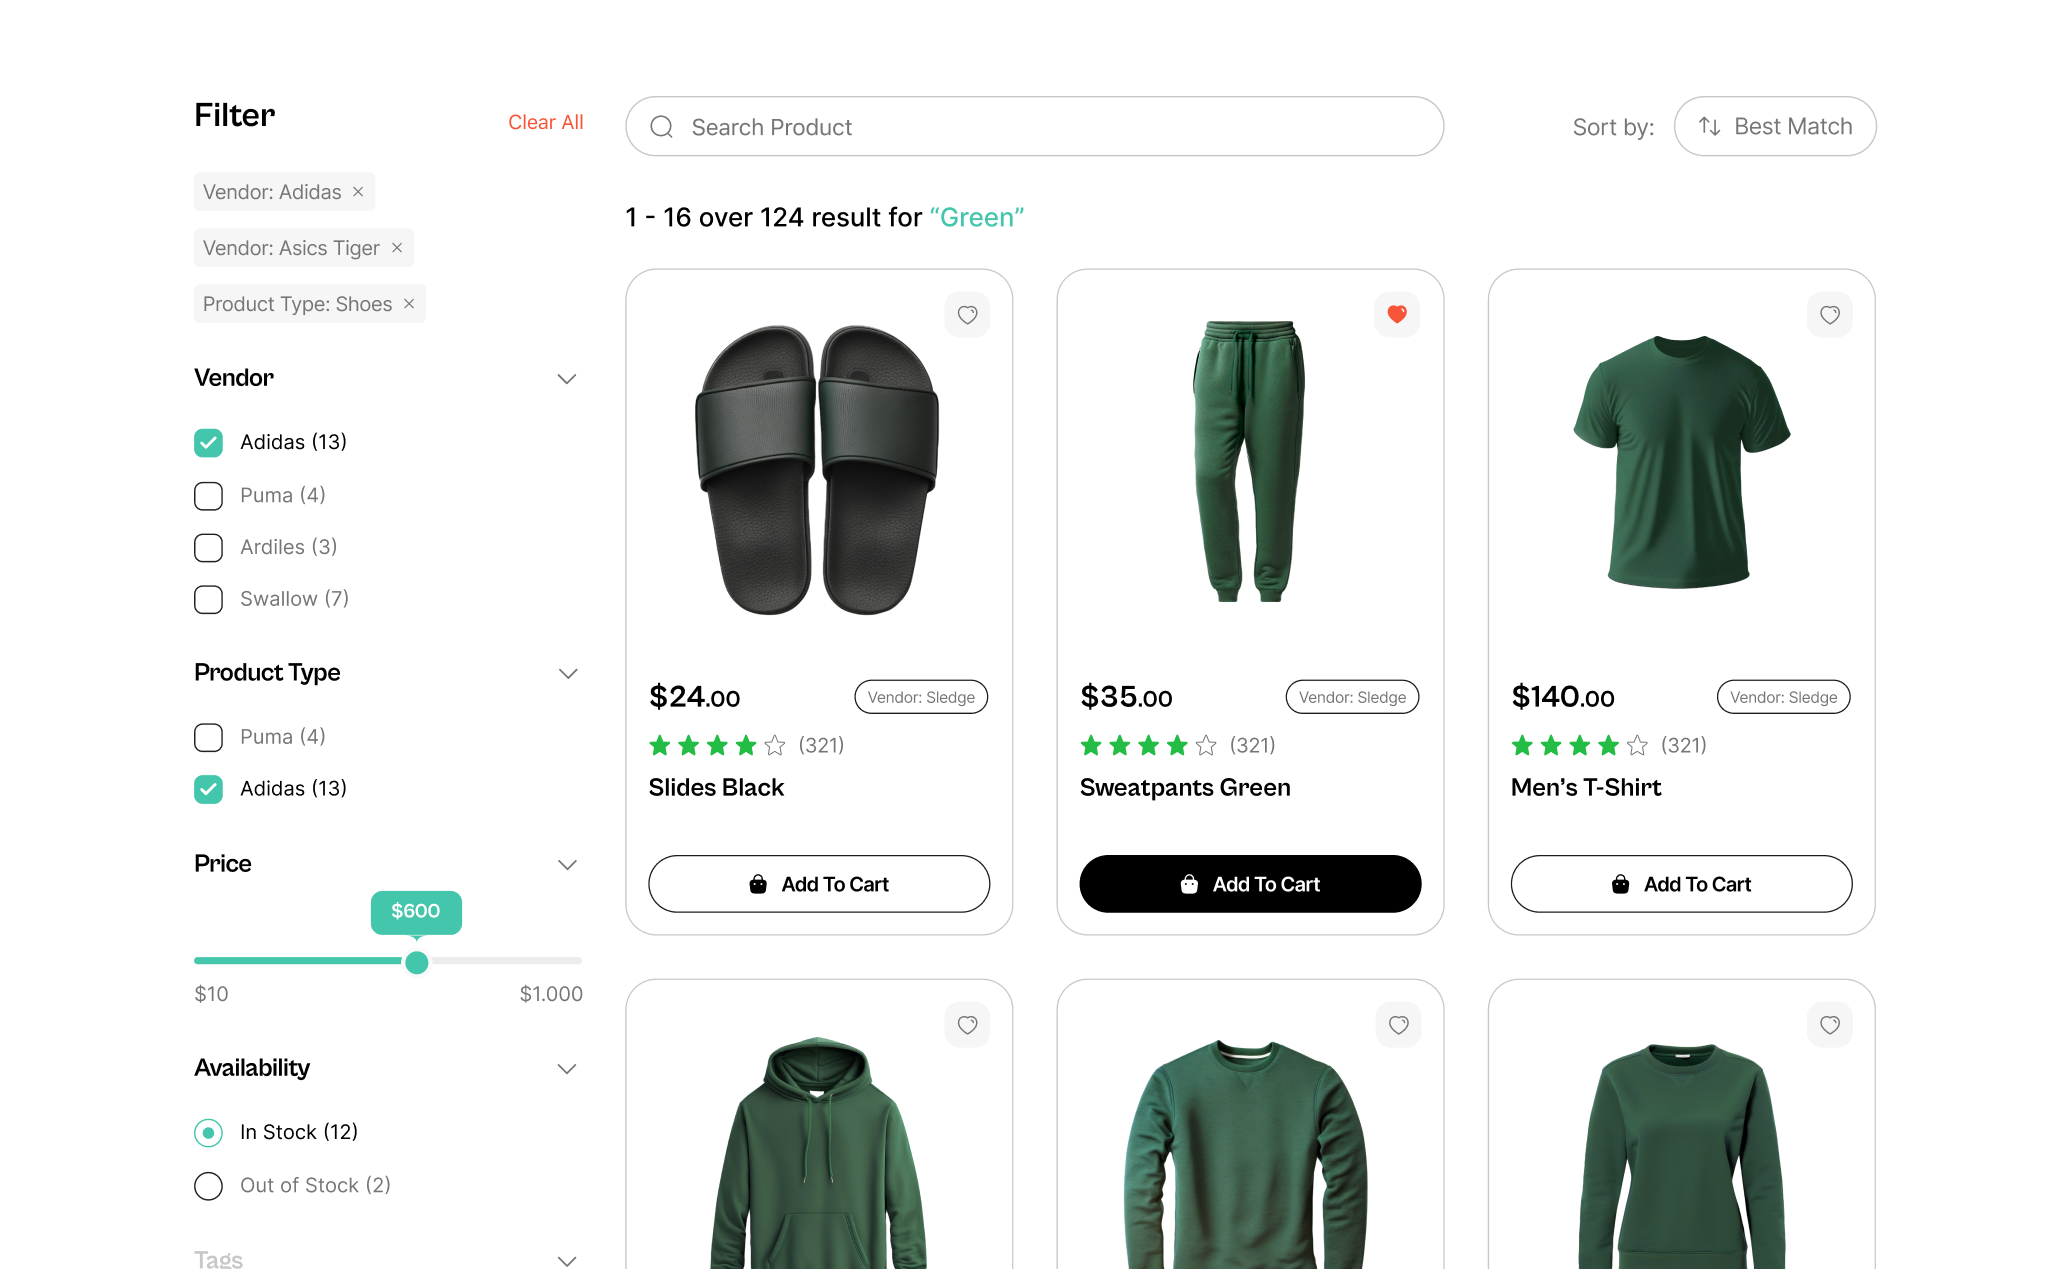
{% render 'sledge-instant-search-product-filter-widget', collection: collection %}Widget completely running
Sledge's product filters widget is now ready to be used.
Learn more
Congratulations! Now that the installation is complete, you can use all Sledge's widgets and start integrating to your Shopify theme.