Start using Sledge and Webflow
Prior using all Sledge's widgets, follow the steps below to start integrating Sledge into your Webflow storefront.
Quickstart
Setup Sledge Core
First, copy this code and paste it later inside the <head> tag
<link rel="stylesheet" href="https://cdn.jsdelivr.net/npm/@sledge-app/js@latest/dist/style.css" />

<script
    type="module"
    id="sledge-embed-script"
    src="https://cdn.jsdelivr.net/npm/@sledge-app/js@latest/dist/sledge.min.js"
></script>

<script>
    var sledge = sledge || {};
    sledge.config = {
      userId: "",
      userEmail: "",
      userFullname: "",
      domain: "",
    };
</script>
sledge.config Parameters
Let's look on list of all available parameters:
| Parameter | Type | Description |
|---|---|---|
| userId | string | Fill with your own user logined data |
| userEmail | string | Fill with your own user logined data |
| userFullname | string | Fill with your own user logined data |
| domain | string (required) | Fill with your shop's |
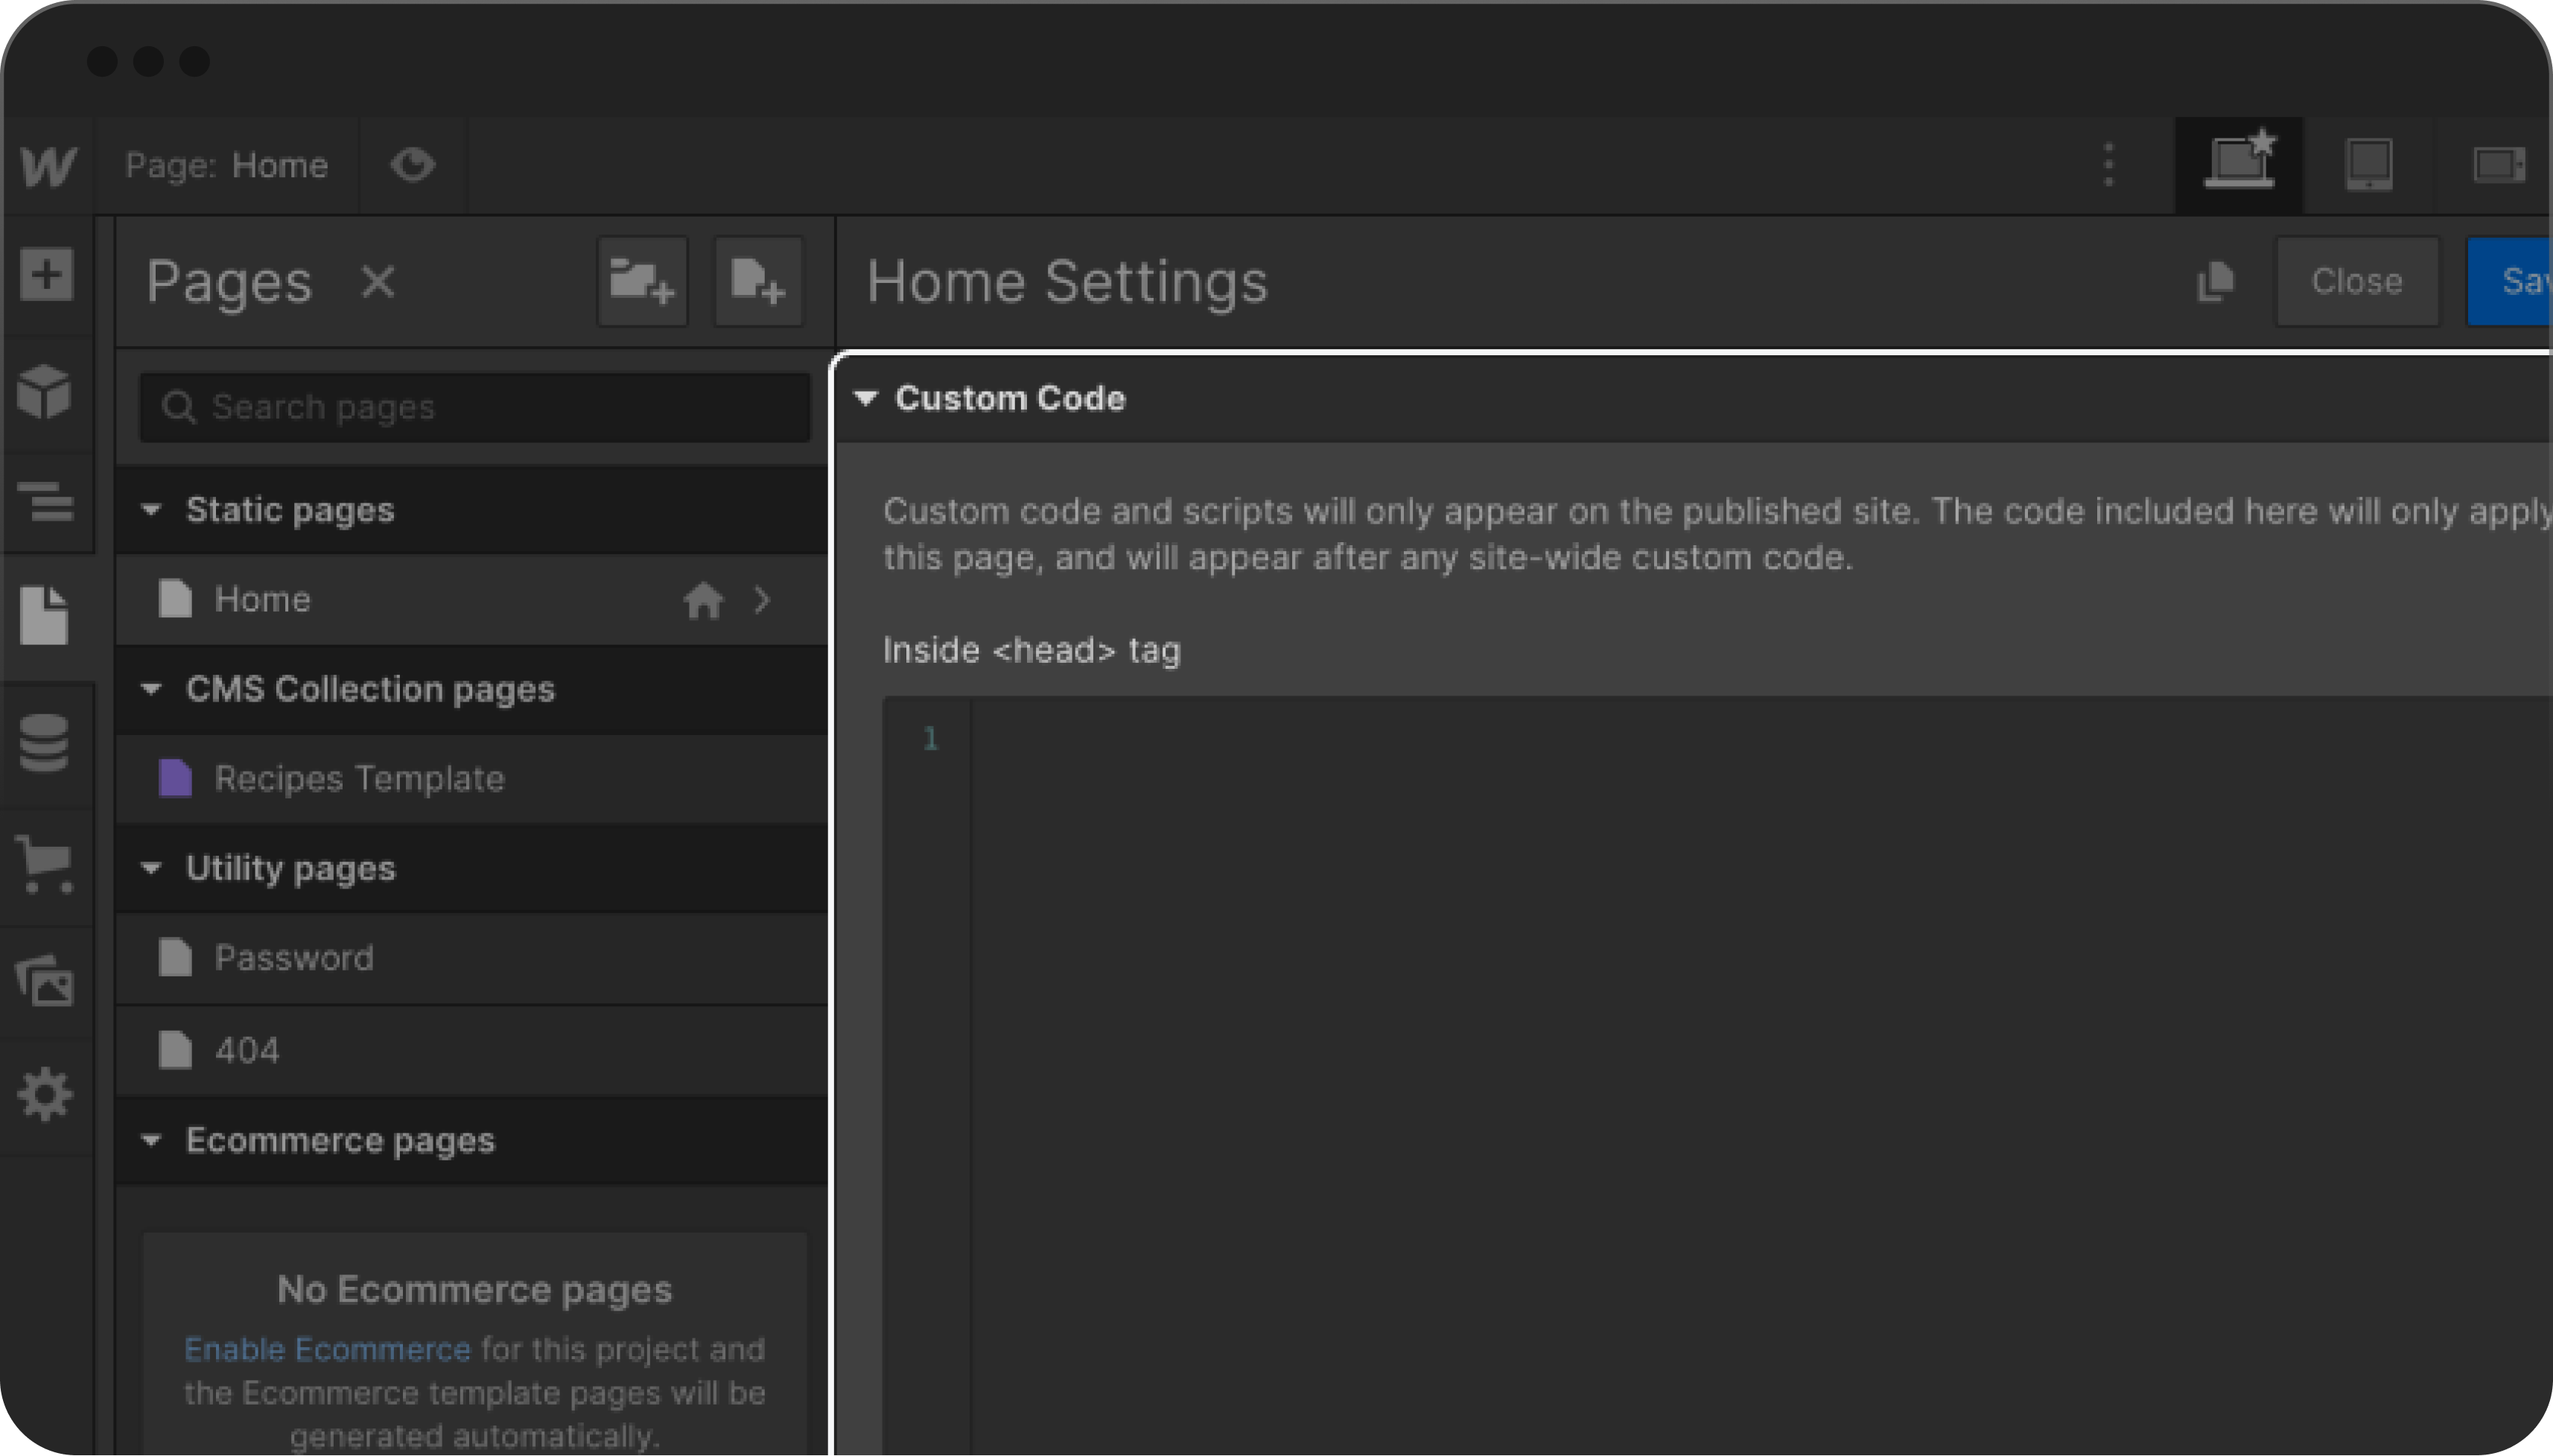
Place embed code above to your project
You can paste it inside <head> tag
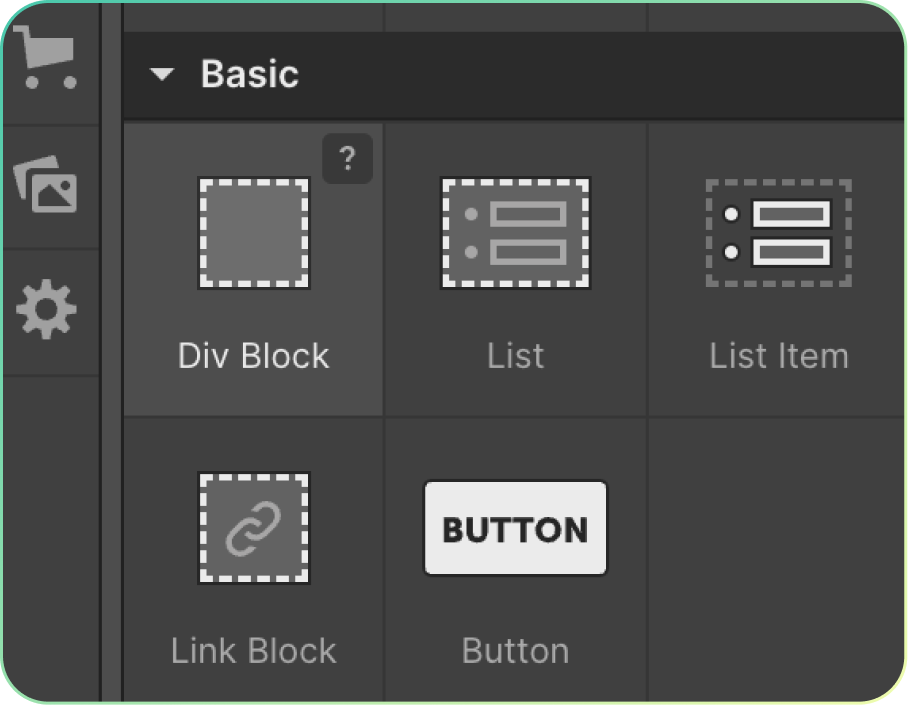
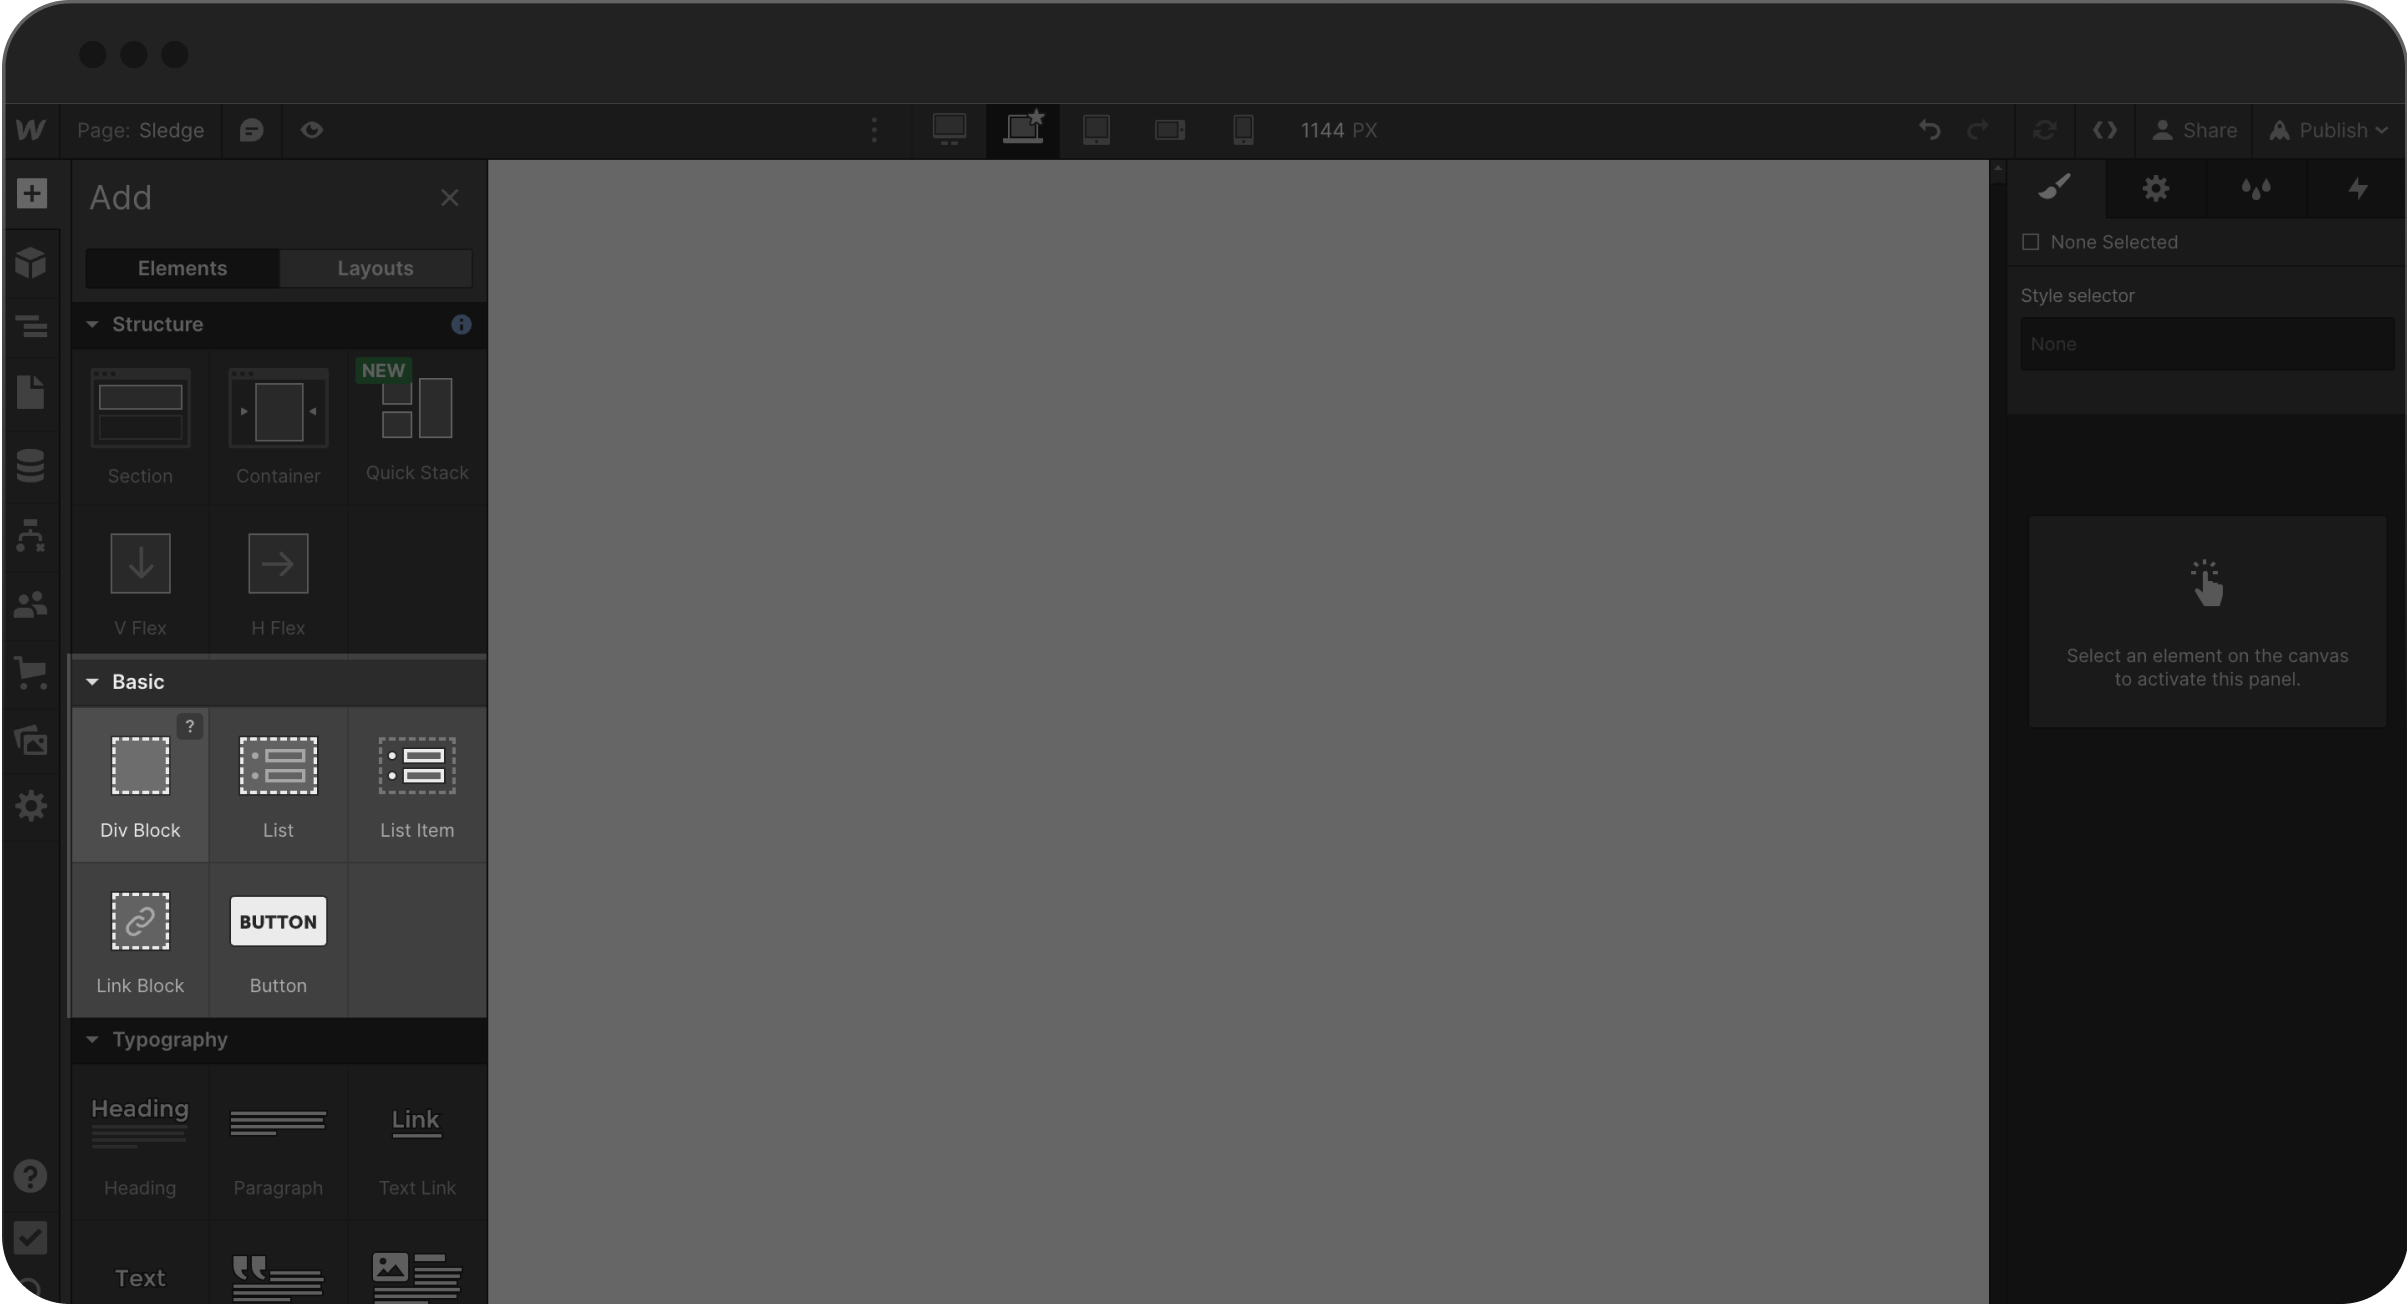
Create a element
Example below using Div Block
Implement widget
You can use a sledge's widget by add the attribute into your element
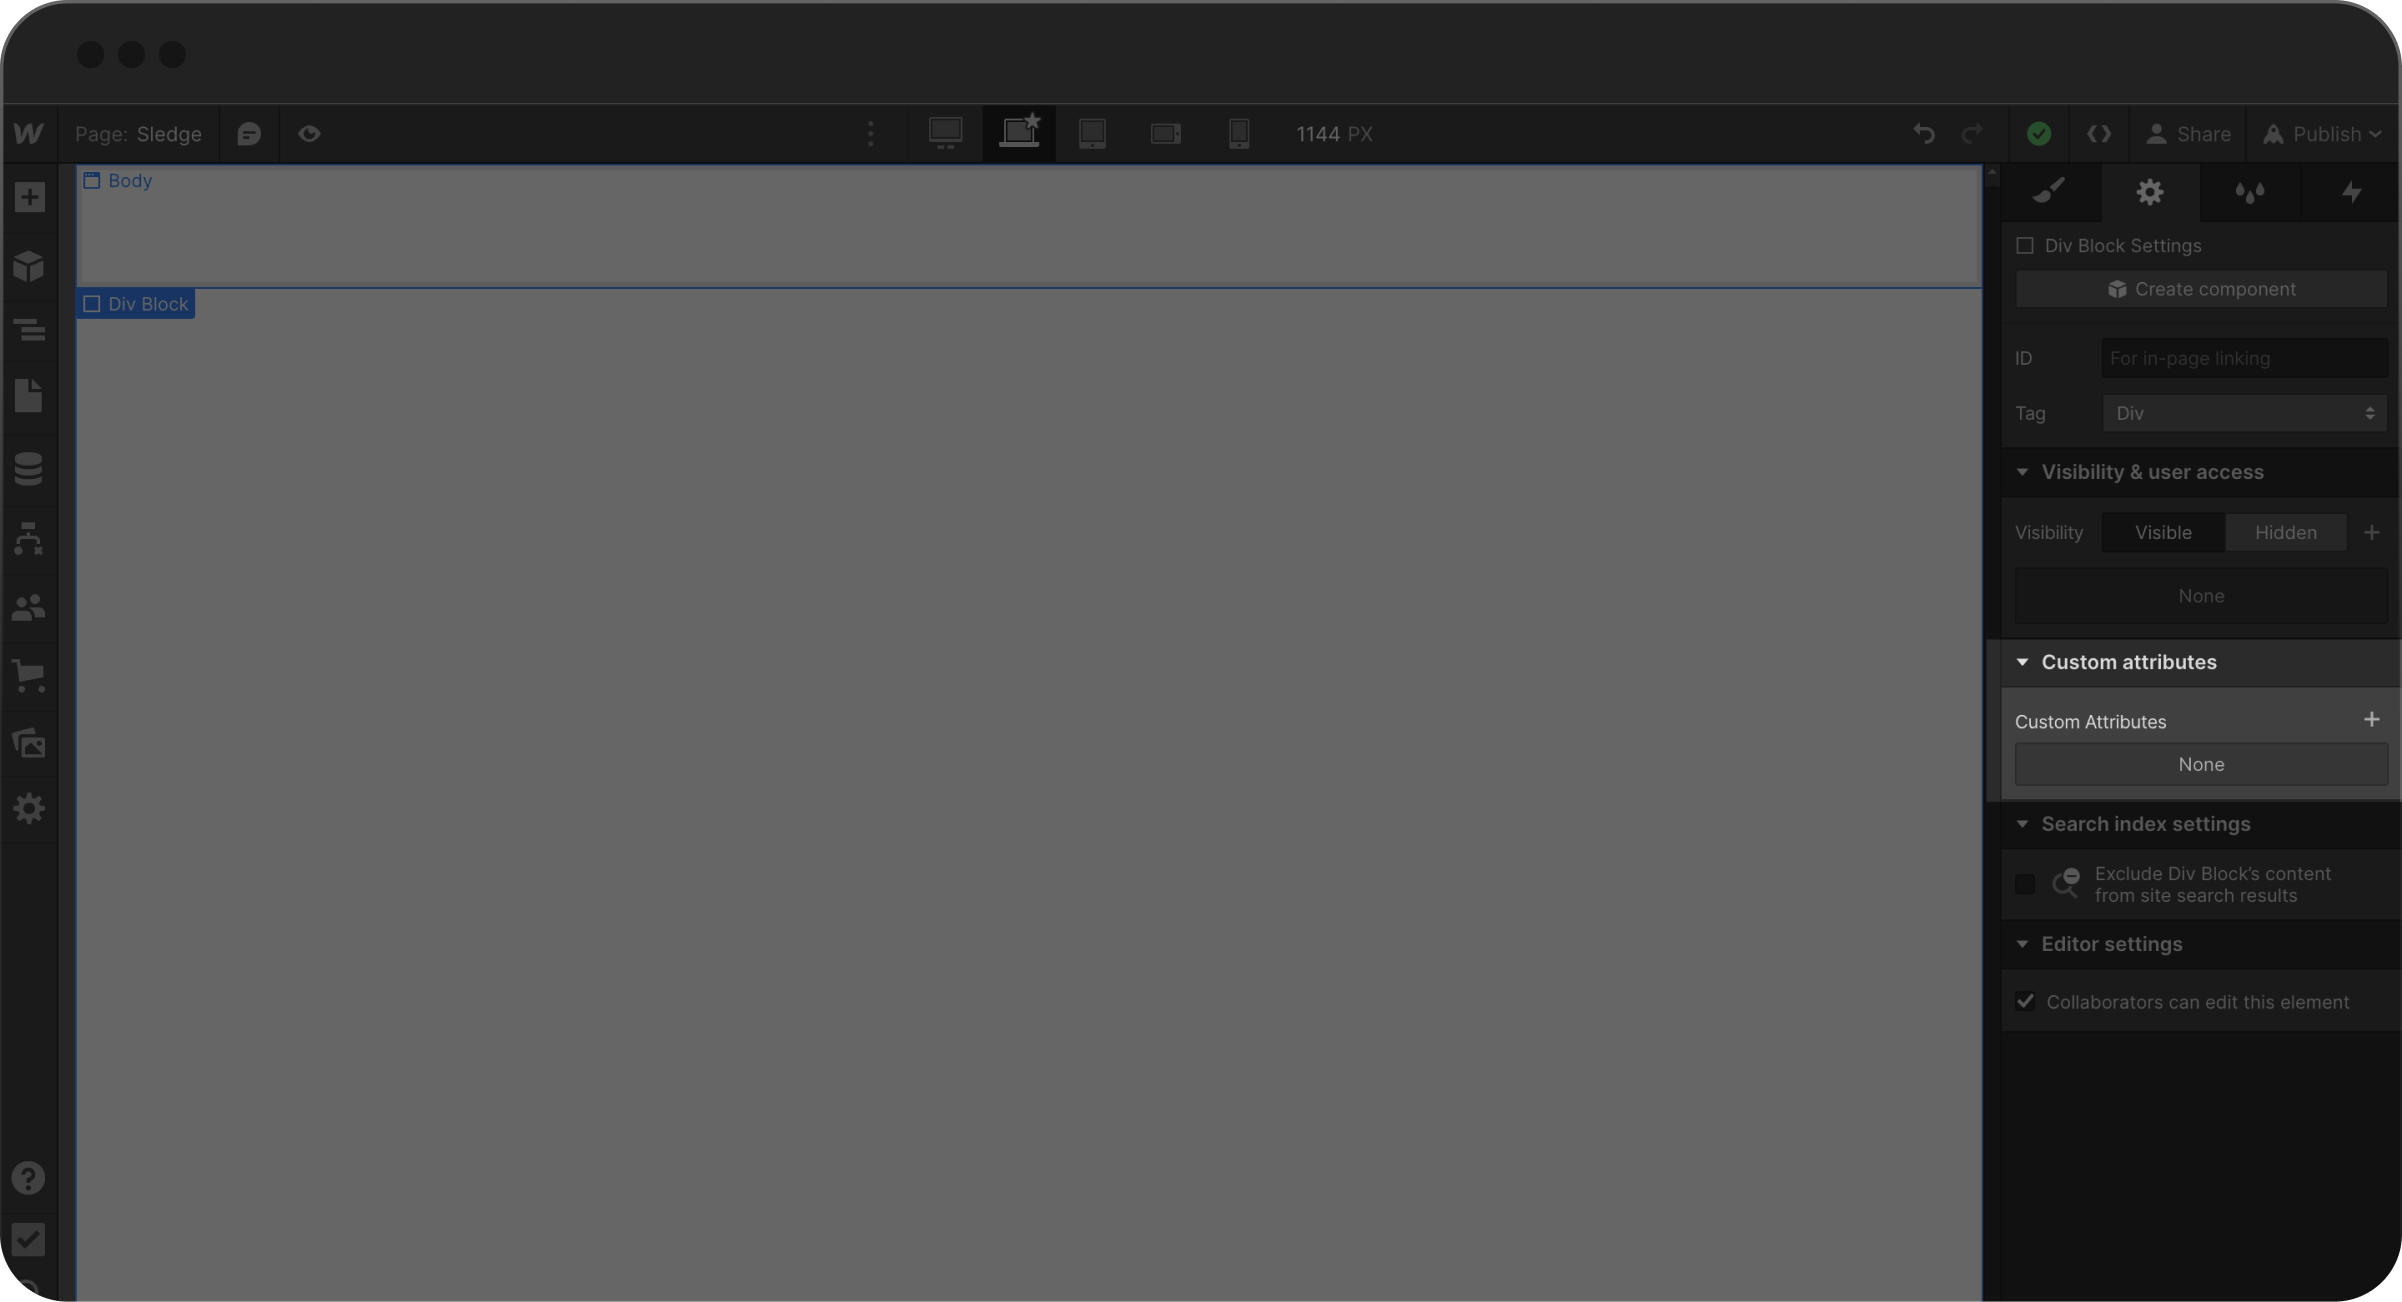
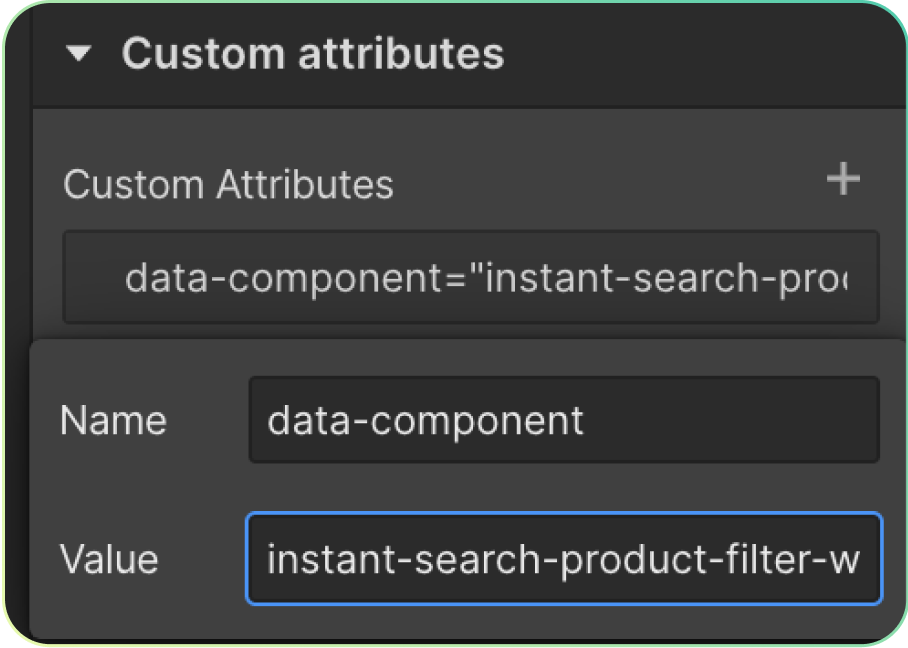
Or you can place this code in custom code webflow, see the documentation about custom code embed at webflow
<div
  data-component="instant-search-product-filter-widget"
  data-query-keyword="q"
  data-collection-id=""
  data-collection-name=""
></div>
instant-search-product-filter-widget Parameters
Let's look on list of all available parameters:
| Parameter | Type | Description |
|---|---|---|
| data-query-keyword | string | Fill up your unique |
| data-collection-id | number (required) | Fill with your own collection id, |
| data-collection-name | string (required) | Fill with your own collection name, |
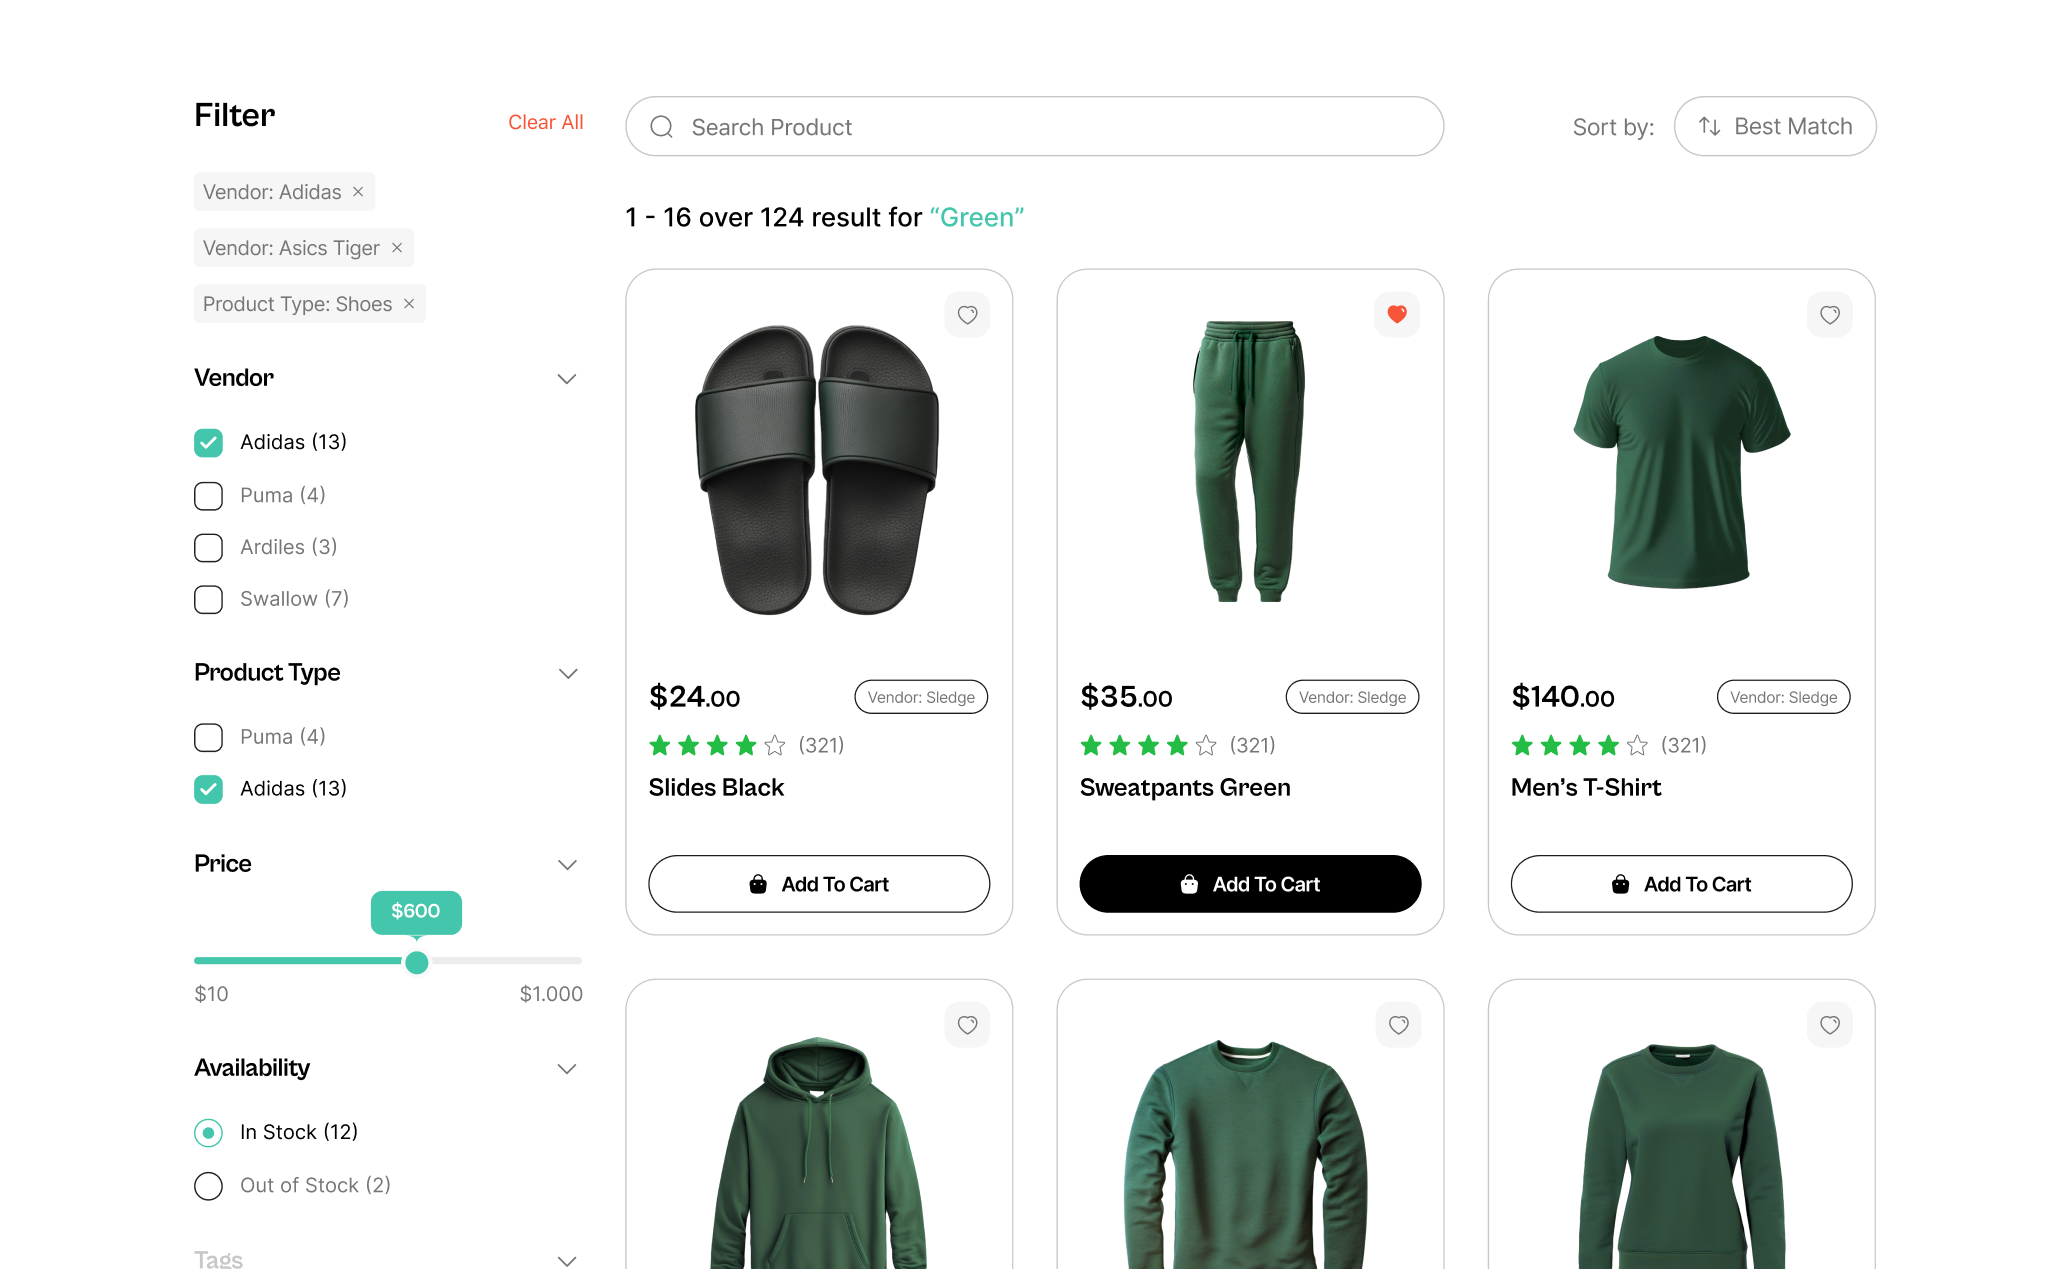
Widget completely running
Sledge's product filters widget is now ready to be used.
Learn more
Congratulations! Now that the installation is complete, you can use all Sledge's widgets and start integrating to your Webflow storefront.