Wishlist icon widget
To Access the Wishlist icon widget, Follow These Steps:
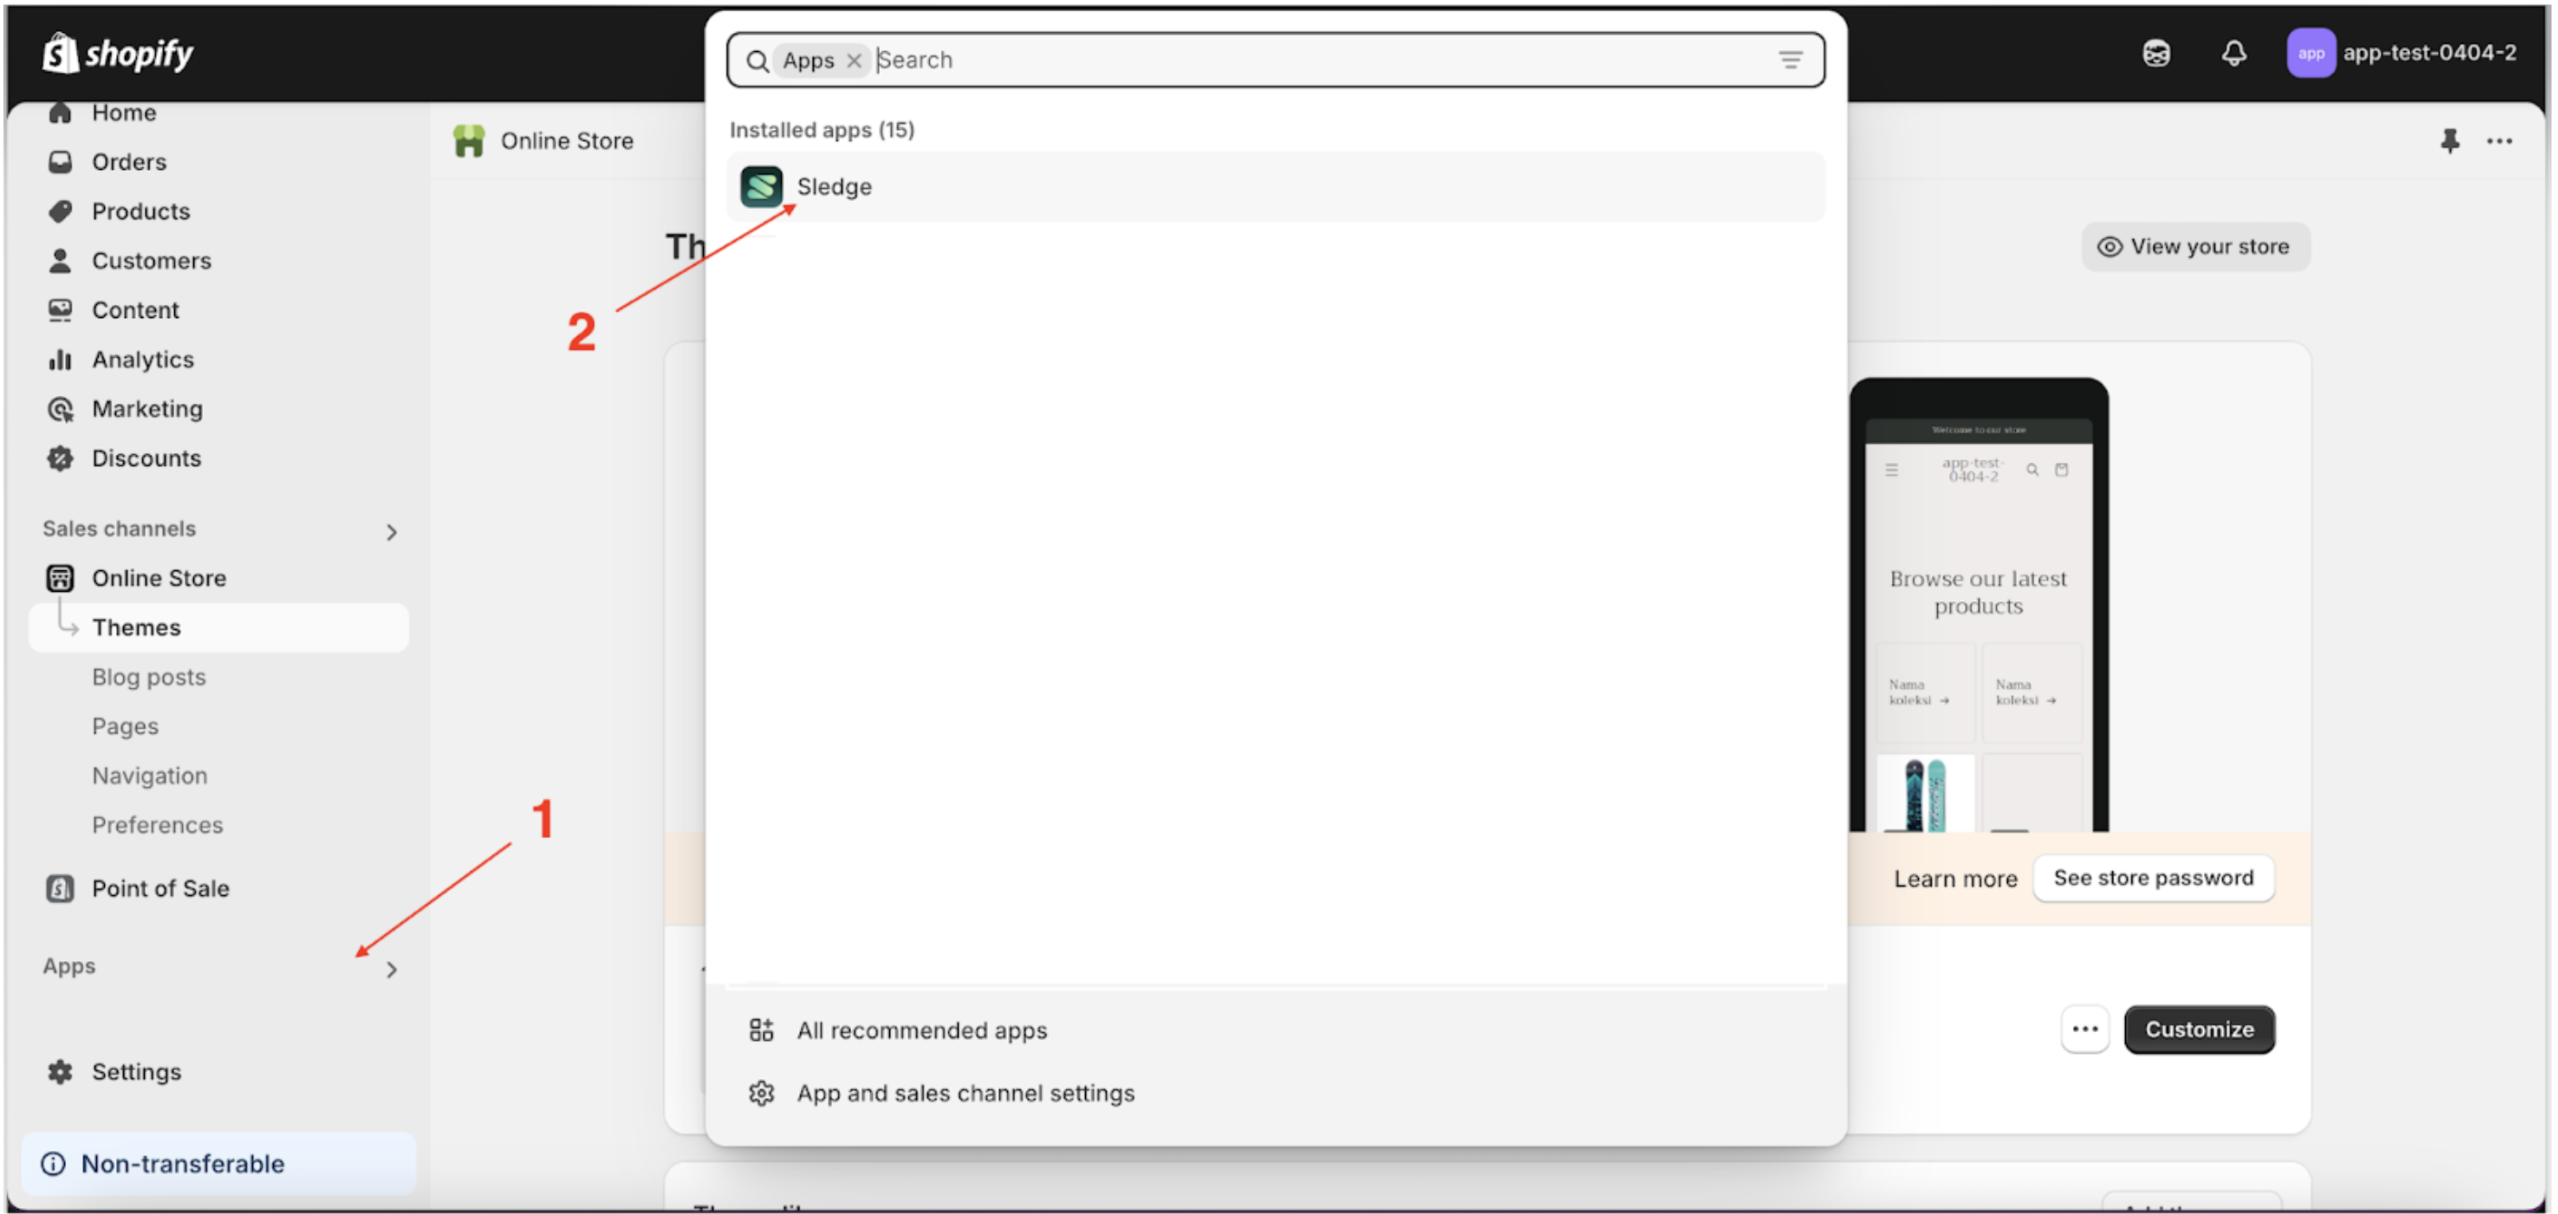
- Go to the Apps Sledge.
- Select the Customizer menu.
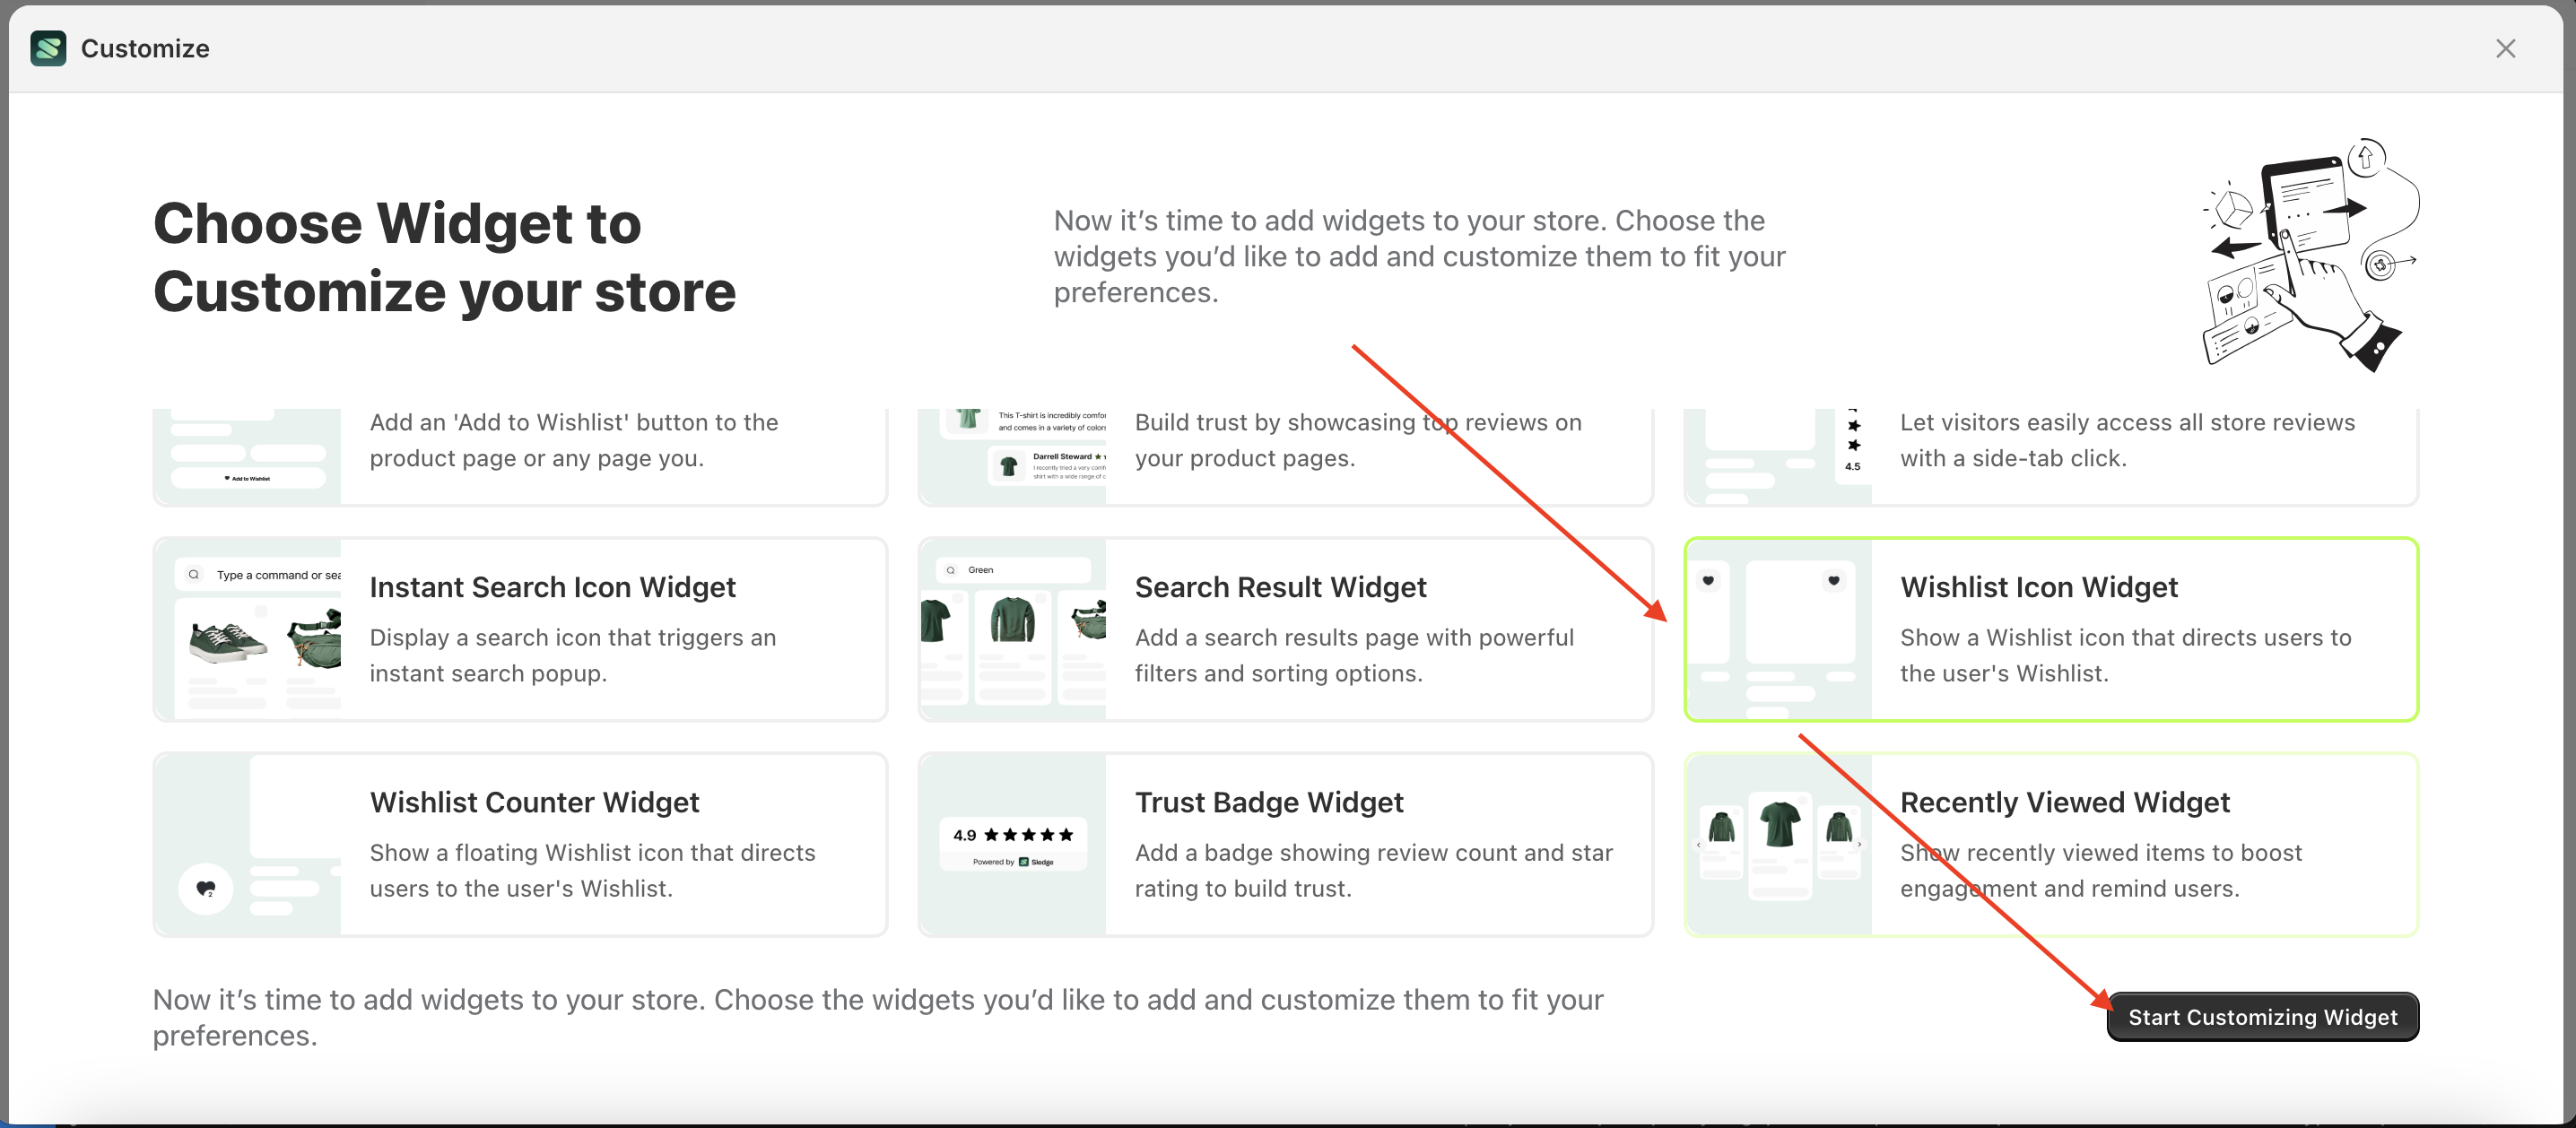
- Choose wishlist icon widget and click the Start Customizing Widget button.

Wishlist Behavior
Available settings:
User must be logged in
This feature is used to restrict customer access to the add-to-wishlist feature. If the checkbox is enabled, customers must log in to use the add-to-wishlist action, and vice versa.
Follow the steps below:
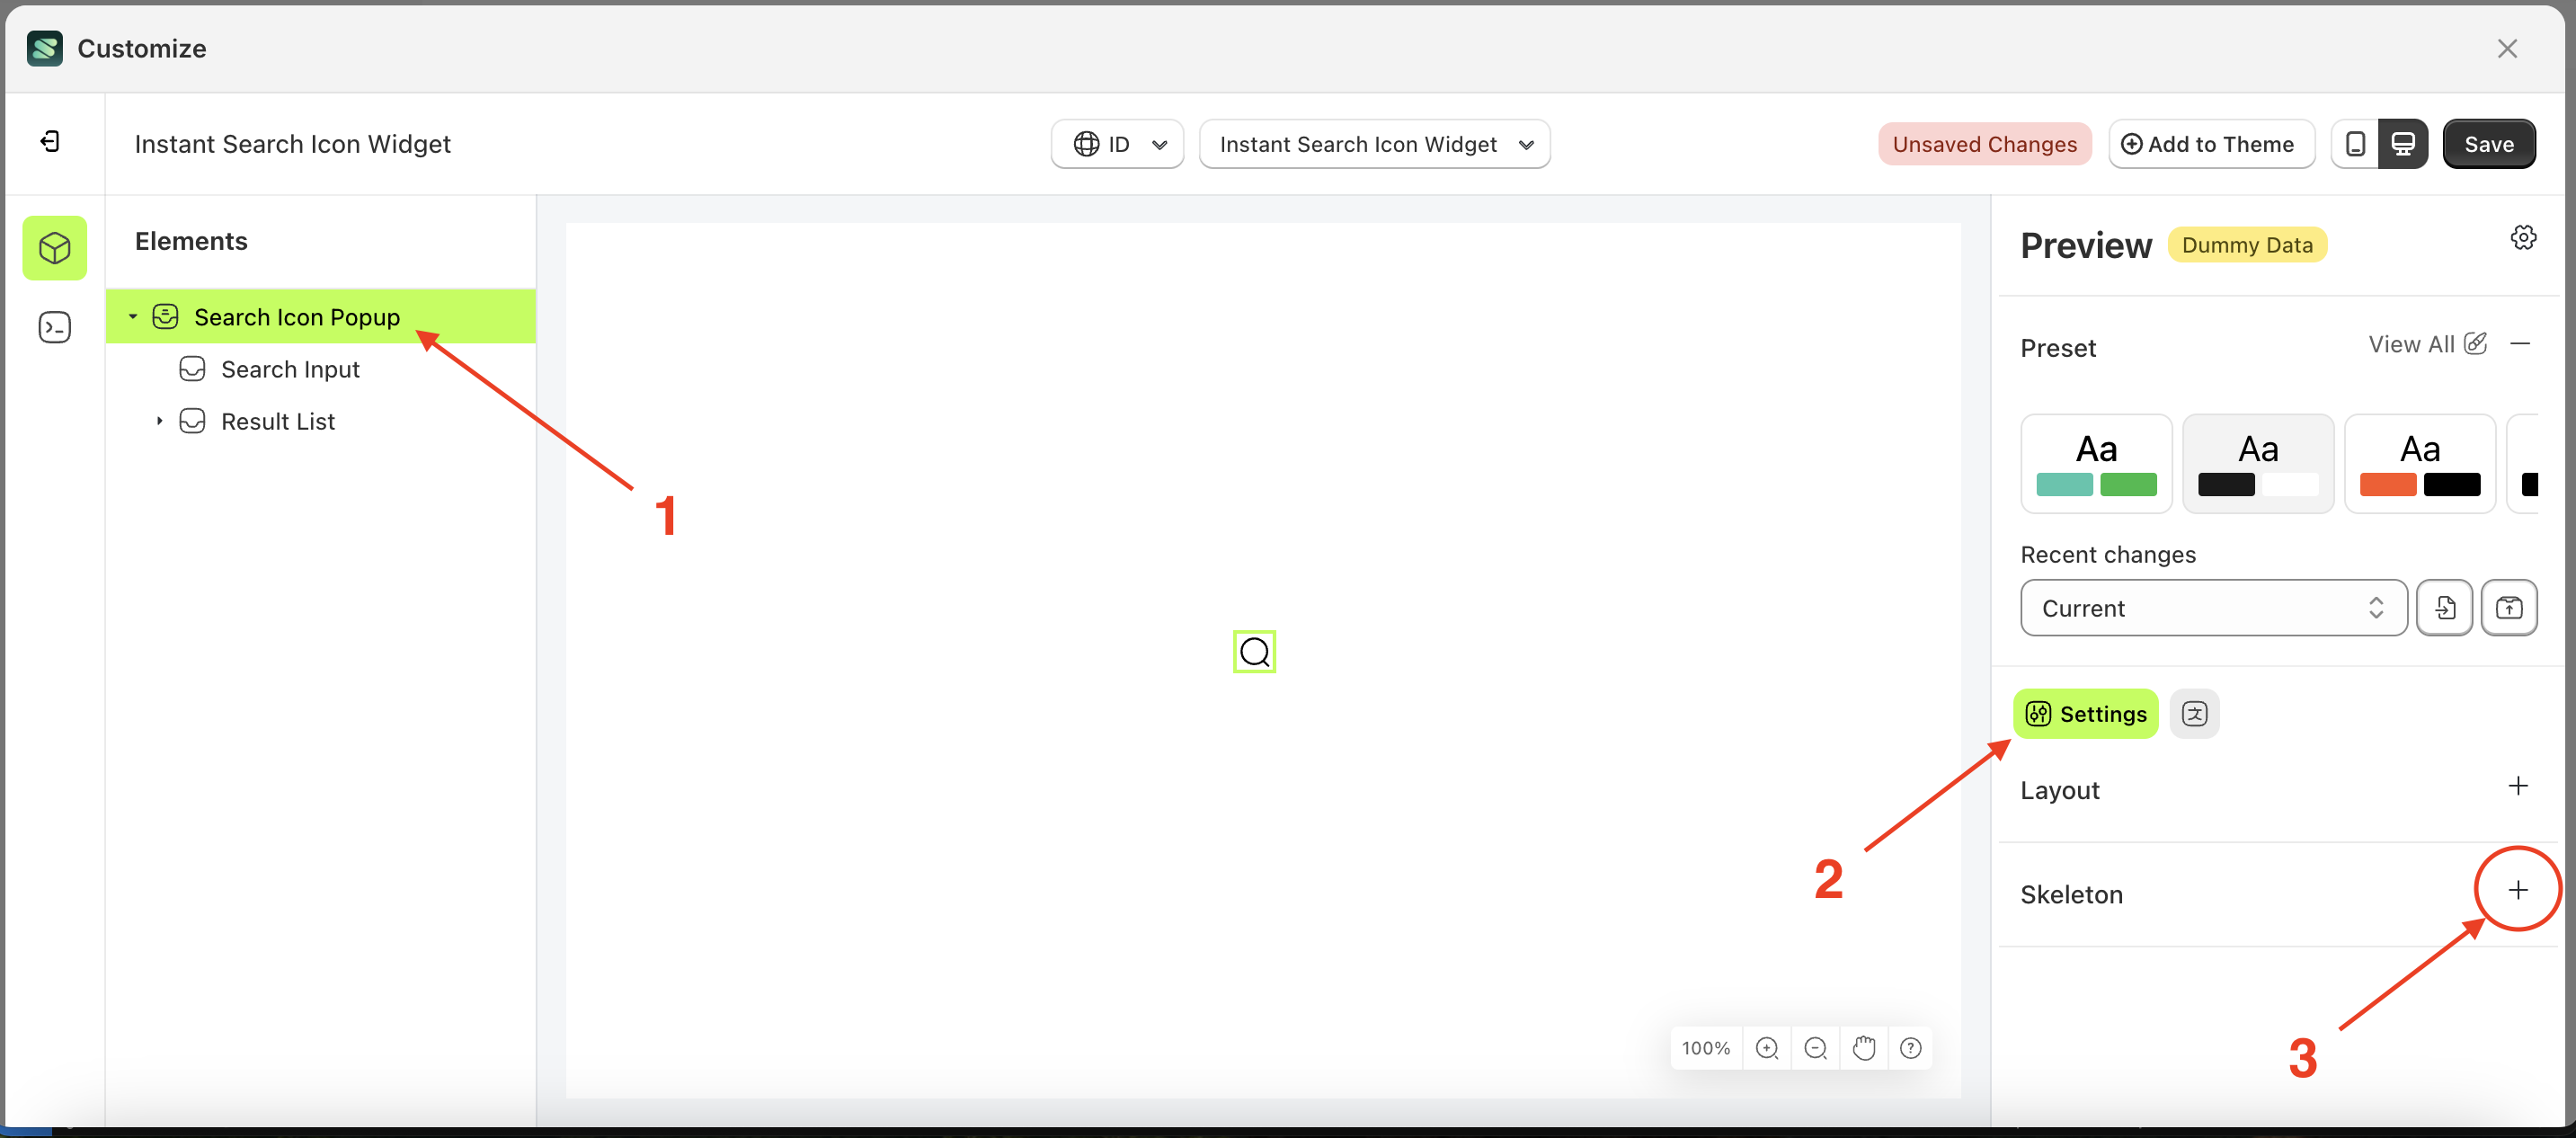
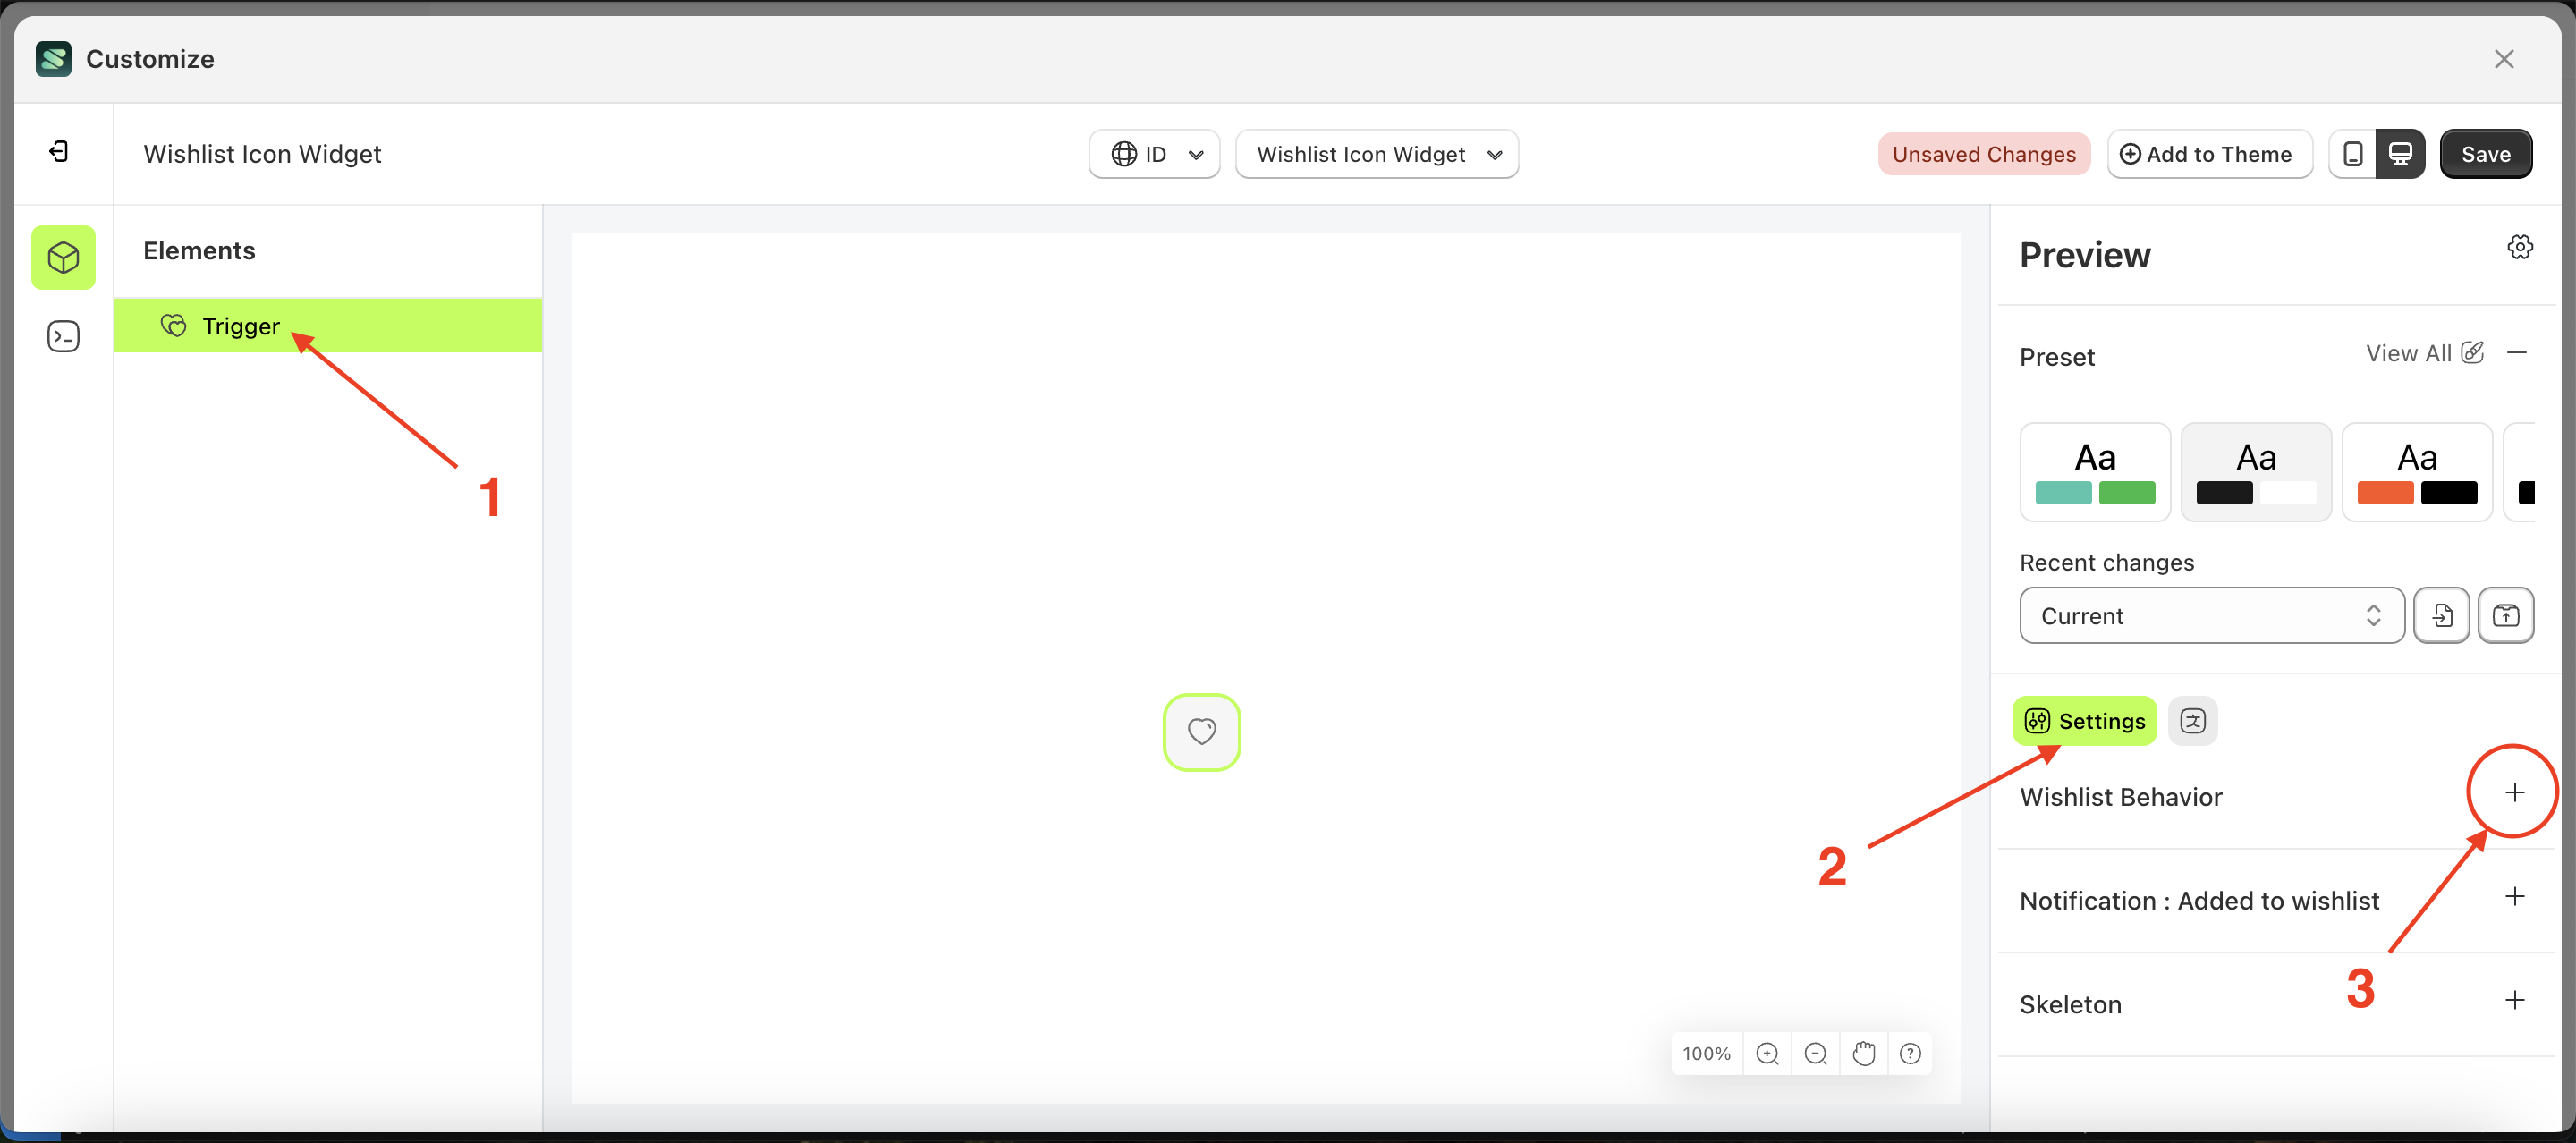
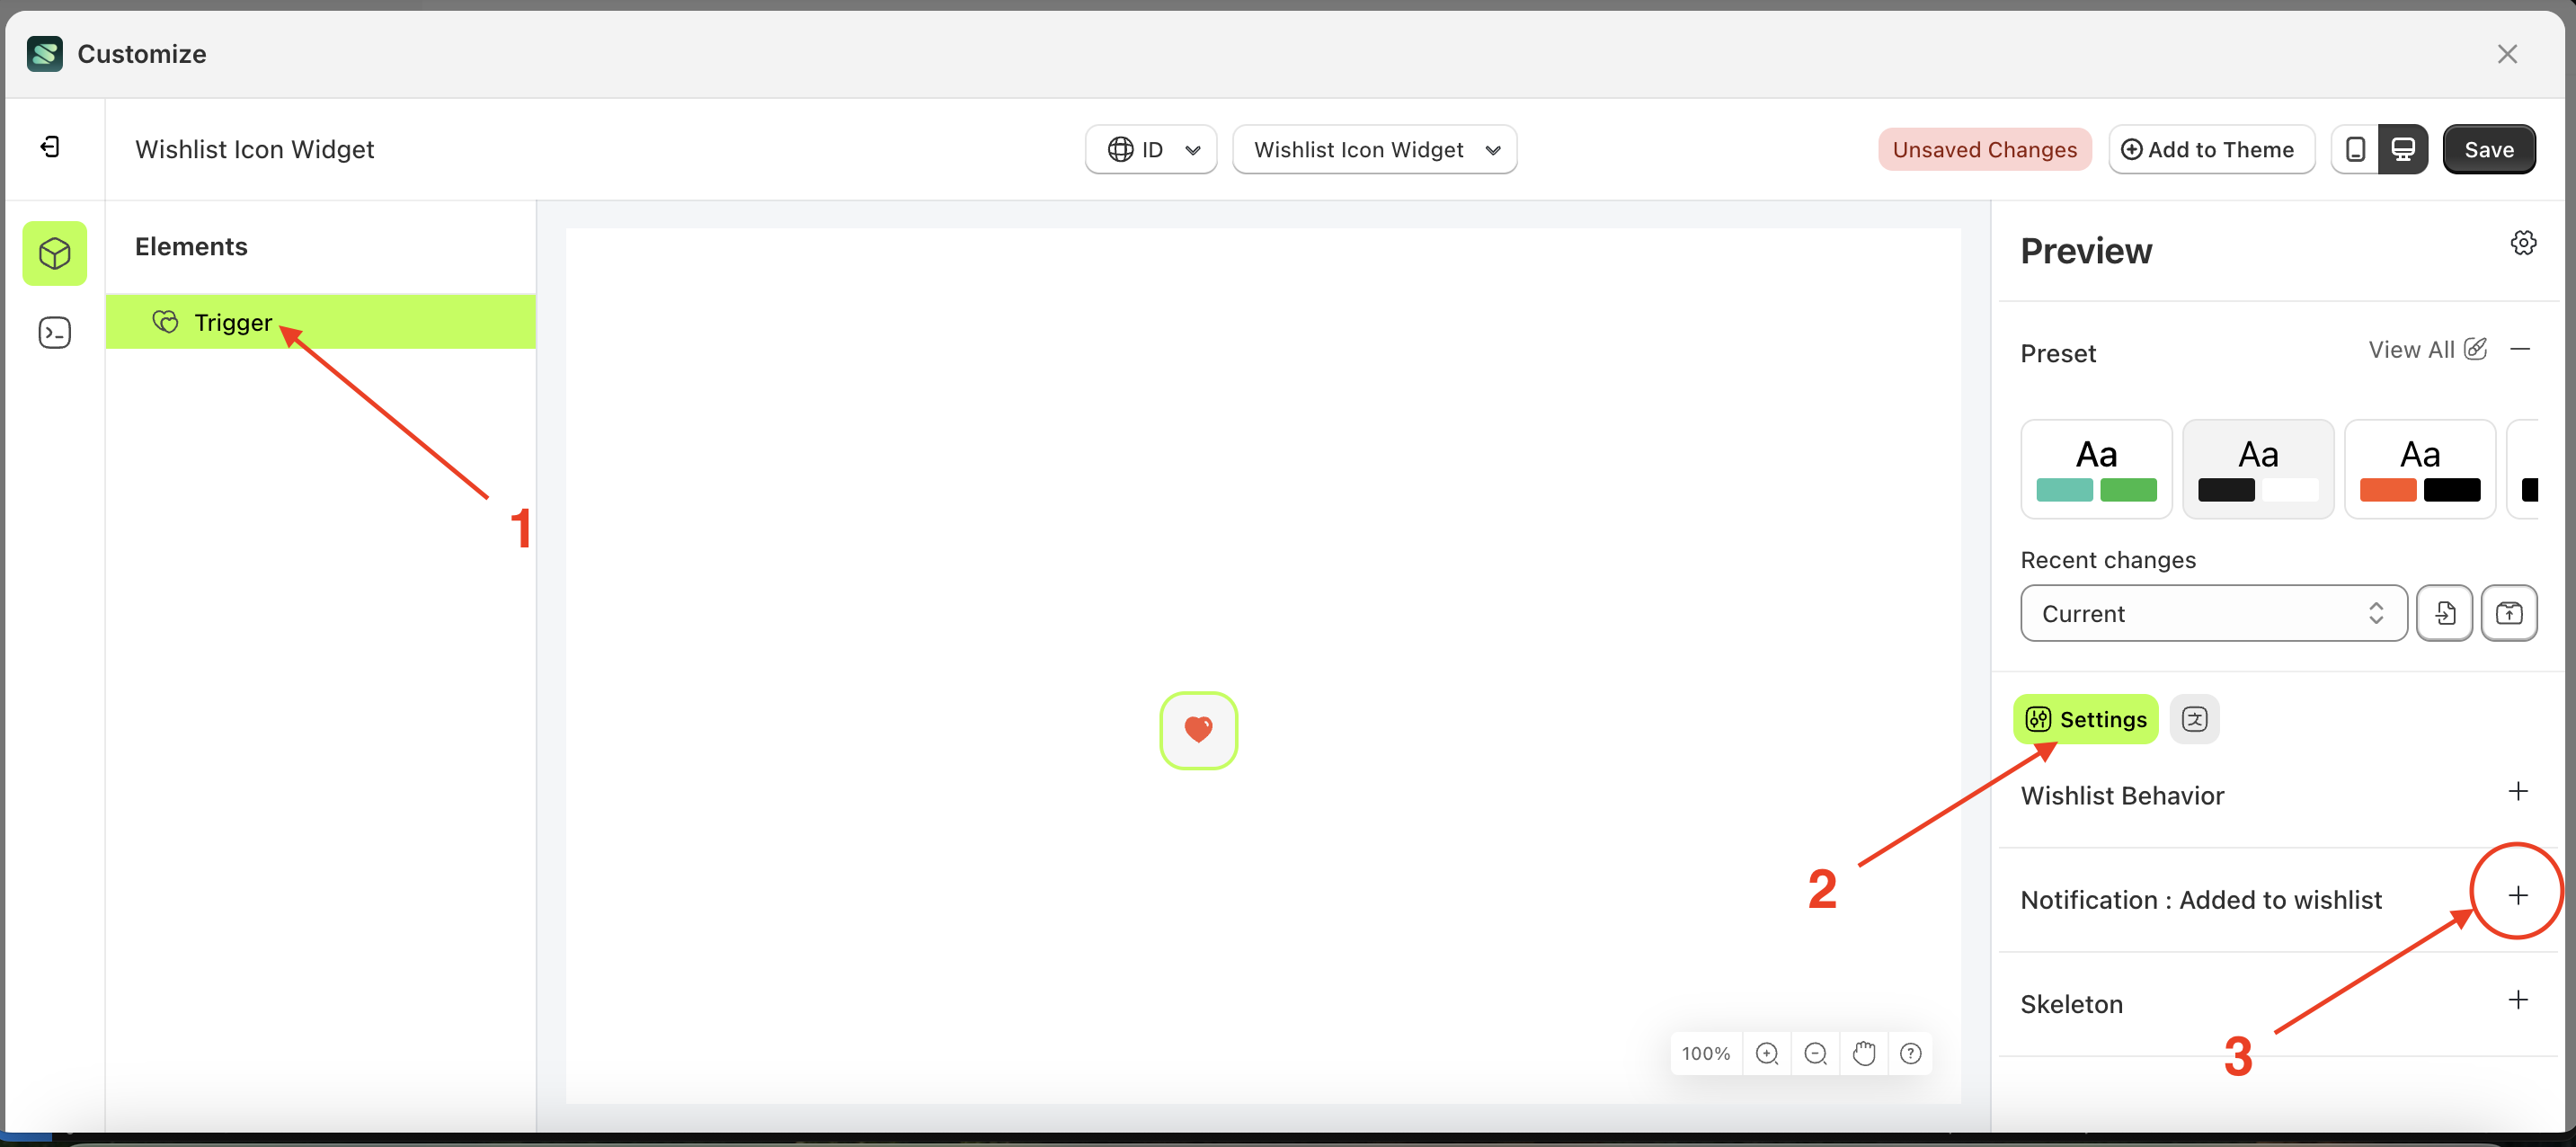
- Select the Trigger element on the right, then click the Settings tab and click the icon marked with a red arrow.
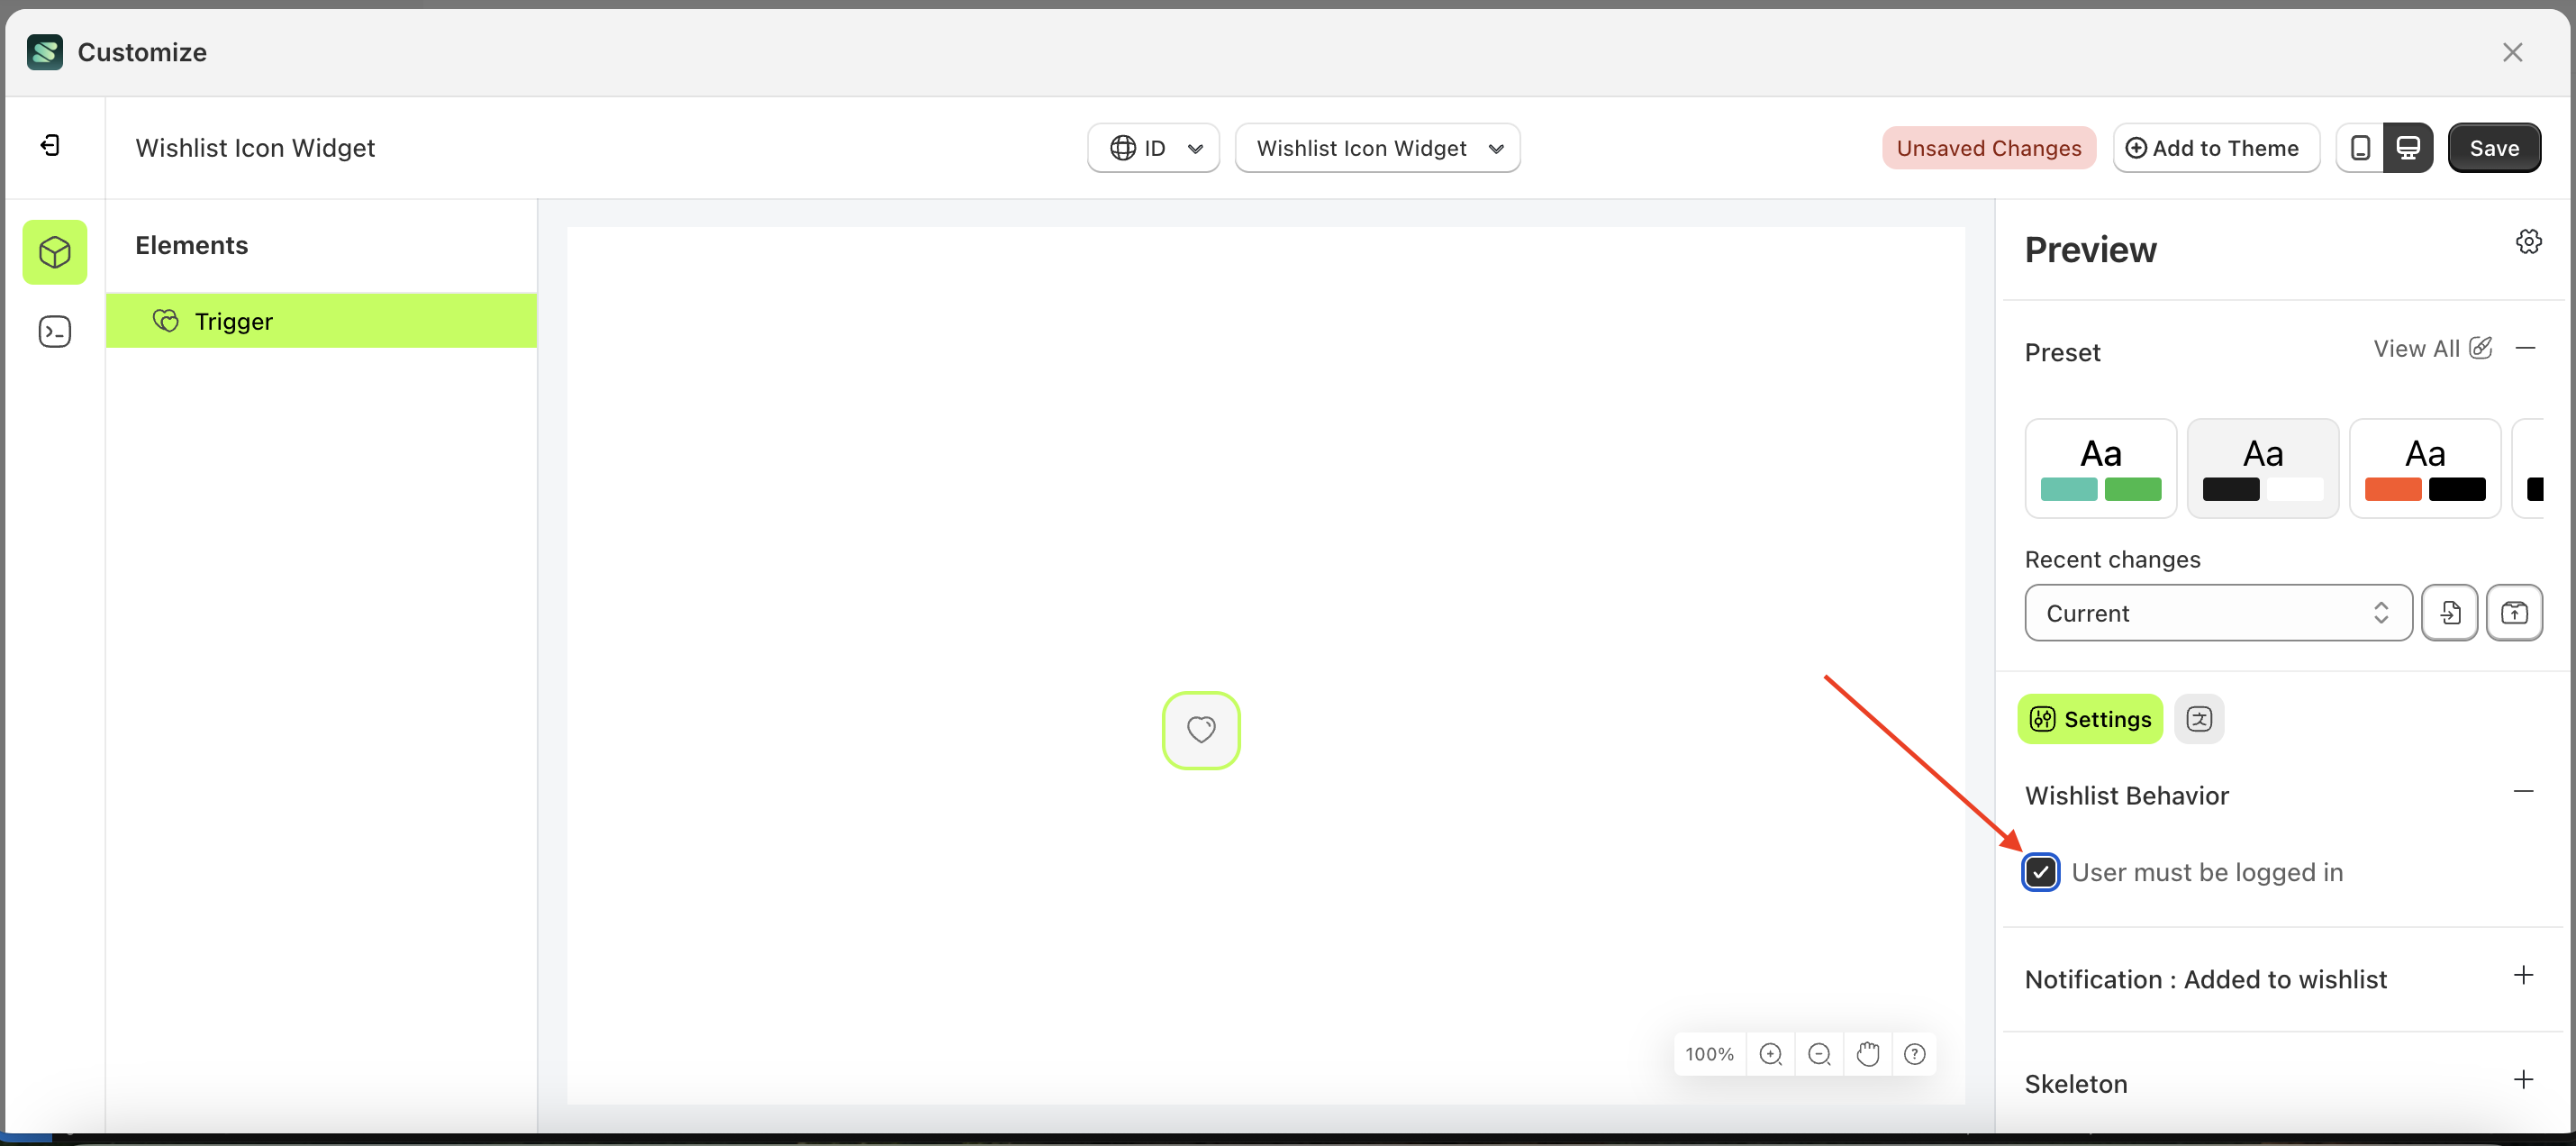
- Enable the User must be logged in checkbox
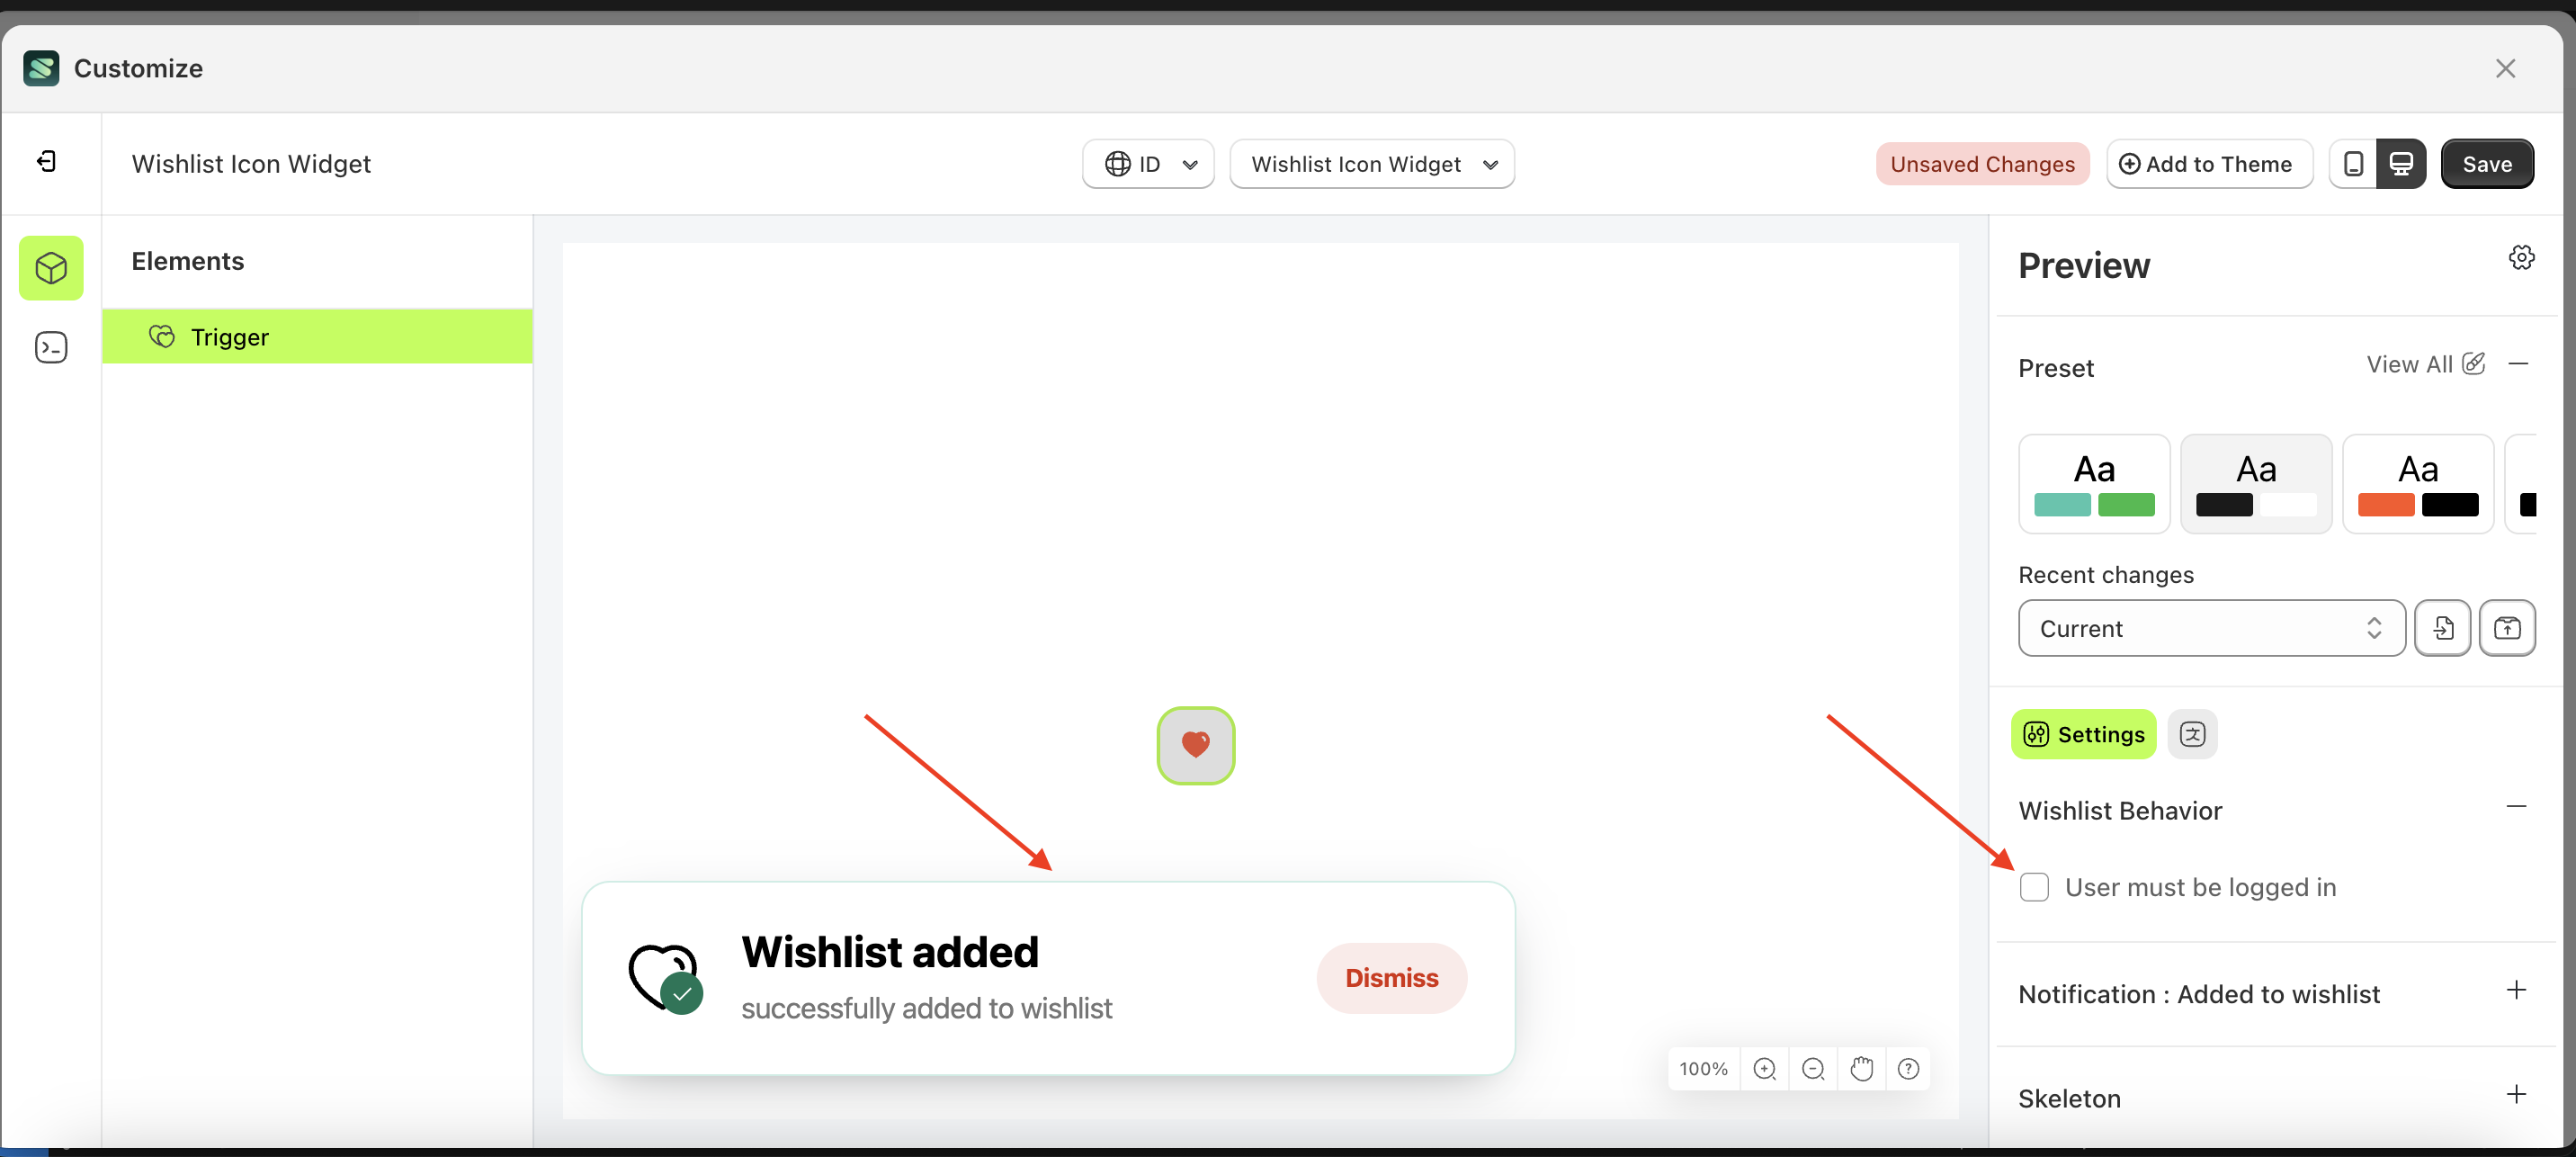
- Example : Before User must be logged in is enabled
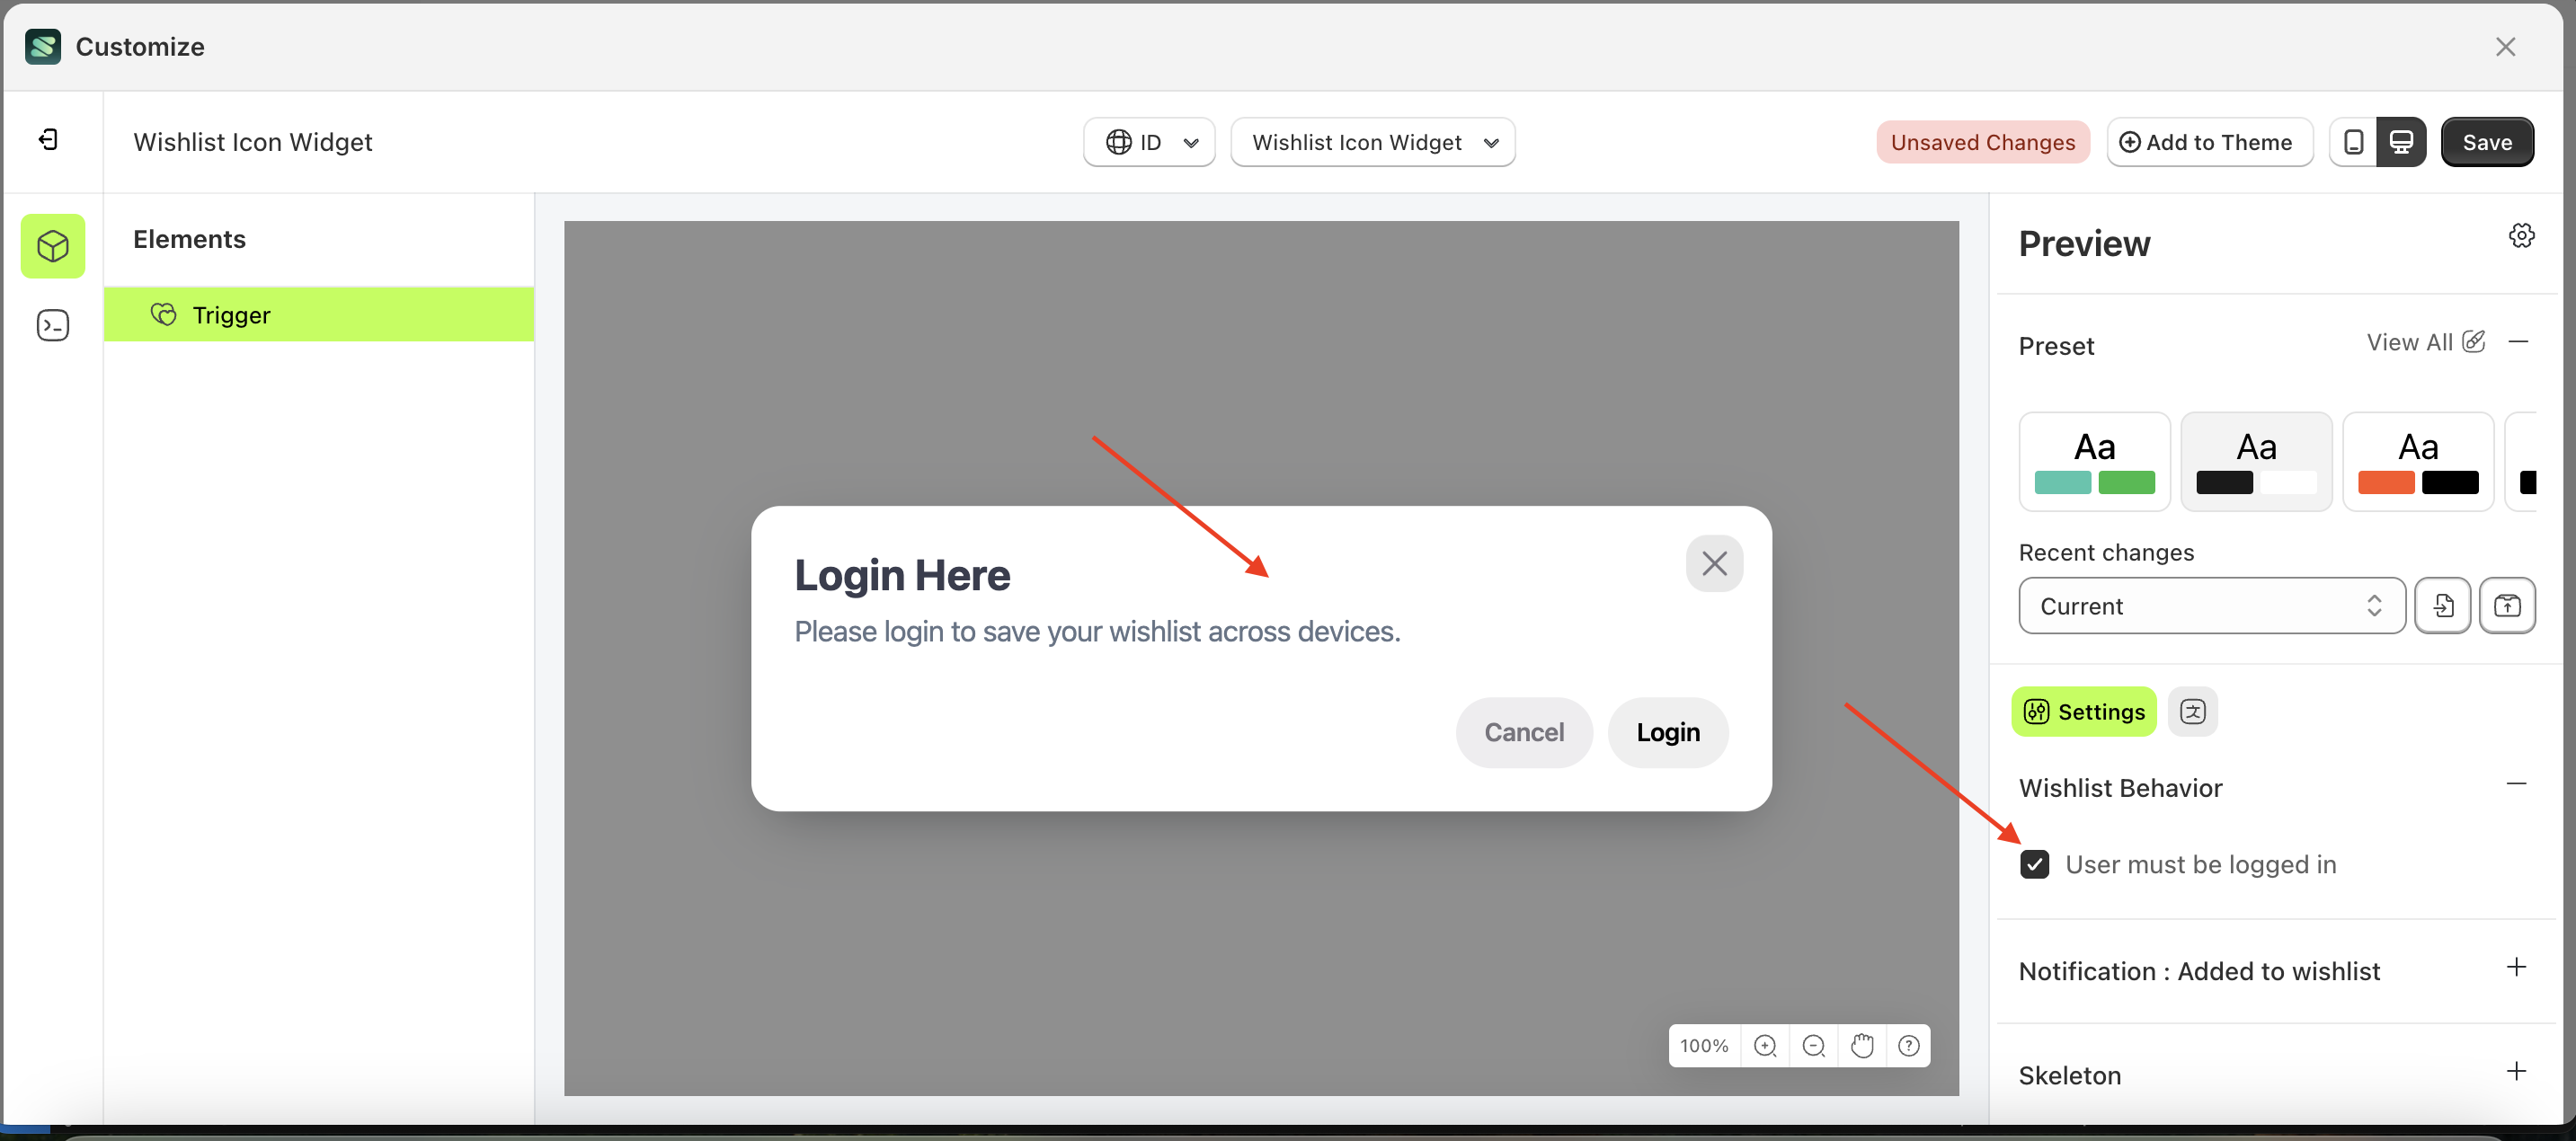
- Example : After User must be logged in is enabled
Notification : Added to wishlist
Available settings:
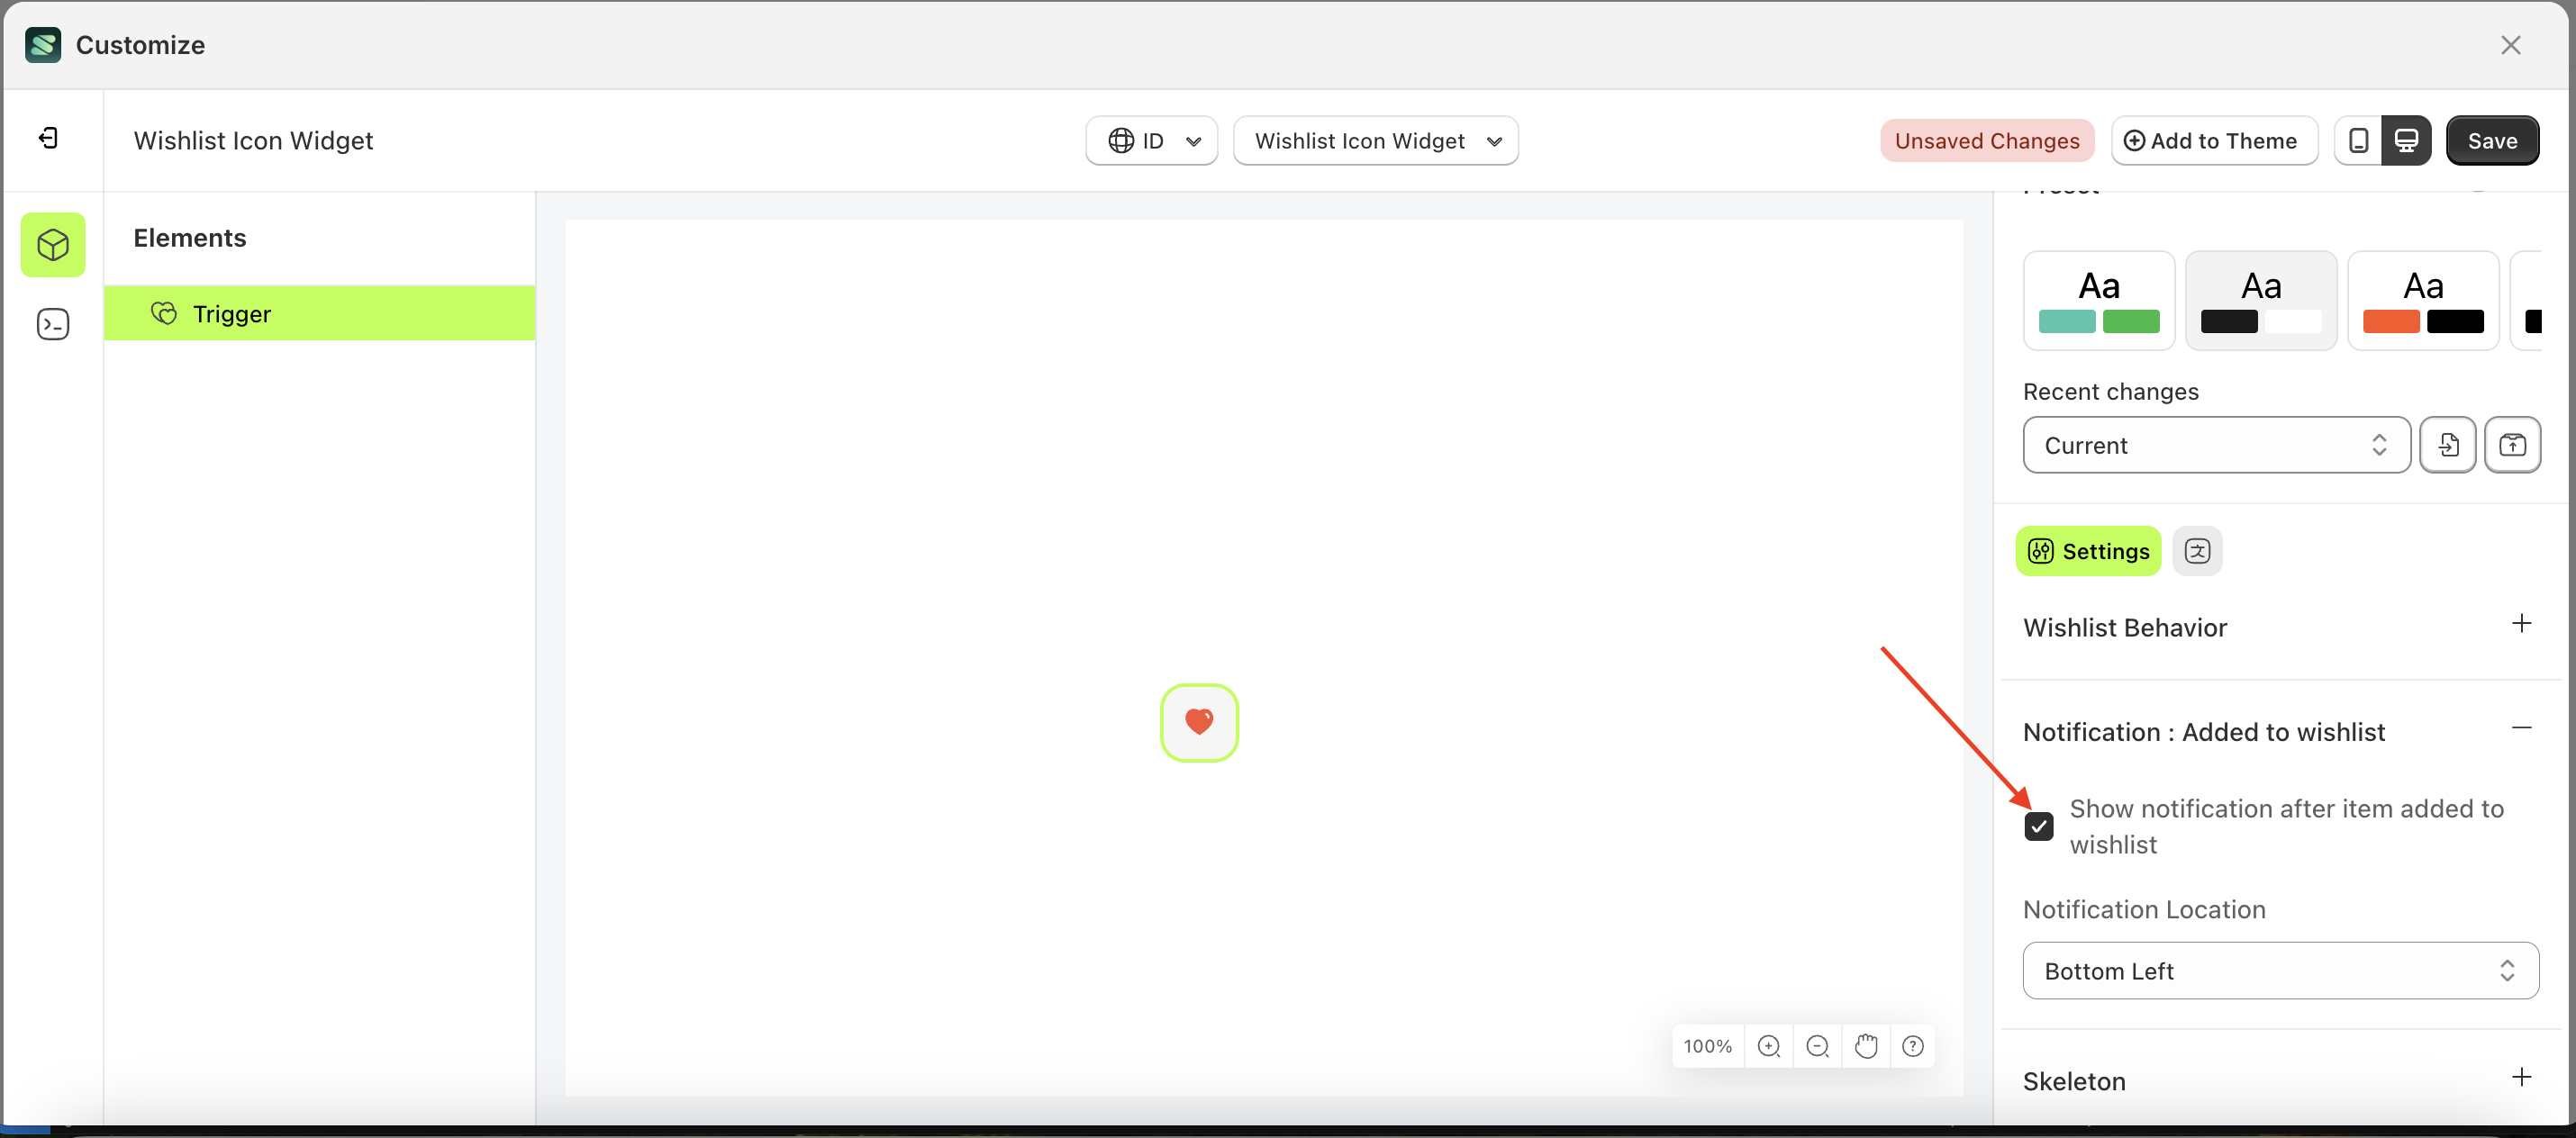
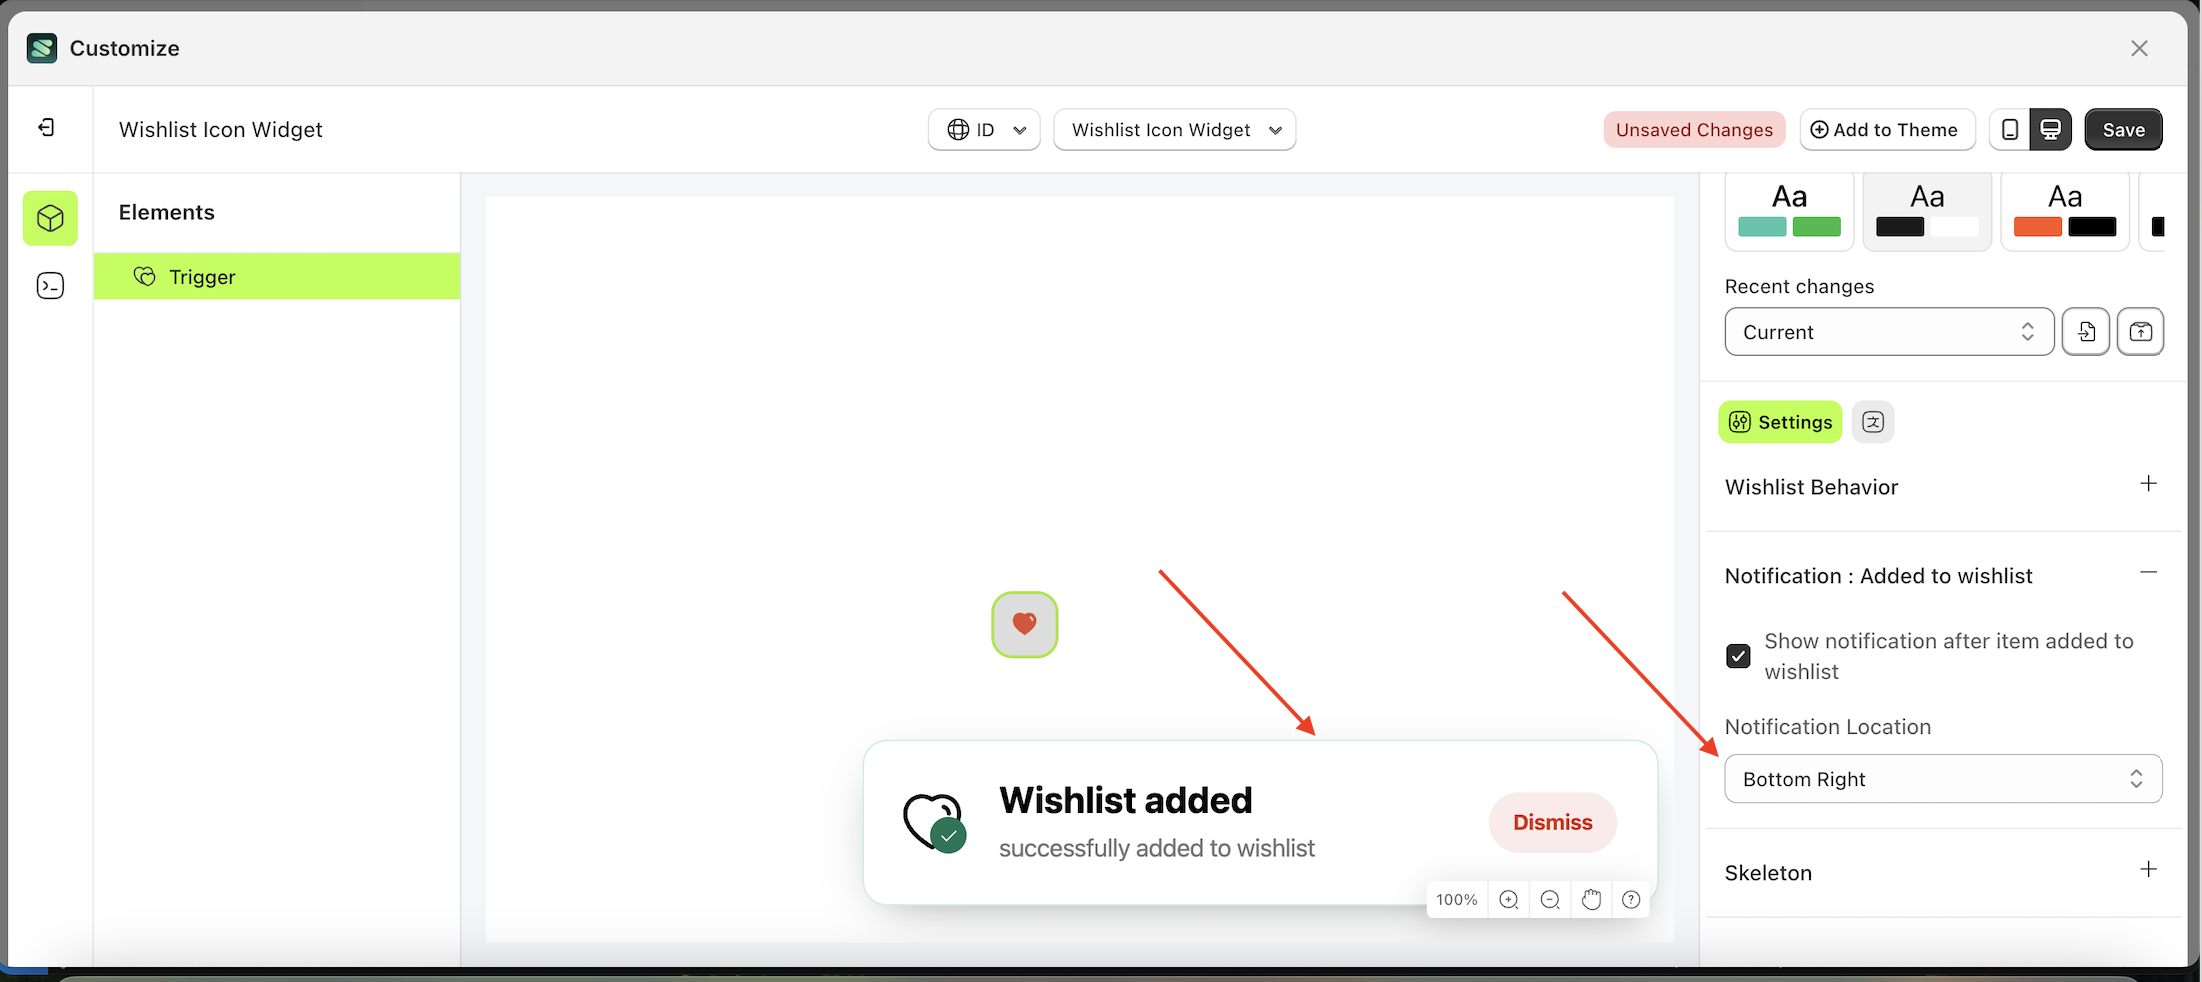
Show notification after item added to wishlist
This feature is used to control whether a notification appears after performing the add-to-wishlist action. If the checkbox is enabled, a notification will be displayed; otherwise, it will not.
Follow the steps below:
- Select the Trigger element on the right, then click the Settings tab and click the icon marked with a red arrow.
- Enable the Show notification after item added to wishlist checkbox
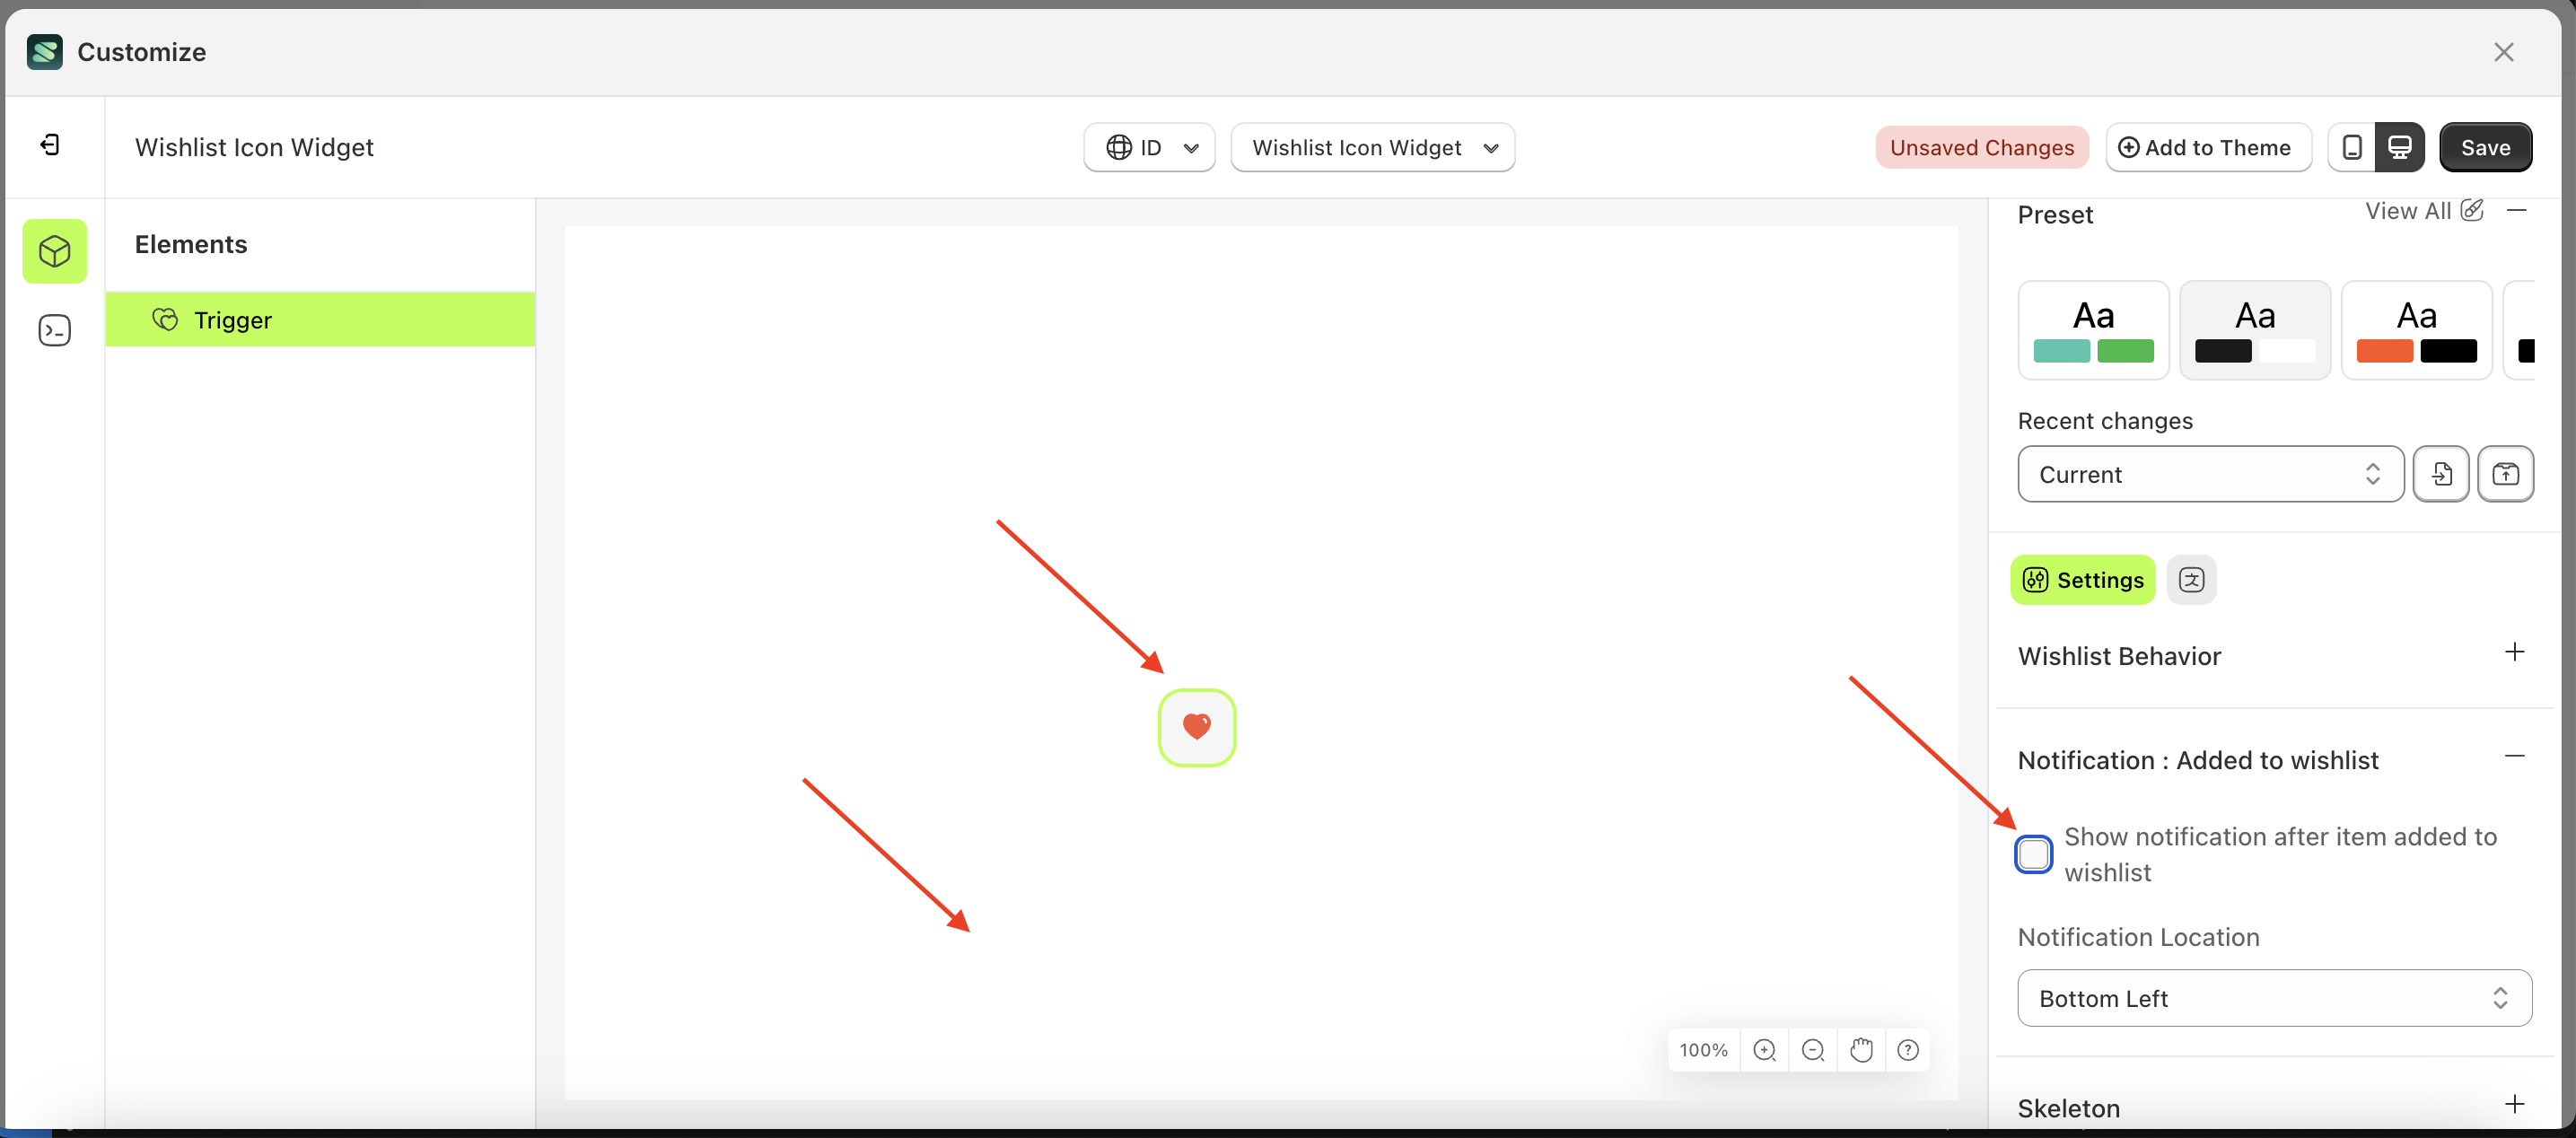
- Example : Before Show notification after item added to wishlist is enabled
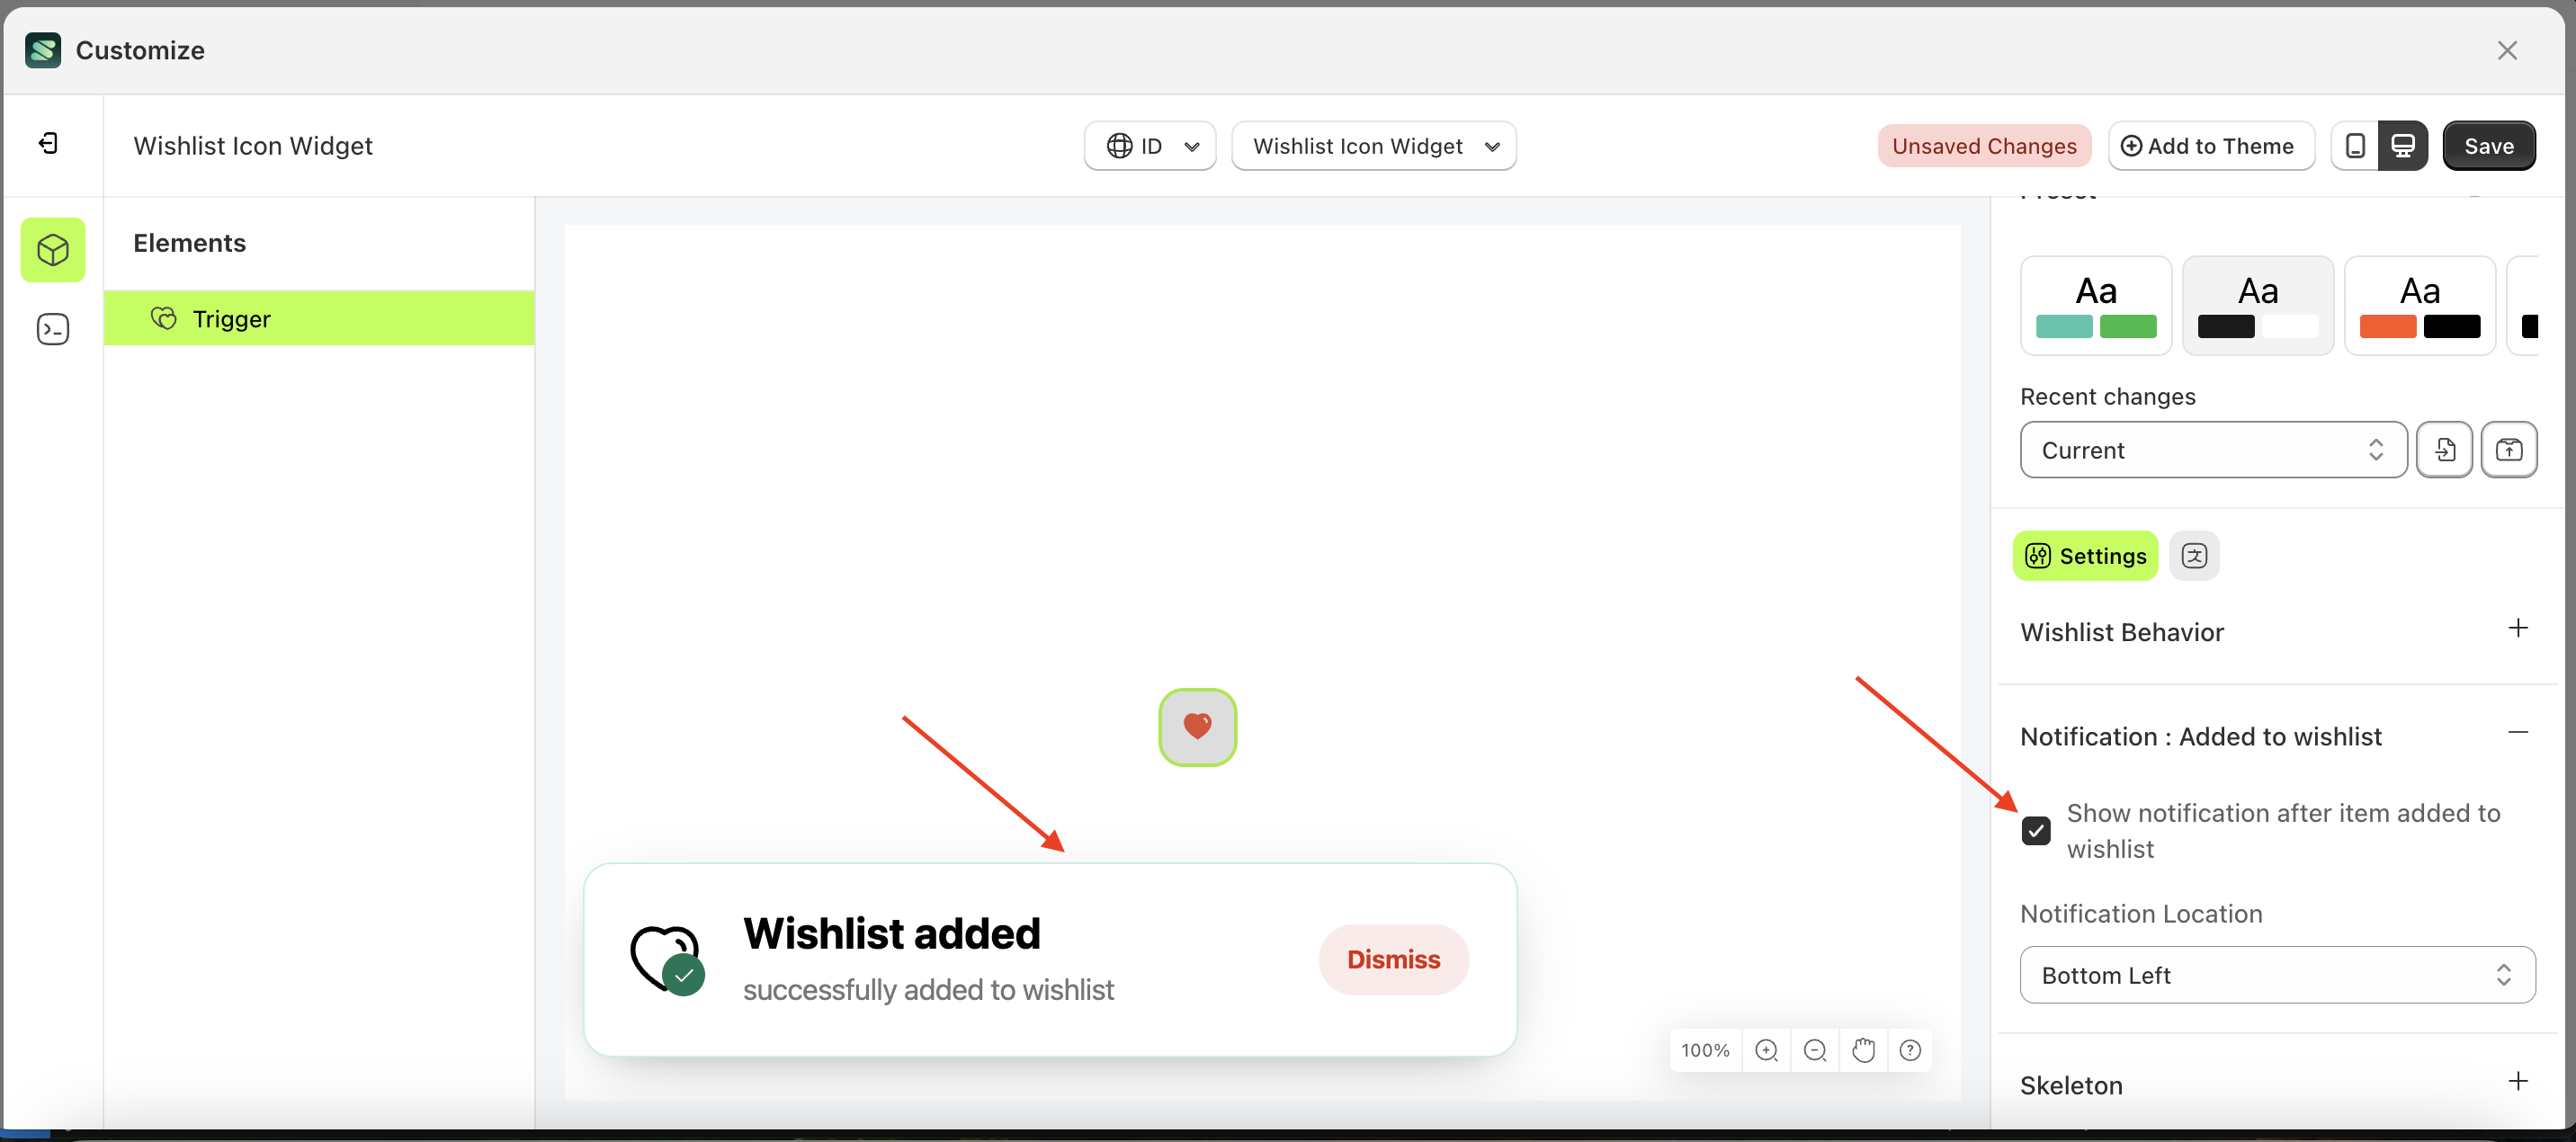
- Example : After Show notification after item added to wishlist is enabled
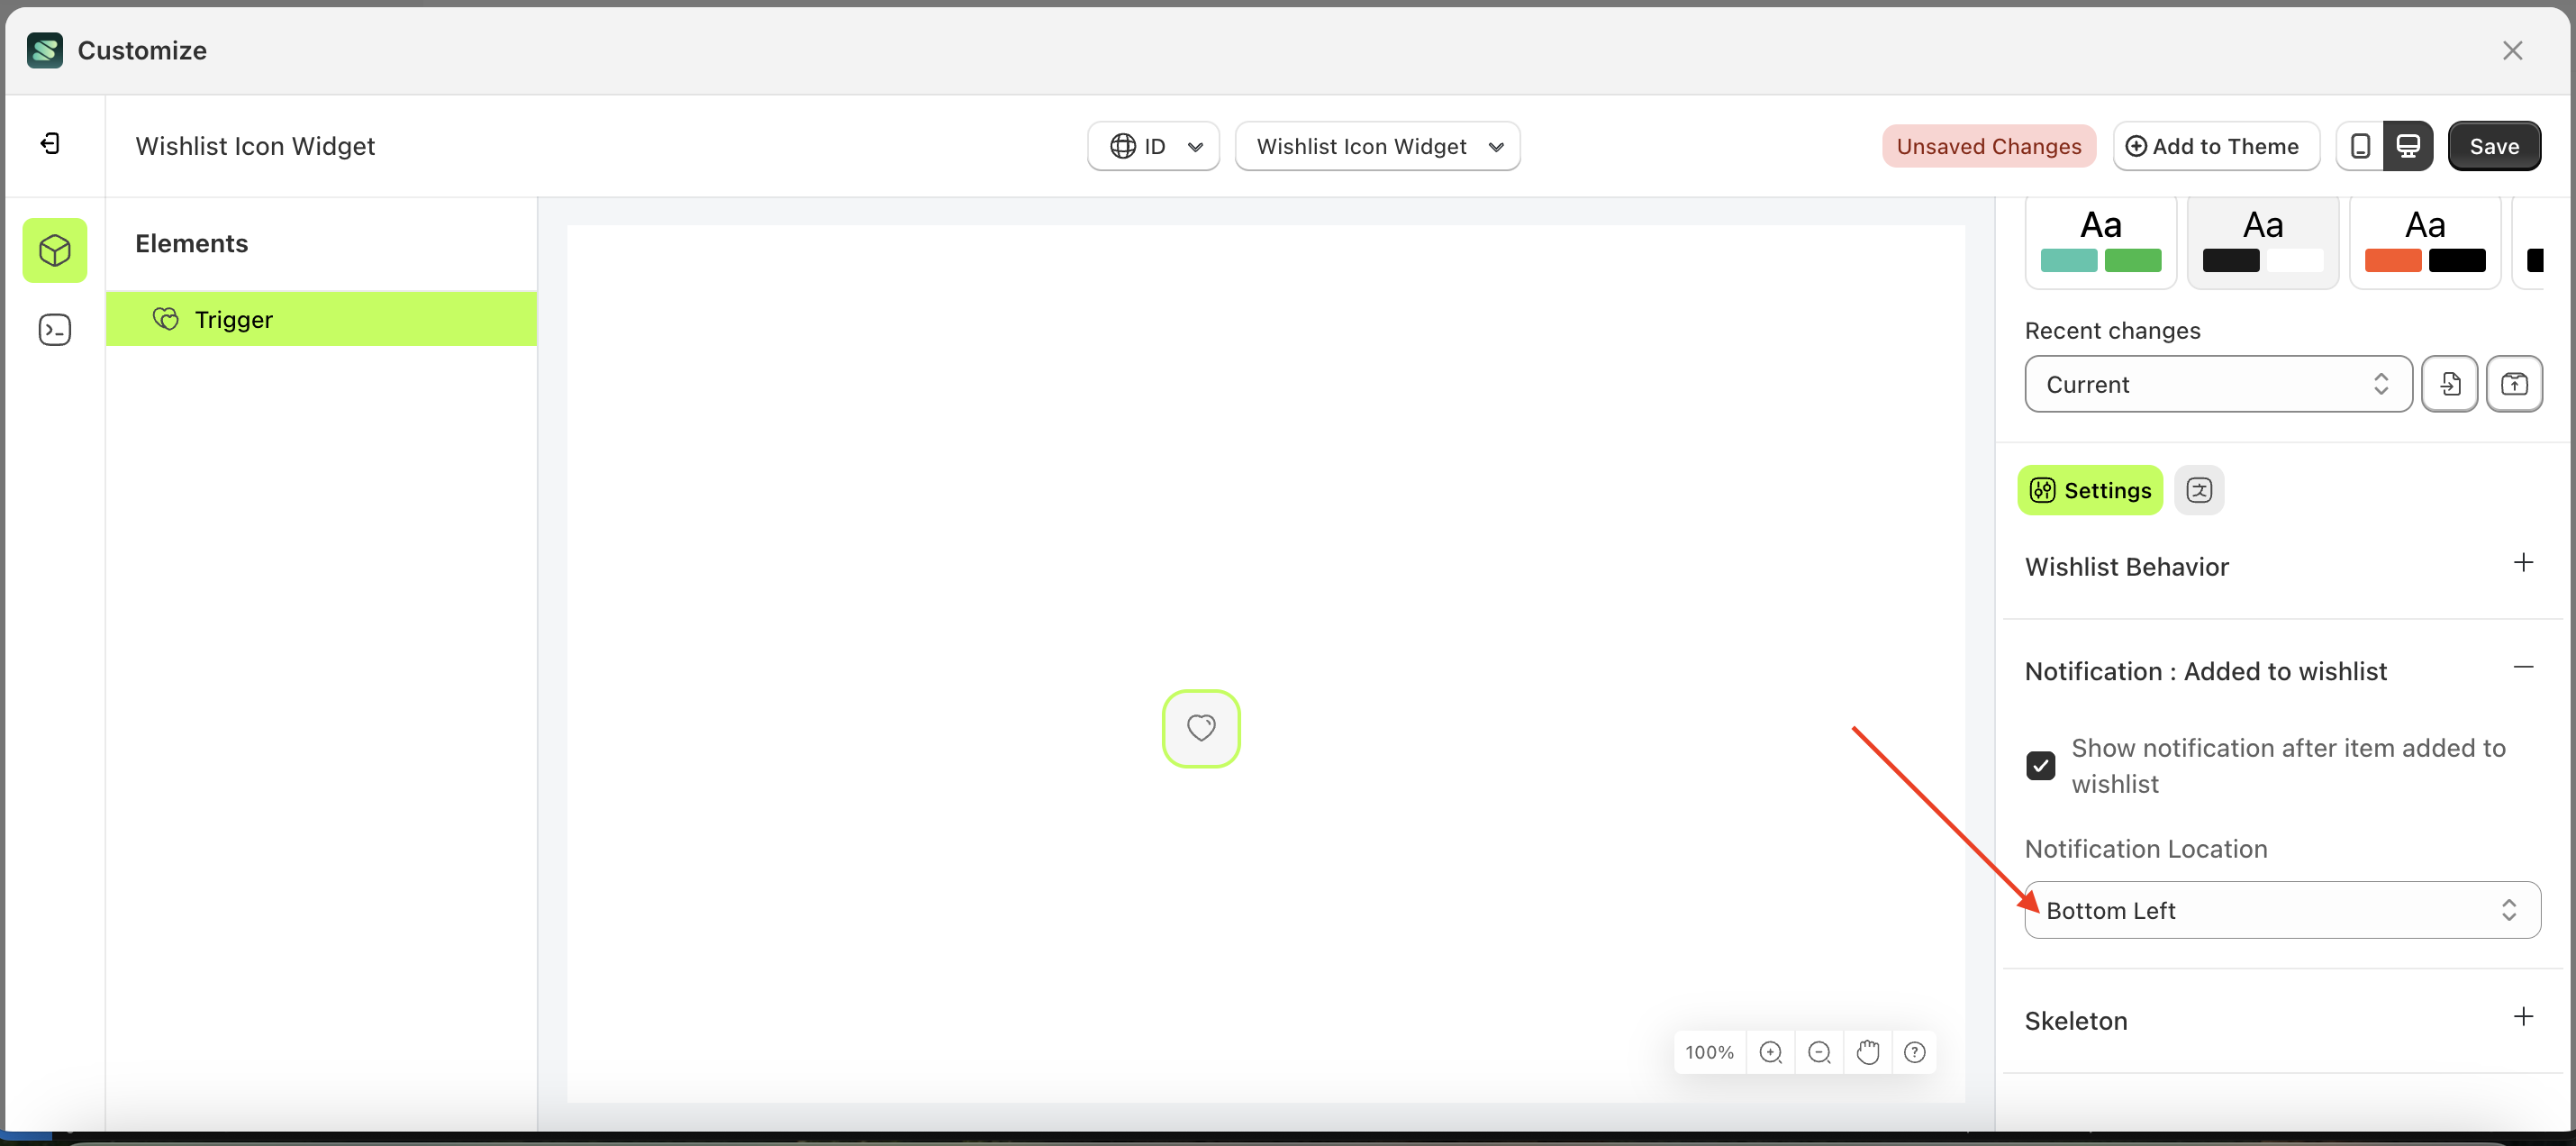
Notification Location
Follow the steps below:
- Select the Filter element on the left, then click the Settings tab and click the icon marked with a red arrow.
- On the right side, marked with a red arrow, you can change the notification location to your desired value.
- Note: The notification location The format is button left, center and button.
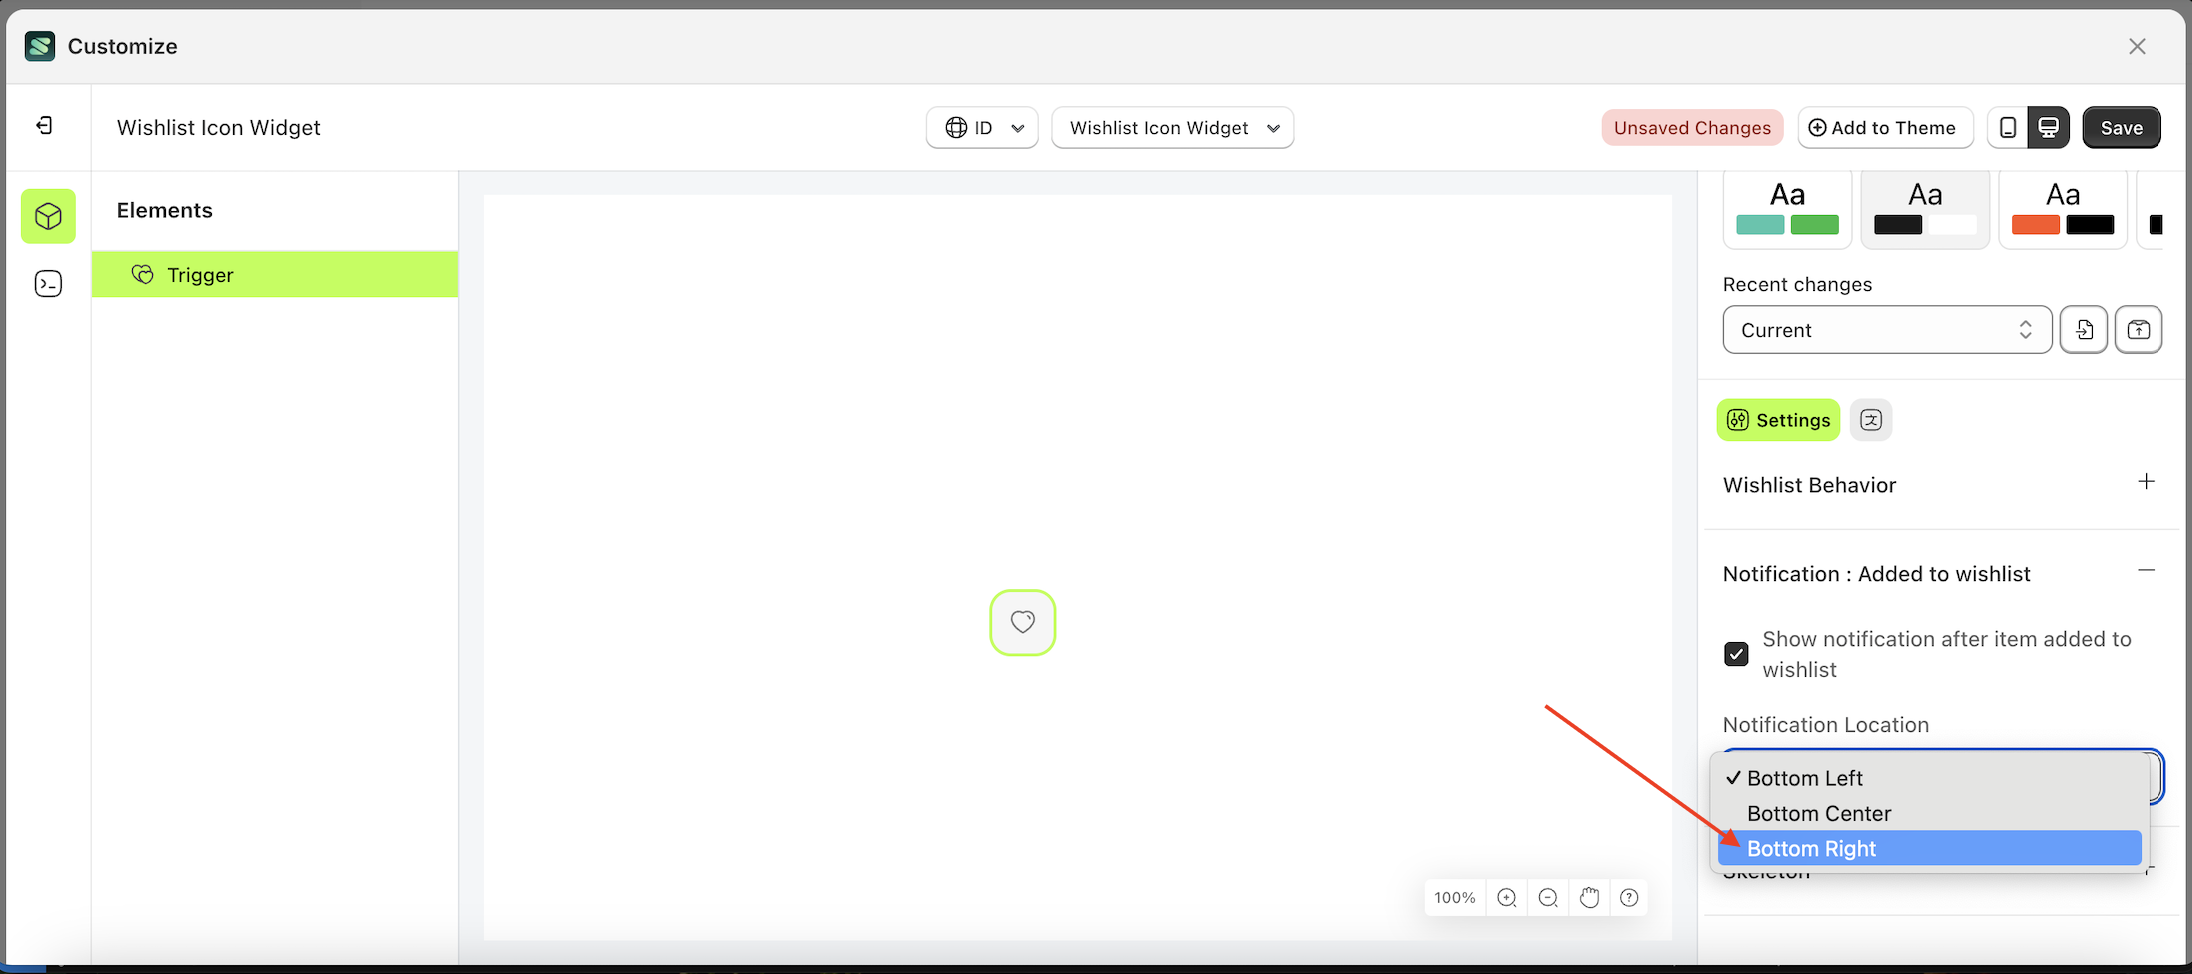
- Once the menu opens, select an option from the list
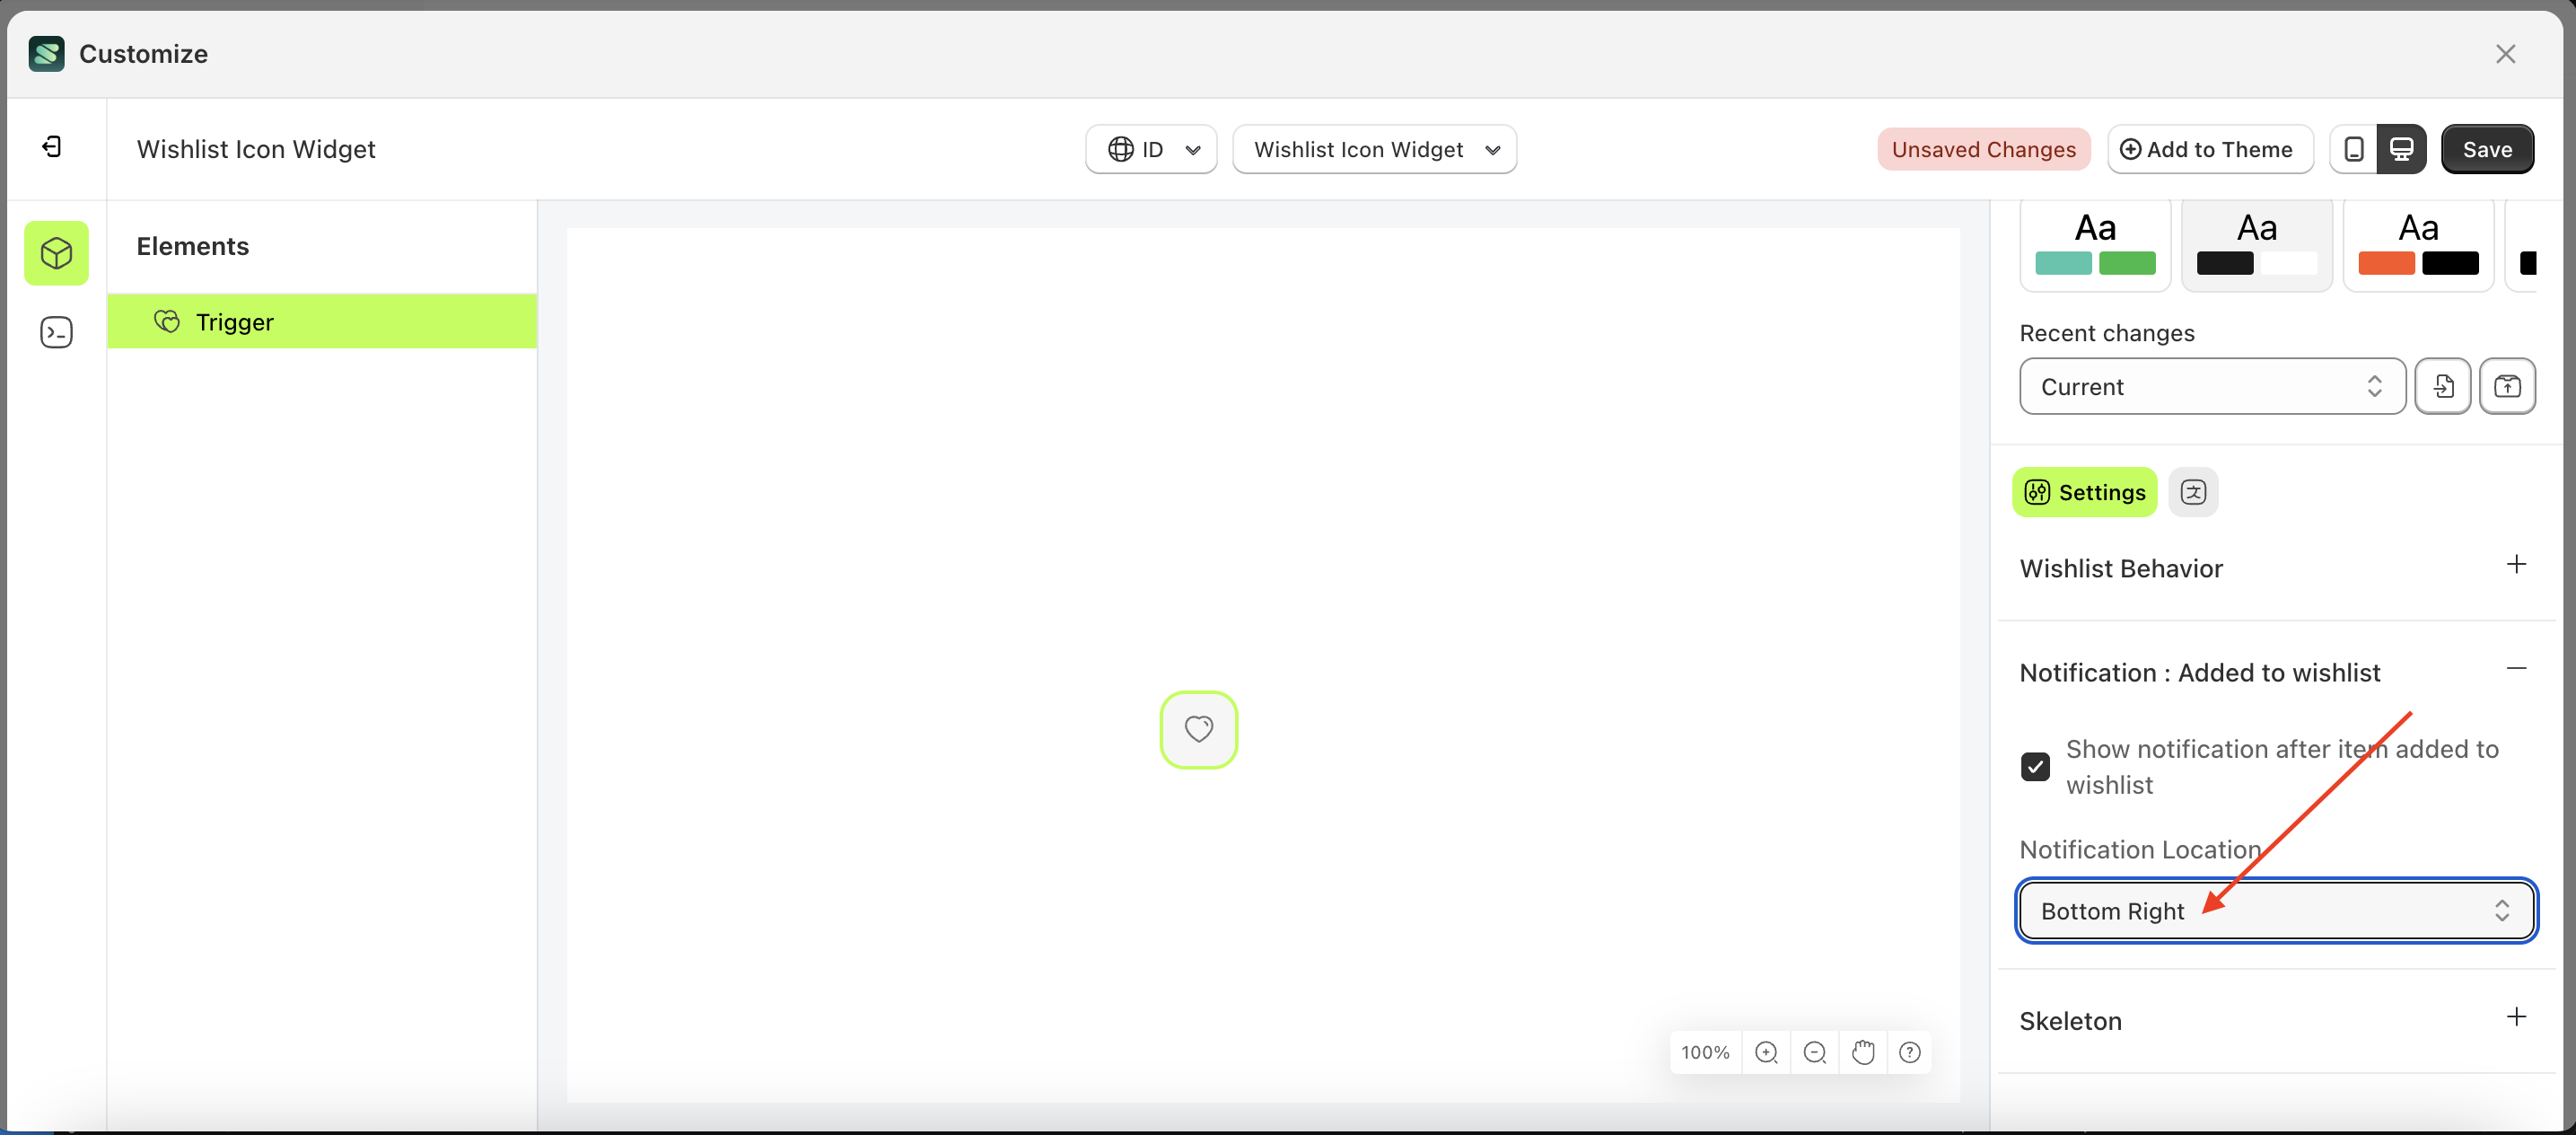
- For example, if you set the notification location to button-right
- The notification location of the Filter element will adjust accordingly.
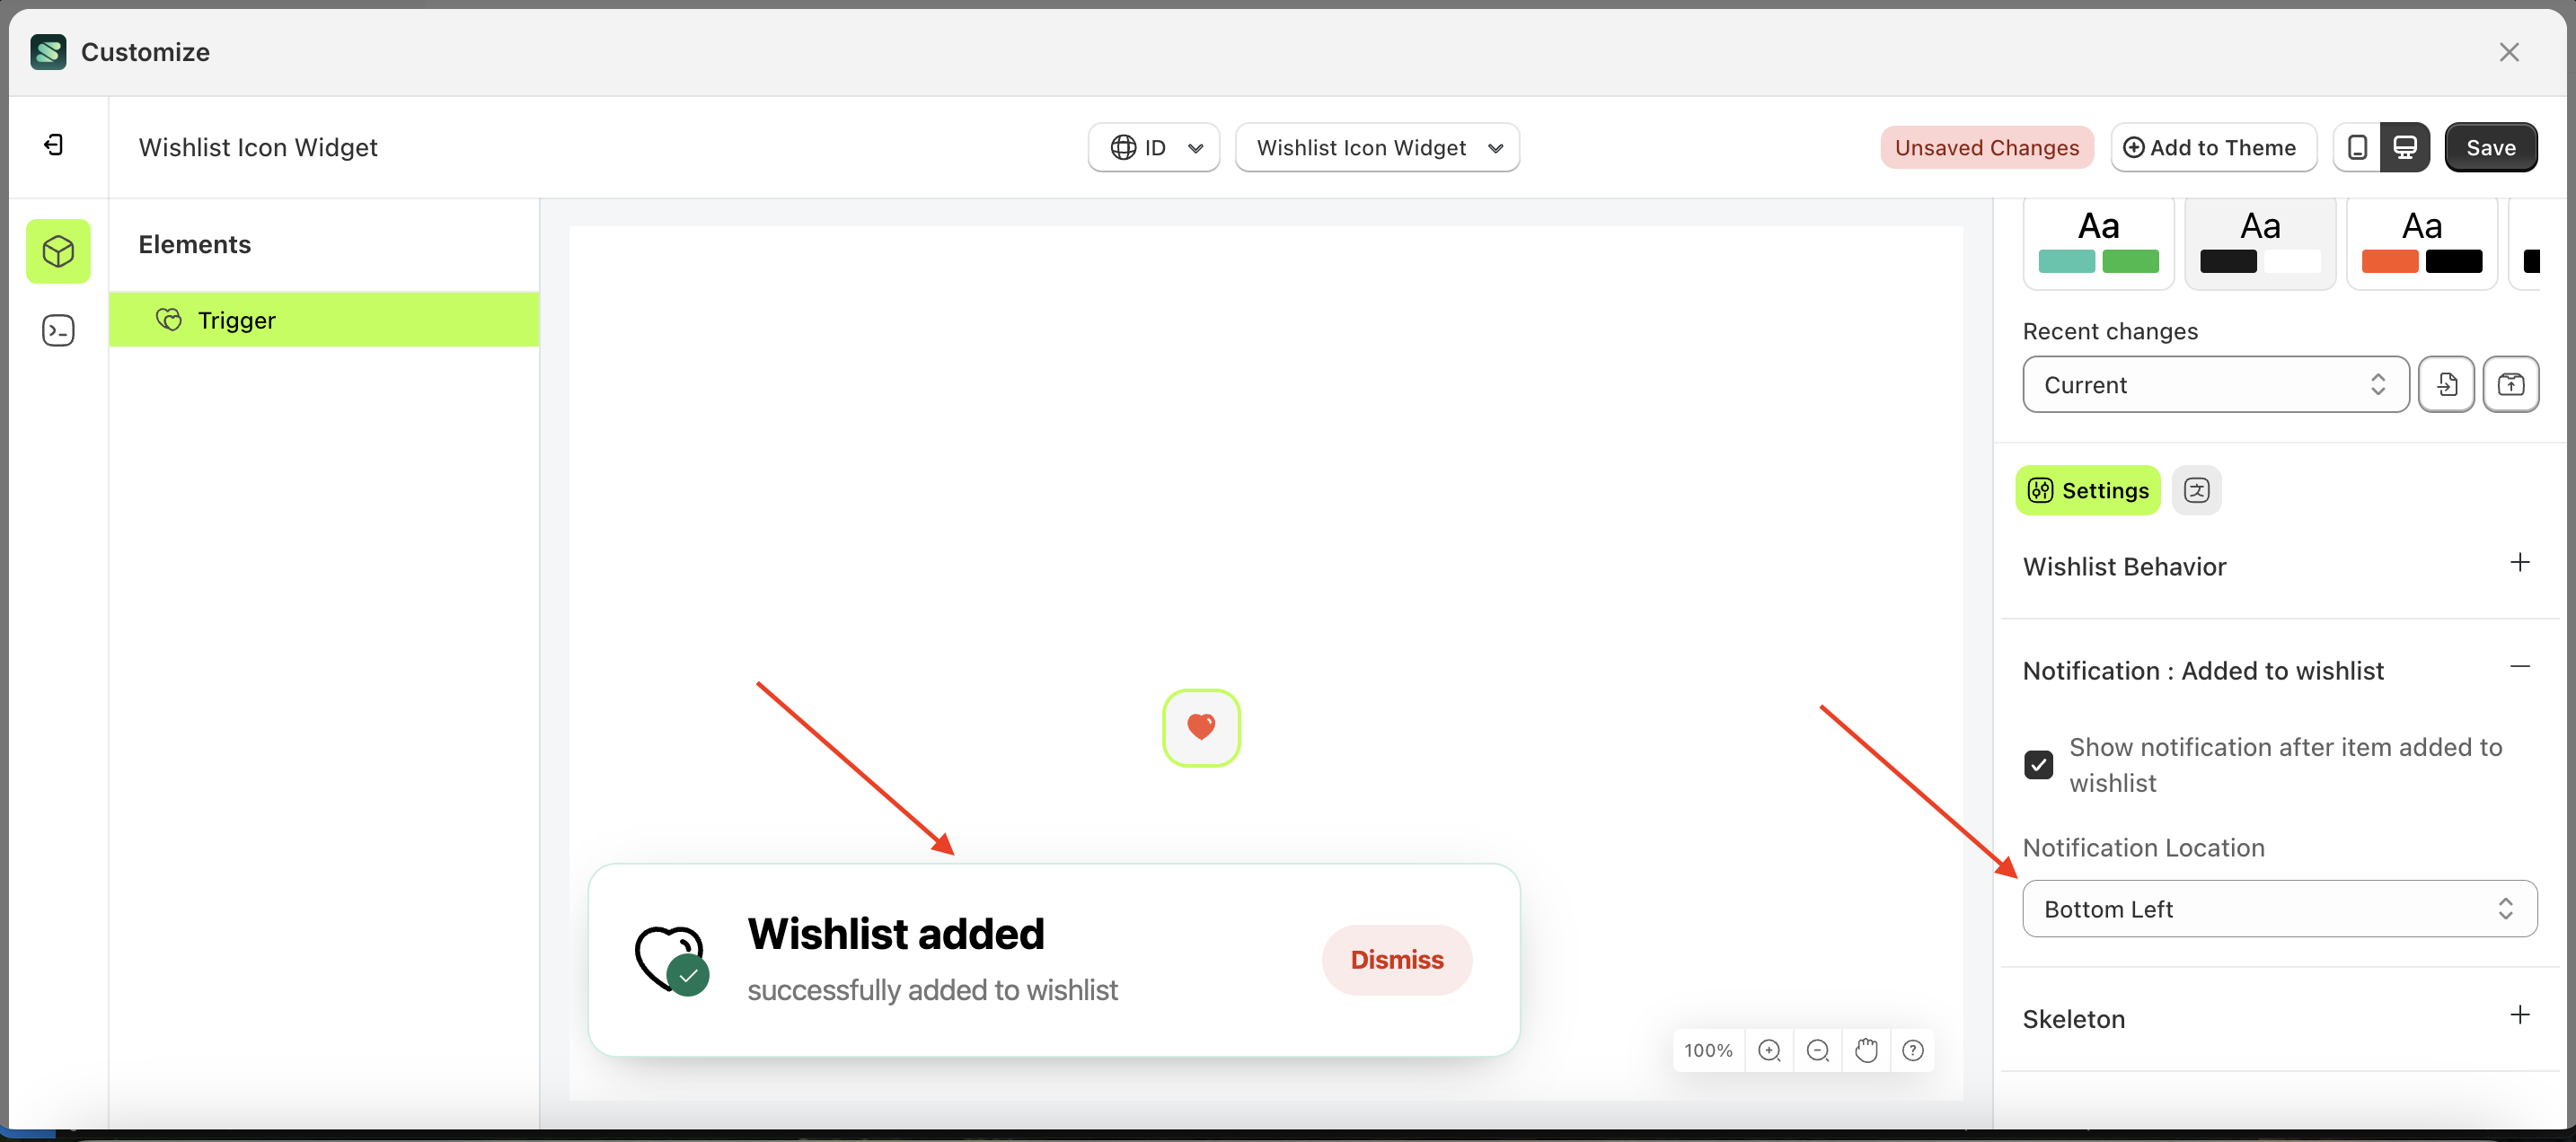
- Example : Before notification location change settings
- Example : After notification location change settings
Skeleton : Added to wishlist
Available settings:
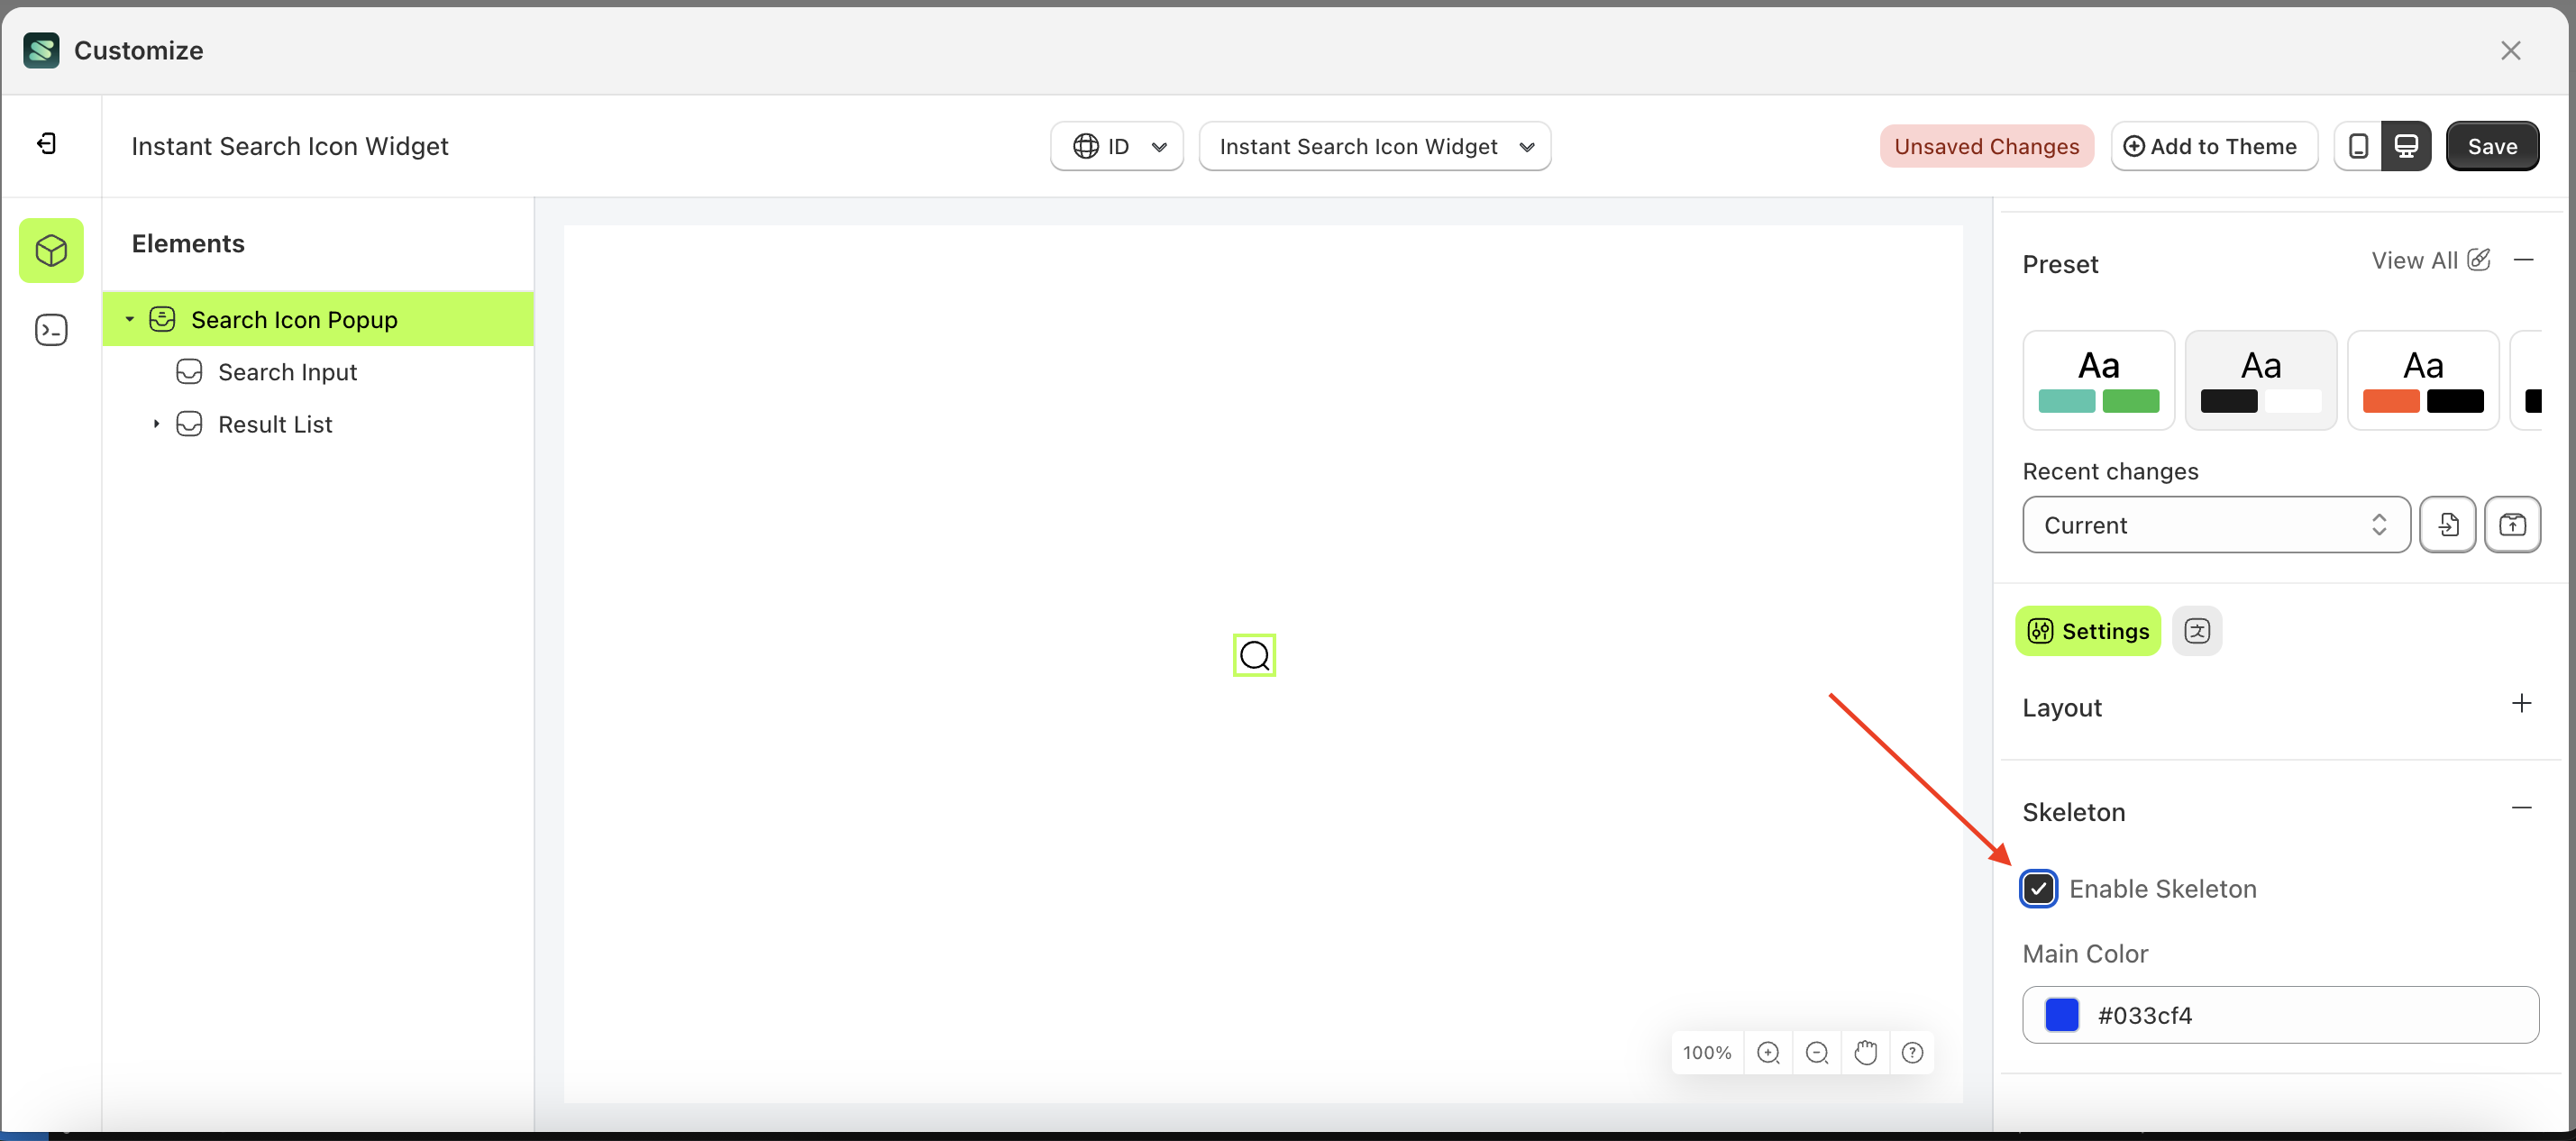
Enable Skeleton
Enable Skeleton is a setting that controls whether a loader or skeleton is displayed before the required data is fully loaded.
Follow the steps below:
- Select the Trigger element on the right, then click the Settings tab and click the icon marked with a red arrow.
- Enable the Enable Skeleton checkbox